20. Documents
This tab allows the user to upload and download documents related to the project.
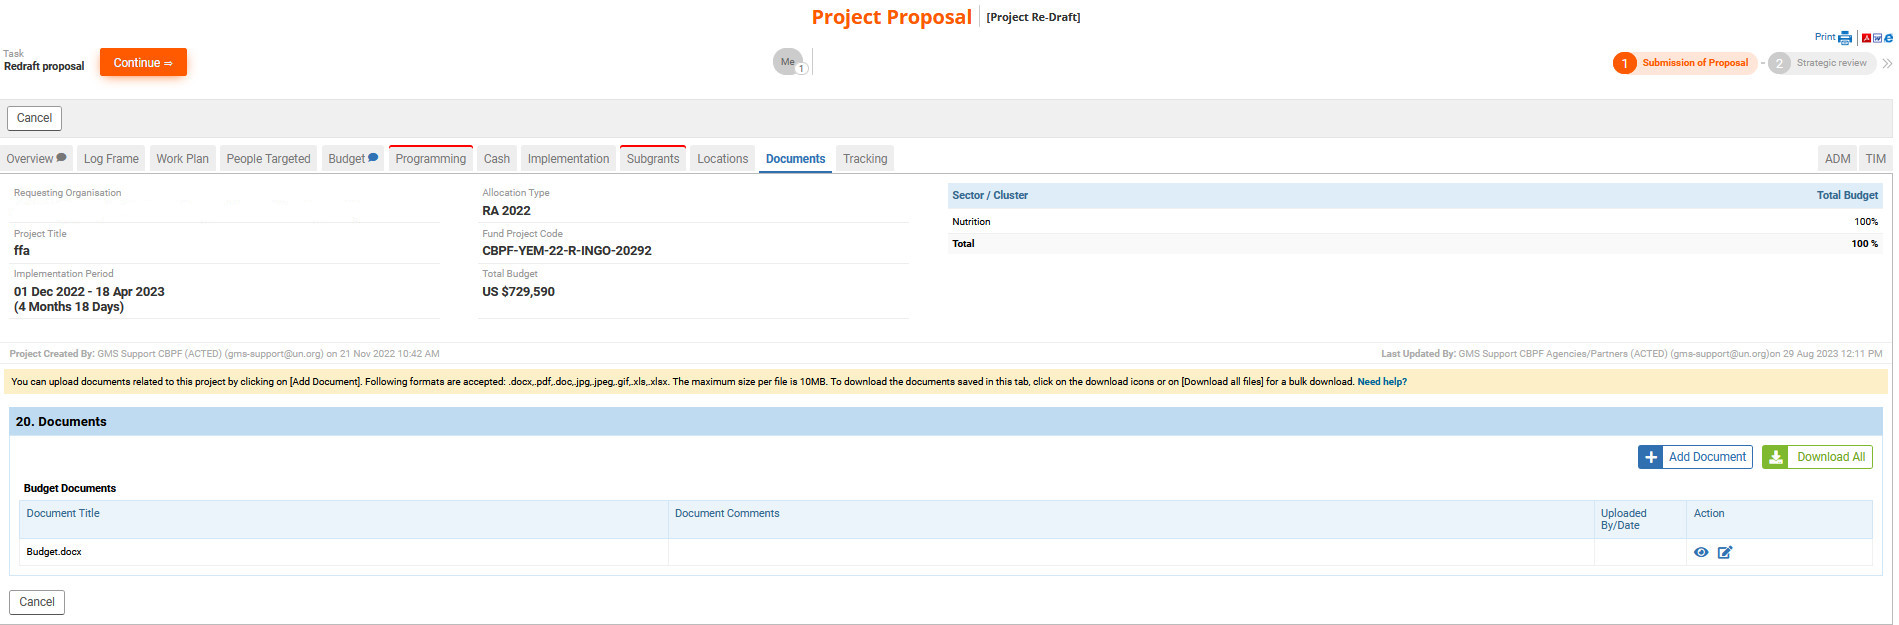
To add a new document, click on [Add Document].

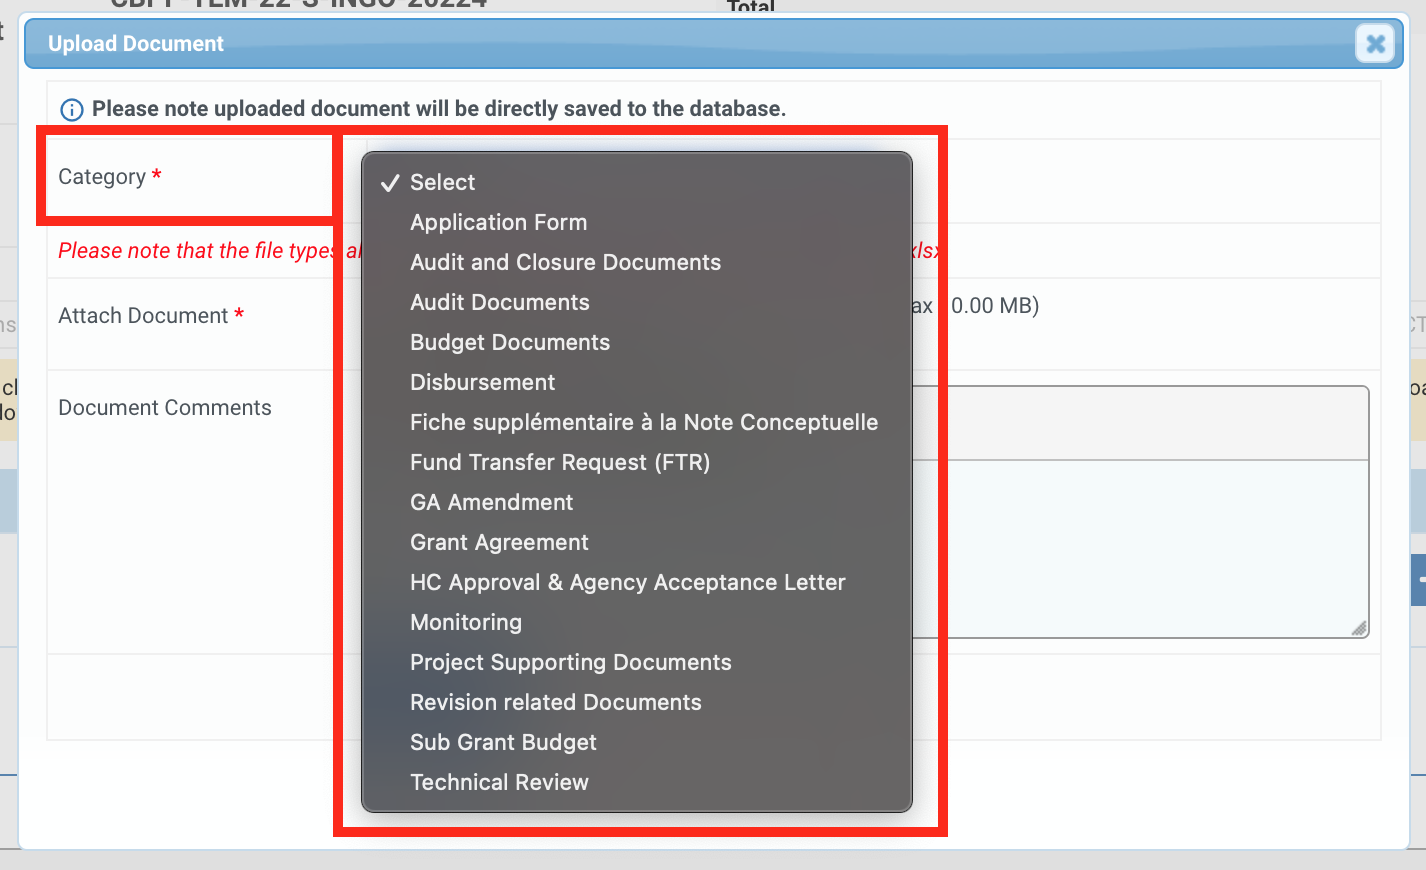
On the pop-up window, select the category of the document you wish to upload.
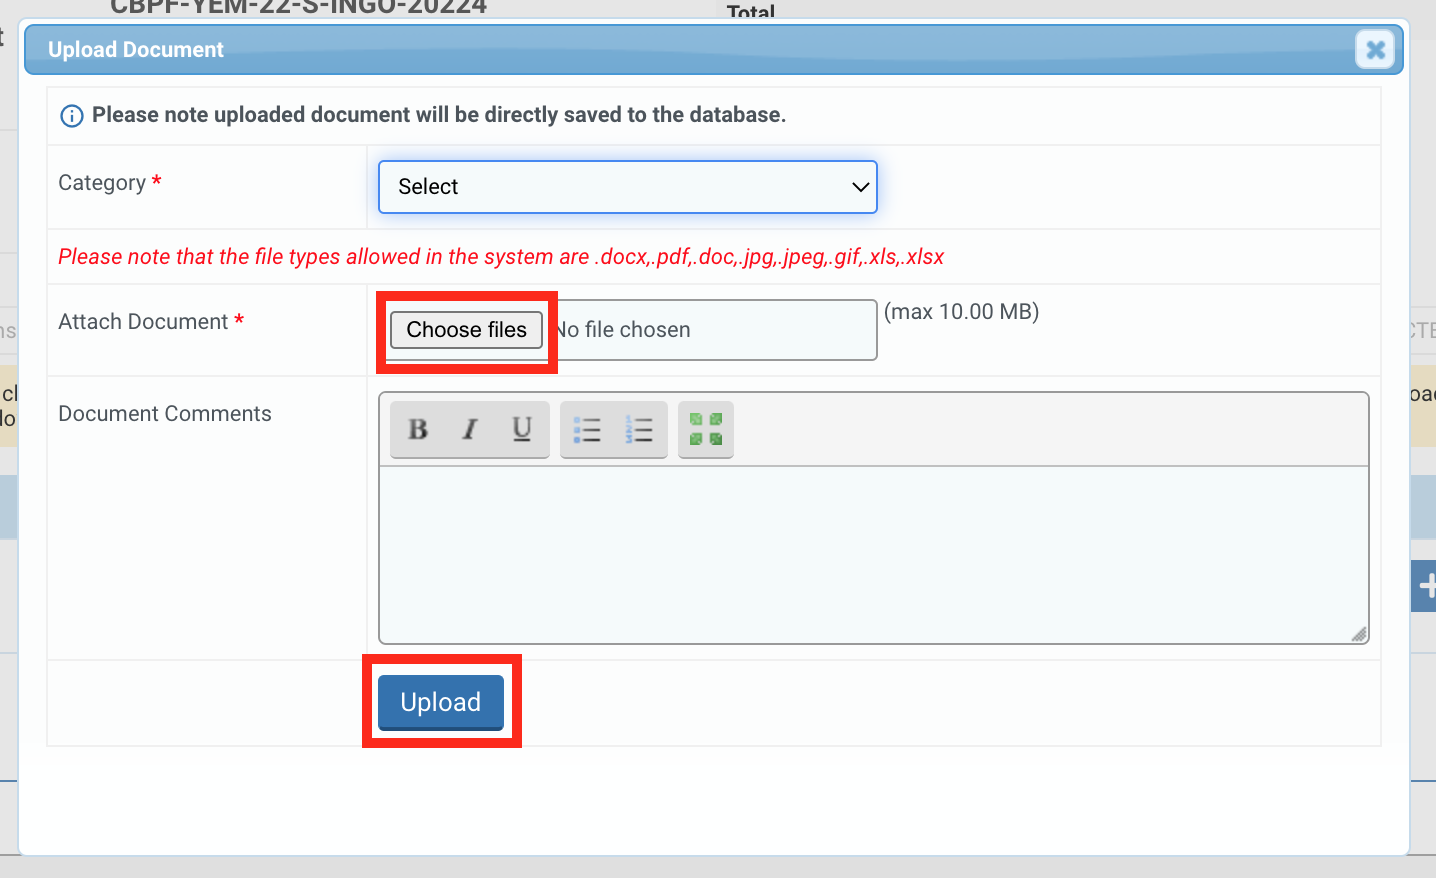
Then, click on [Choose Files] to select a file from your desktop.
Please note: the only file types allowed are docx., pdf., doc., jpeg., gif., xls. and xlsx. The size of the file should not exceed 10MB.
If necessary, you can leave a comment in the ‘Document Comments’ section. We advise you to leave a comment if you have chosen the category ‘Other Supporting Document’ to explain the nature of the document.
Finally, click on [Upload] to upload your document.
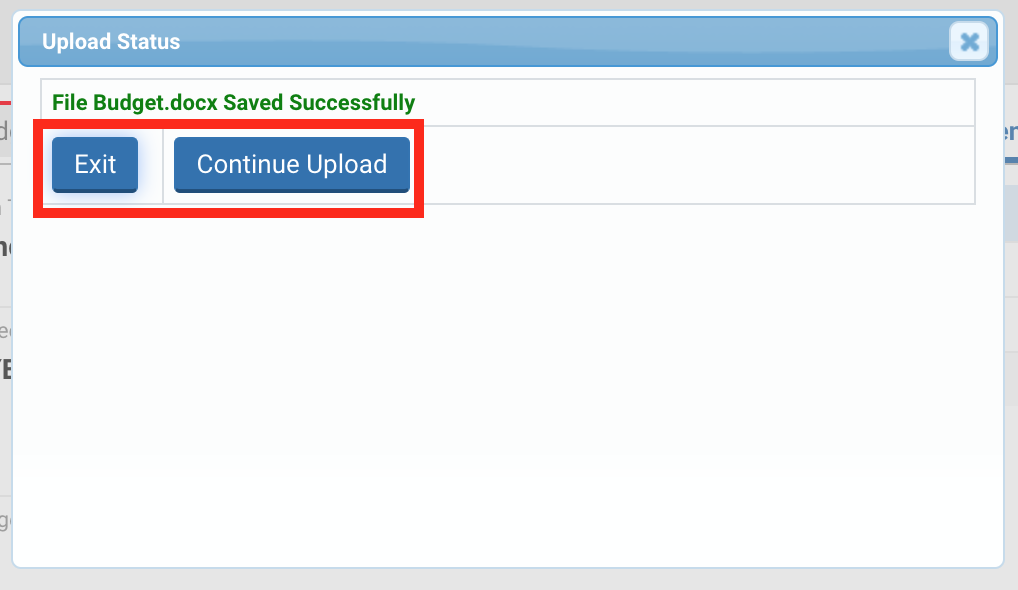
Upon clicking on [Upload], a pop-up window will appear. Click on [Exit] if you do not wish to upload any other document, or [Continue Upload] to upload more documents.
As you can see in the screenshot below, the document(s) uploaded will be classified by category.
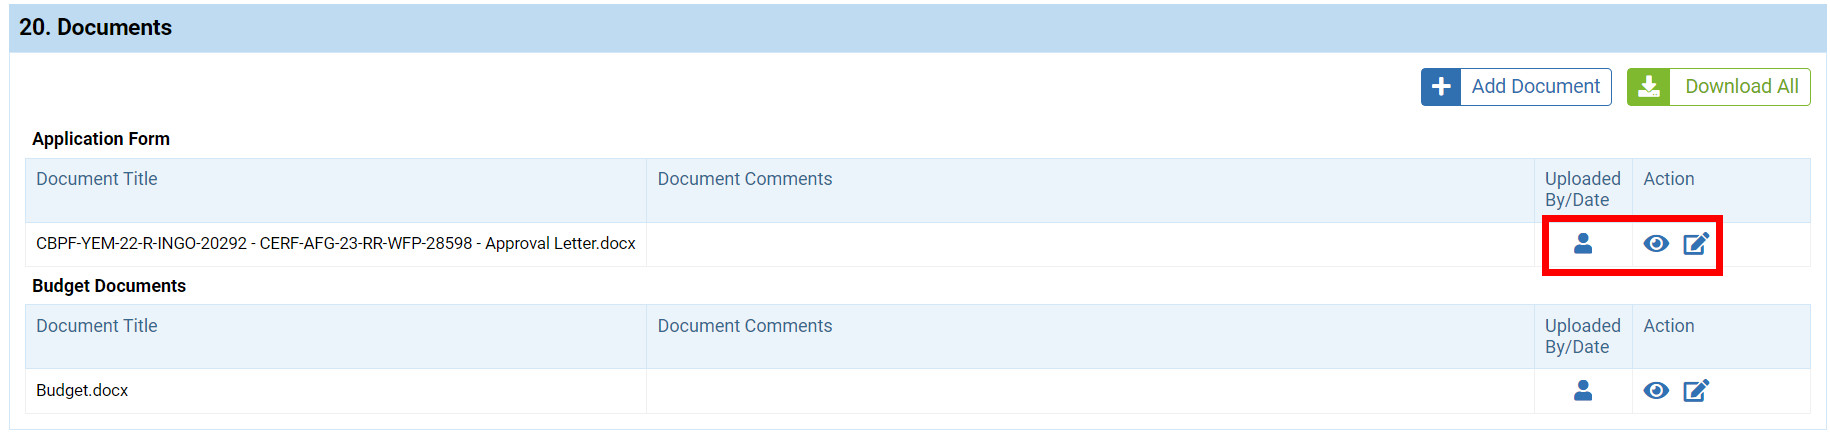
Hover over this icon ![]() to display the name of the person who uploaded the document and the date and time of upload.
to display the name of the person who uploaded the document and the date and time of upload.
Click on ![]() to open and save the document on your computer.
to open and save the document on your computer.
To edit the name of the file and add or edit a comment click on ![]() .
.
On the same page, the system will allow you to modify the document’s name and amend or add a comment. Once all the updates are made, click on ![]() to save your changes or on
to save your changes or on ![]() to disregard your changes.
to disregard your changes.
Please note: if you need to delete a document, please contact your HFU.

If you wish to download all the documents of this tab, you can click on [Download All].
