I) Step 1: saving the Allocation Grantor Program Code in the 'Allocation Type Configuration' page of the OneGMS
II) Step 2: saving the Business Partner umber and Grantor contact ID in the 'Manage Grantor Info' page of the OneGMS
1) How to save the BP number of an organization
2) How to save the Grantor Contact ID of each contact listed in the organization as signatories
In order for the bridge to be correctly configured, CBPF Finance Officers must link the allocation on the OneGMS to its equivalent Allocation Grantor Program Code from UMOJA.
To do so, follow this navigation: System Setup-> Allocation Management -> Allocation Type Configuration

Find the according allocation, and click on the edit hyperlink of the allocation’s line, located in the 'Action' column.

In the section which opened at the top of the page, enter the 'Grantor Program Code' in its according field and click on [Save].
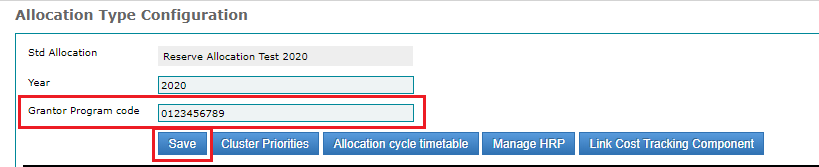
Please Note: the Allocation Program code must be exact in this field, otherwise the bridge will not work!
Once the Grantor Program Code has been linked to its according allocation and saved in this page, there is no need to re-enter it in case of another bridge process with the same allocation, the system has saved it.
1) How to save the BP number of an organization
In order to export the XML file, which you will need to upload on UMOJA to create the bridge between UMOJA and the OneGMS, the Organization must be linked to its own Business Partner (BP) number.
The link between the organization on the OneGMS and its BP number must only be done once in each fund. When it is saved in the system, you do not need to go back and update it again for another project or disbursement.
To save the Organization BP number on the GMS, go to System Setup > Configuration Setup > Manage Grantor Info

Below is the ‘Grantor Number Update’ page. A description of the possible filters is available below the screenshot.
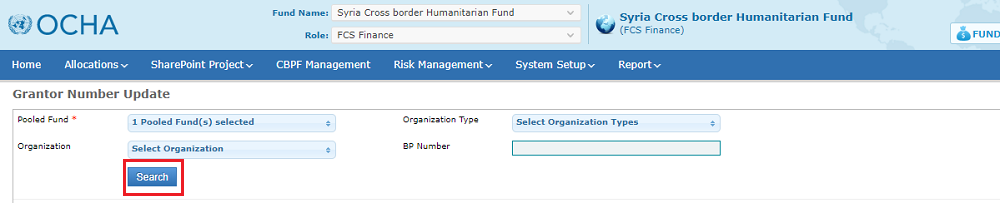
Fields Description:
- Pooled Fund (mandatory field): Select the Pooled Fund the organization you are looking for is registered in.
- Organization Type: Select the Organization’s type.
- Organization: Select the Organization’s name from the list. The list is automatically updated if you previously selected either a Pooled Fund or an Organization Type.
- BP number: If you already saved the Organization BP number and wish to find the organization, for instance to update the contact’s grantor ID, you can enter the BP number in this field.
Then, click on [search] to generate the list organizations corresponding to your filter(s).
To update the Organization’s Business Partner Number, click on the edit icon  of its line, in the 'Action' column.
In the pop-up window, enter the BP number, and click on [Save].
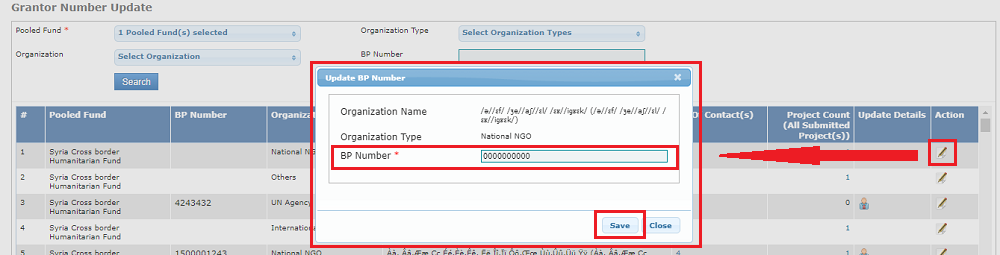
The BP number is now correctly saved in the OneGMS. Please note that the OneGMS keeps a history log of the user, date and time of the organization’s BP number update.

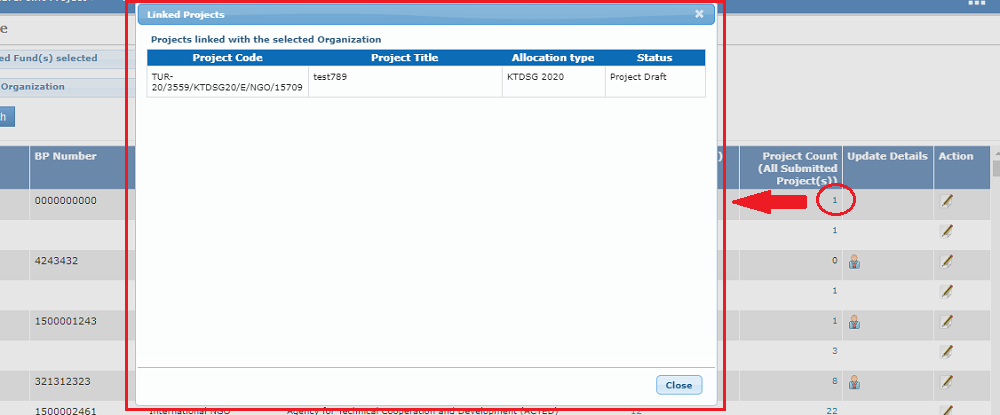
How to view the projects linked to the selected organization
To view the Organization’s submitted projects (including ongoing, rejected and closed statuses) click on the hyperlink number located in the 'Project Count' column.
2) How to save the Grantor Contact ID of each contact listed in the organization as signatories
In addition to linking the Organization to its BP number, the contacts that the partner listed as Legal Signatories in the Due Diligence module should also be linked to a specific number, the Grantor Contact Id.
This update is needed once for each legal signatory. When a signatory is linked to its Grantor Contact Id, it is saved in the system, and there is no need to go back to update it for another disbursement or project.
To update the Contact Id, use the ‘Grantor Number Update’ page described above, and click on the hyperlink number located in the 'No of Contact(s)' column.
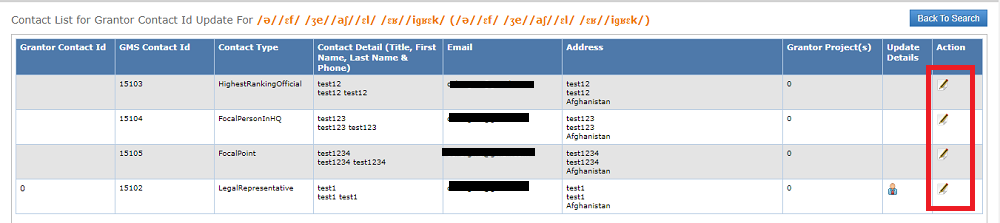
The number in this column indicates the number of contacts listed as legal signatories in the Organization’s Due Diligence form and is also a clickable button which redirects the user to the 'Contact List for Grantor Contact Id Update For XX' page of the OneGMS.

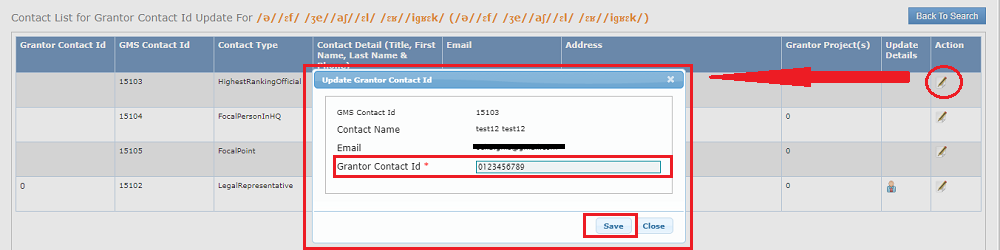
After clicking on this number and accessing the Grantor Contact Id update page, click on the edit icon of the listed signatories to add and save their respective Grantor Contact Id. The edit icon is located on the right-hand side, in the Action column.
In the pop-up window, enter the Grantor Contact Id and click on [Save].
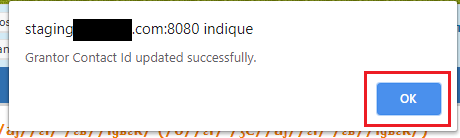
Then, click on [Ok] in the browser’s confirmation message pop-up to update the table of contacts.
Please note: the OneGMS keeps a history log of the user, date and time of the legal signatory’s Grantor contact Id update. You can see this log by hovering over the user icon  in the ‘Update Details’ column.
