I) UMOJA Reference
II) Add Payment Schedule
III) Upload/Download Documents (optional)
IV) Submit to Account
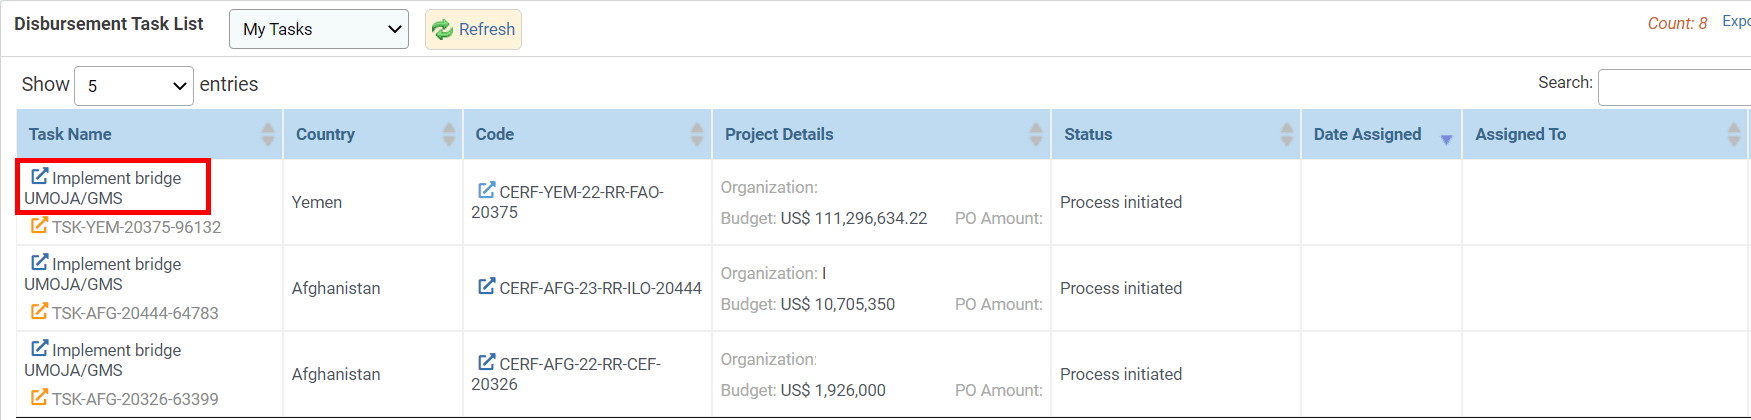
Once the Project Letter has been validated and uploaded in the OneGMS, the disbursement process can be triggered. You will see a new task ‘Implement Bridge UMOJA/GMS’ in your Disbursement Task List. Click on this icon  to open the ’Disbursement’ tab.
On this tab, you will be able to create an obligation, a payment request, and add disbursement details documents.
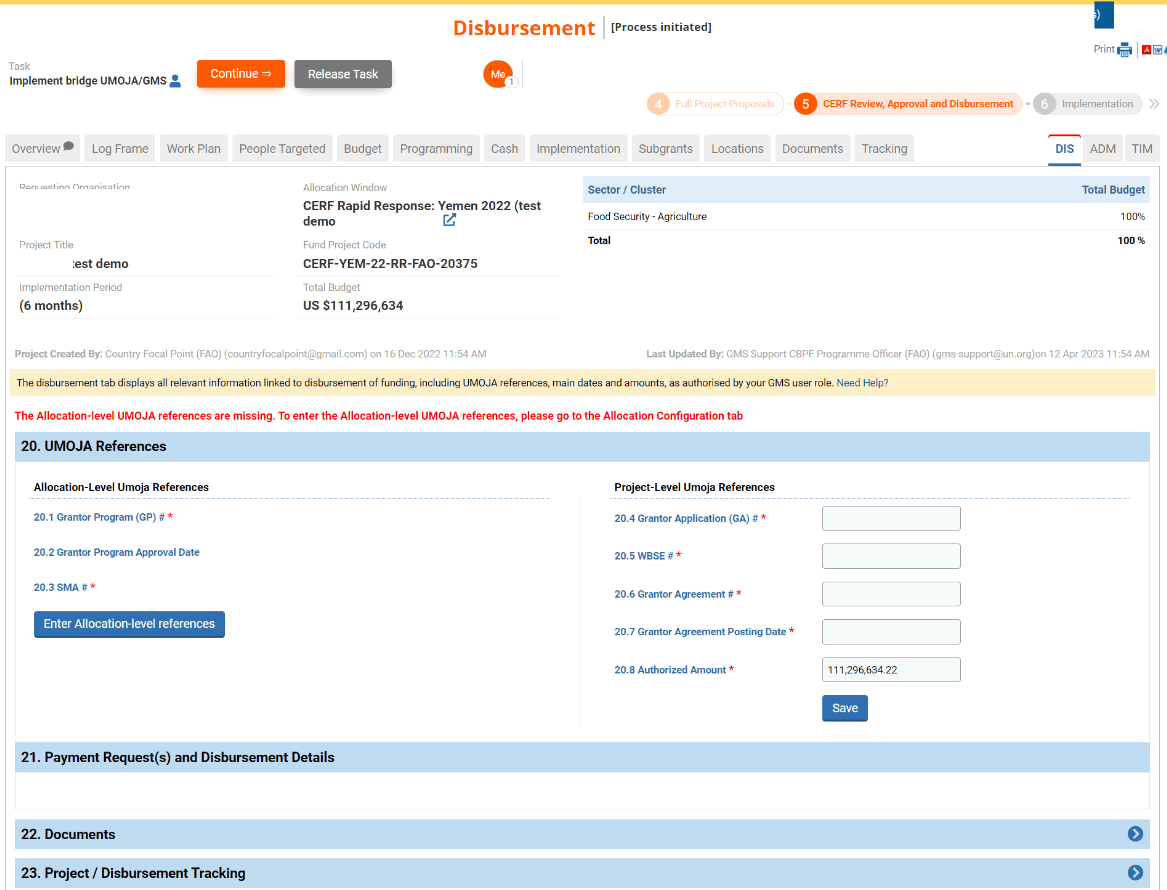
20. UMOJA References
The Finance officers are required to fill in all mandatory fields (*) of this section to proceed with the disbursement. Clicking on [Save] will activate the payment schedule and the liquidation section, where you will be able to enter more information on the disbursement and create a voucher.
Allocation-Level Umoja References:
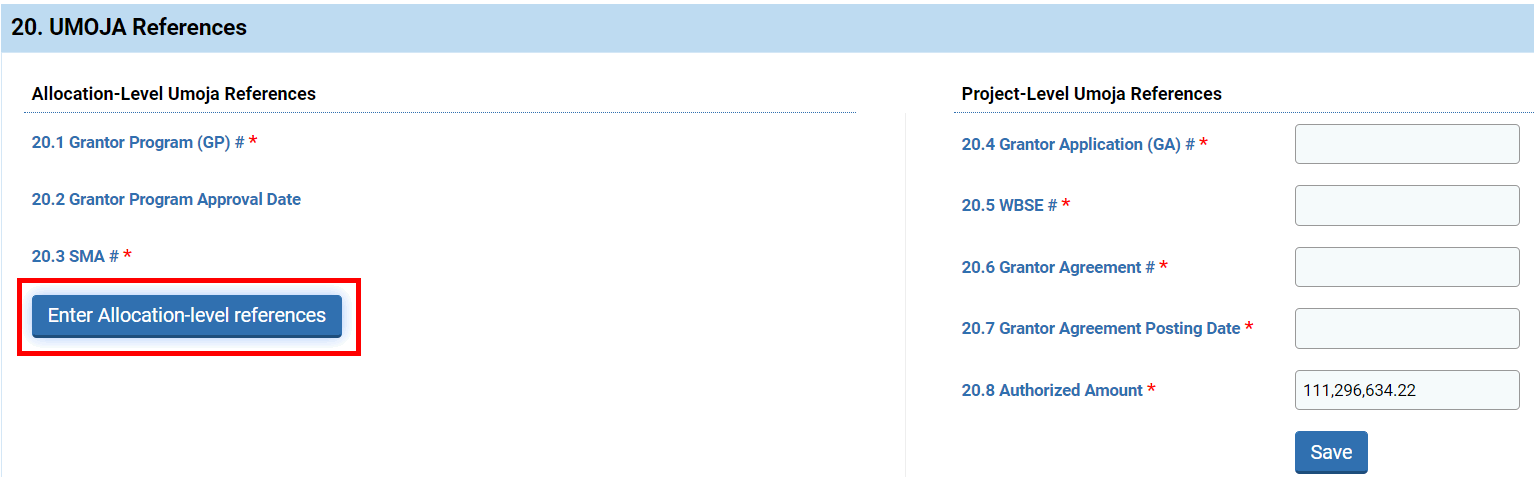
UMOJA References are added at allocation level and are reflected in this section. If the allocation-level UMOJA References are missing, please click on [Enter Allocation-level References].
Field descriptions:
20.1 Grantor Program (GP) #: this code allows to link the allocation on the OneGMS to its equivalent Allocation Grantor Program Code from UMOJA.
20.2 Grantor Program Approval Date: the date the Grantor Program was approved.
20.3 SMA #: the Strategic Management Application code.
You will be redirected to the ‘Allocation Config’ tab of the Allocation, where you will be able to add this information. Then click on [Save].
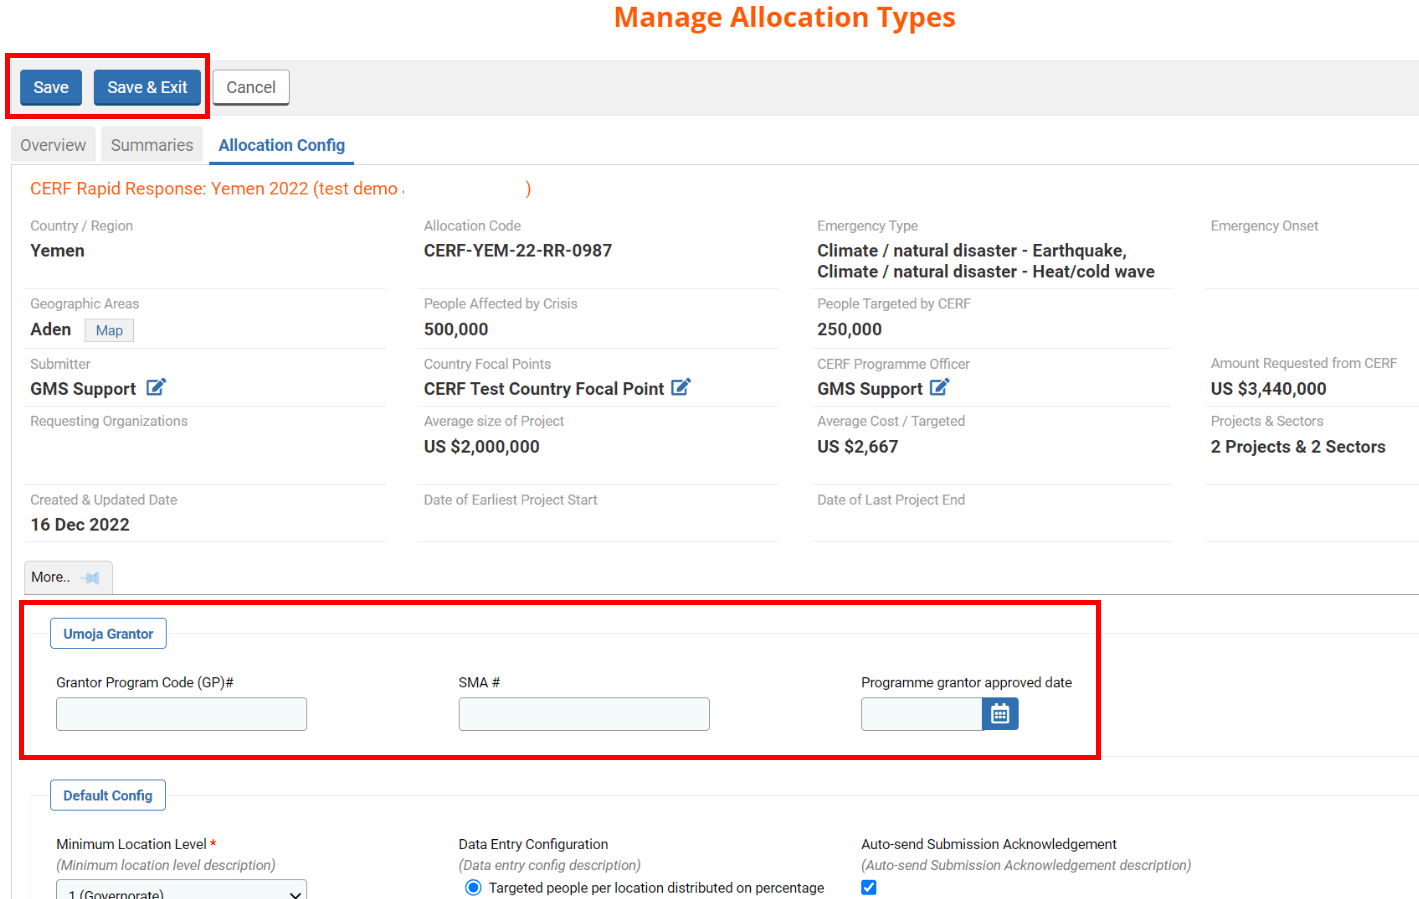
Upon saving, refresh the ‘Disbursement’ tab; all the information added will be reflected.
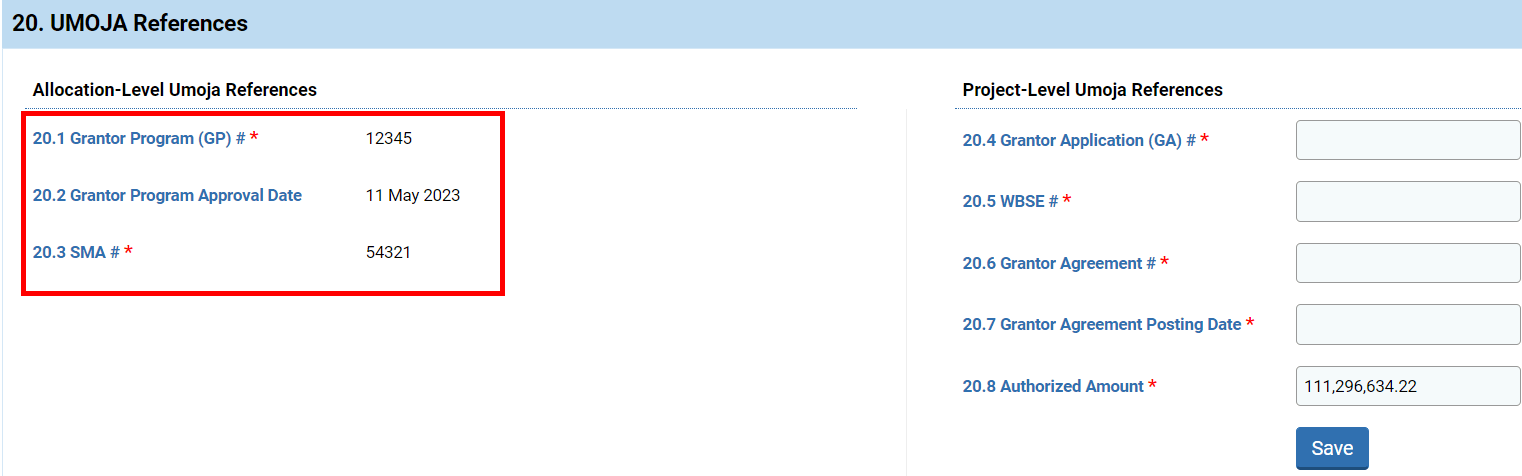
Project-Level Umoja References:
20.4 Grantor Application (GA) #: you can enter the GA number.
20.5 WBSE # *: enter the work bench structure element number
20.6 Grantor Agreement # *: enter the unique Grantor Agreement number.
20.7 Grantor Agreement Posting Date *: select from the calendar the date the Grantor Agreement was posted.
20.8 Authorized Amount *: this field corresponds to the project total budget. It is automatically filled by the system.
Once you have filled in all mandatory fields click on [Save].
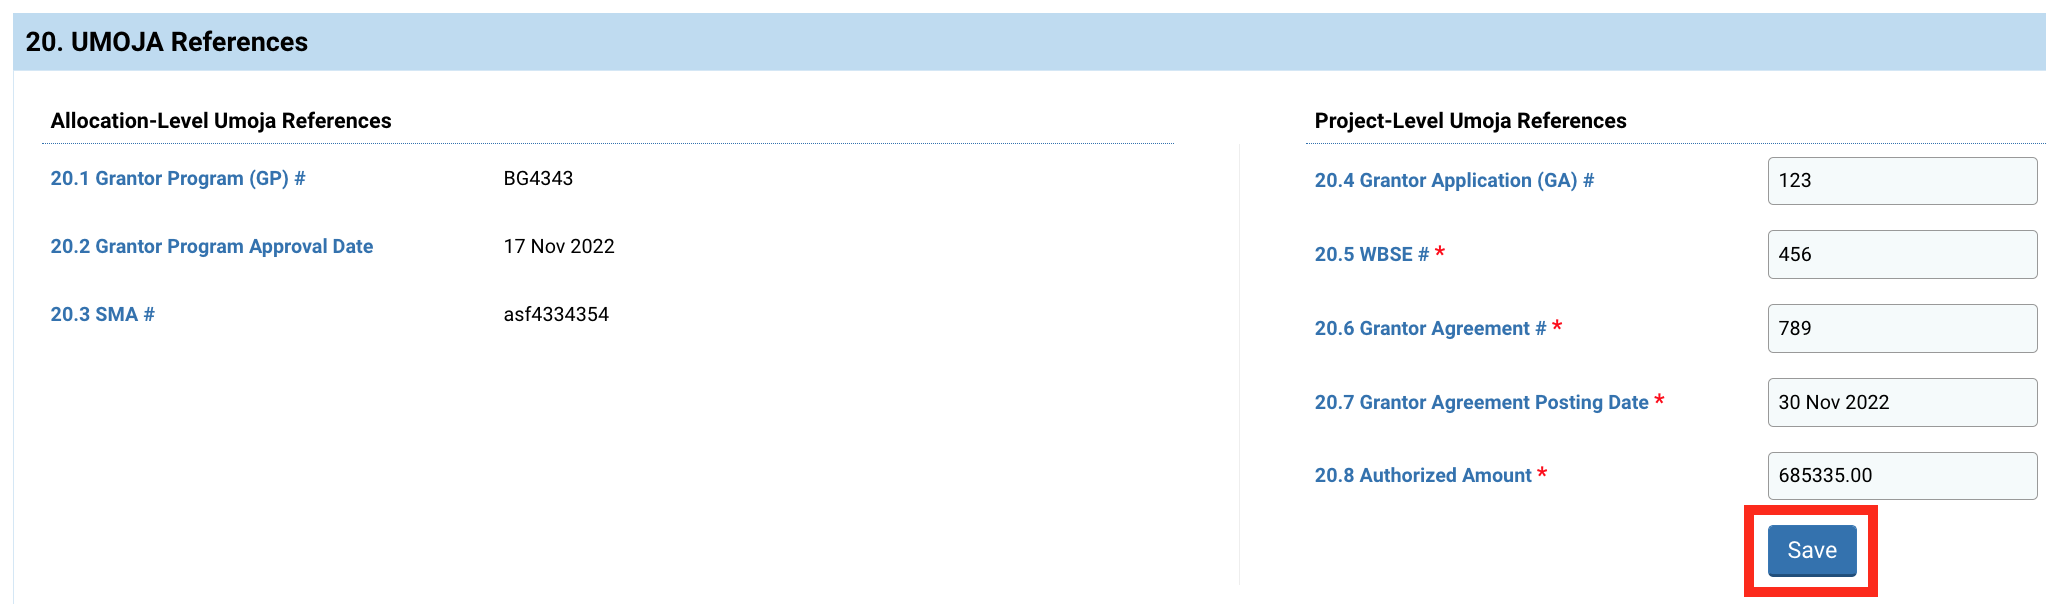
Upon clicking on [Save], a new section is added to the tab: 21. Payment Request(s) and Disbursement Details.
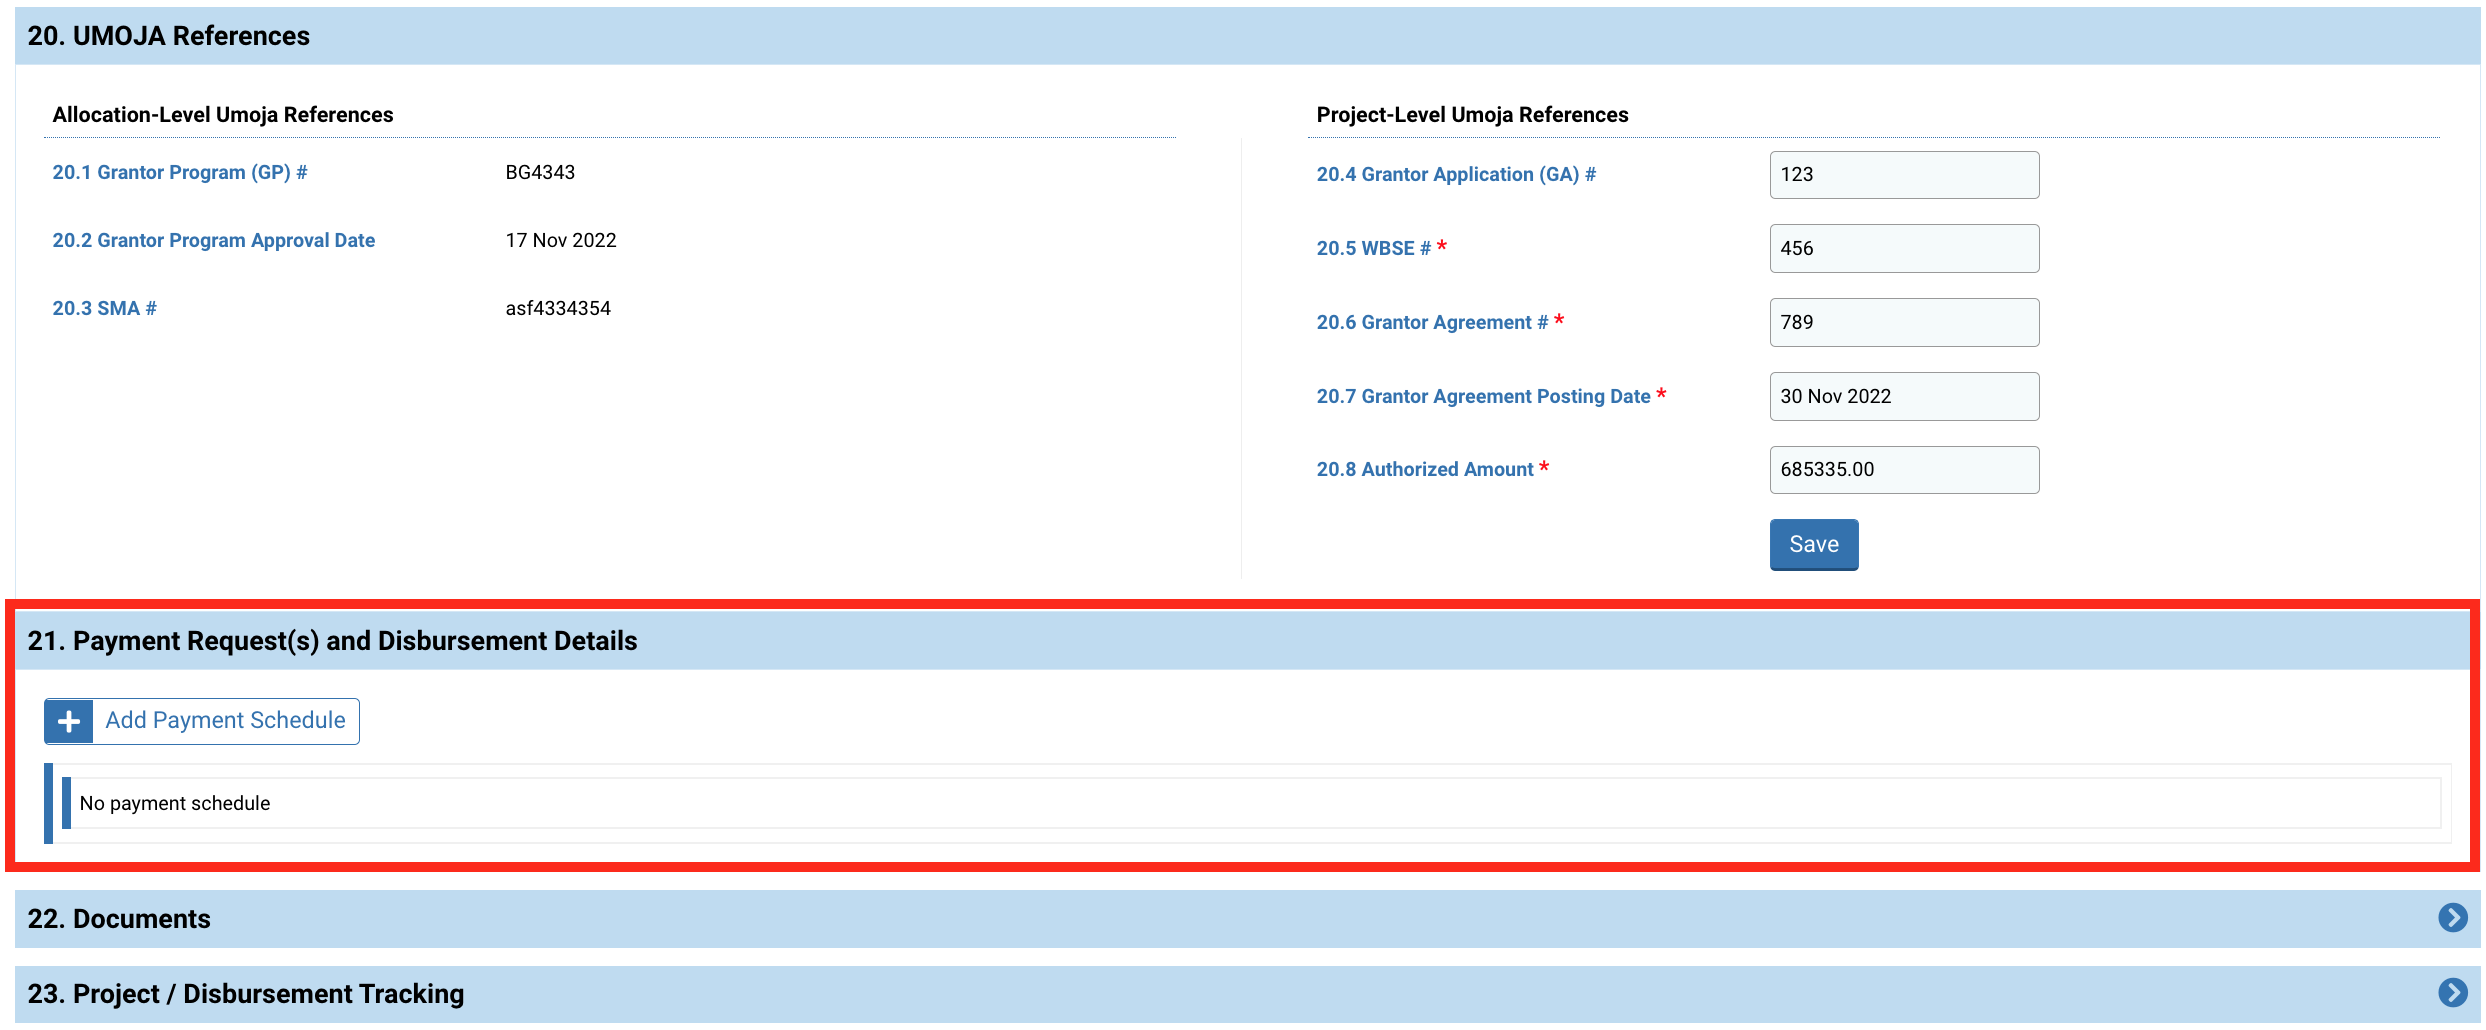
21. Payment Request(s) and Disbursement Details
This section allows you to add and activate the payment schedule. You will have to add a payment schedule and then attach a voucher to it once accounts disbursed the amount.
To add a payment schedule, click on [Add Payment Schedule].

On the pop-up window fill in mandatory fields and click on [Save] to add a payment schedule.

Fields description:
Payment Amount*: the total amount for disbursement is displayed by default.
Payment request to FD date*: select from the calendar the date the payment request was submitted to the finance division.
CSL Received Date*: select form the calendar the date the counter signed project approval letter was uploaded on the OneGMS.
You can click on this icon to edit or this icon ![]() to delete the payment request.
to delete the payment request.

For every payment schedule created there will be a voucher associated with the same. Once you submit the request and the accounts proceed with the disbursement you will be able to come back to this page and click on click on [Add disbursement details] to create a voucher. If accounts already made the disbursement and you would like to add a voucher, please click here.

III) Upload/Download Documents (optional)
22. Documents
In this section, the Finance Officer can upload or download documents related to disbursement.
To download disbursement related documents that have been previously uploaded, click on [Download All].

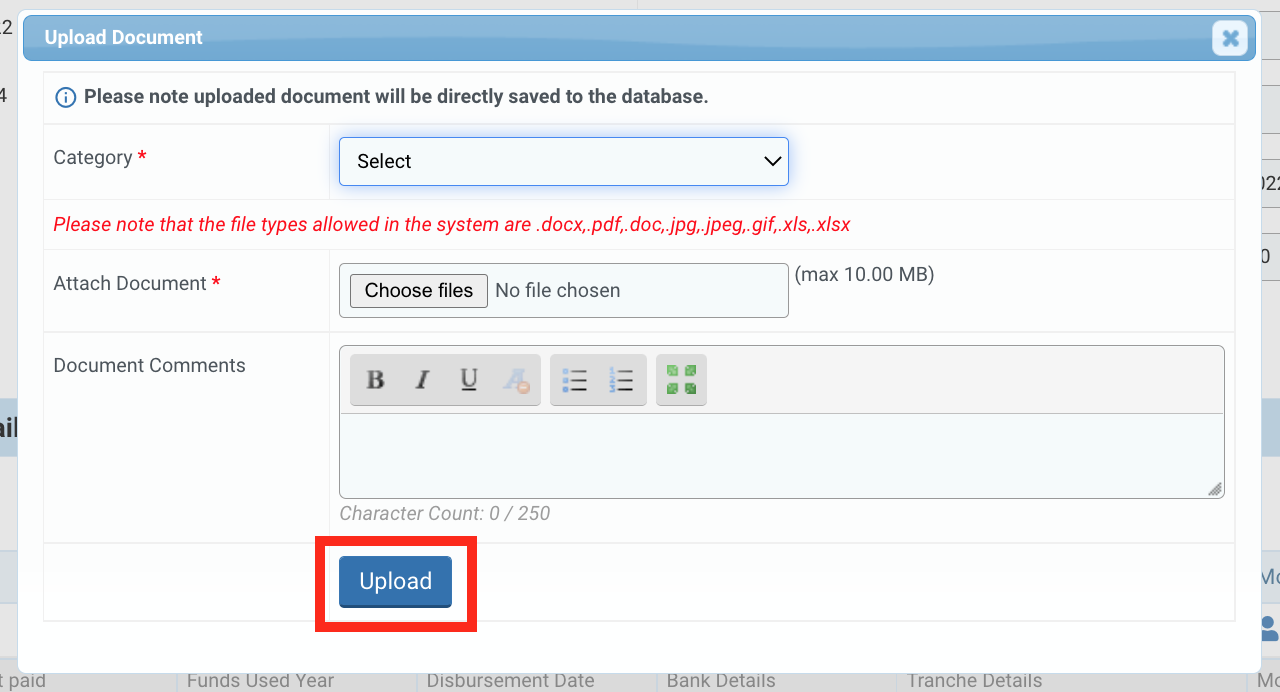
To upload documents, click on [Add Document].

On the pop-up window, select the category of your document, click on ‘Choose File’ to select a file from your computer and leave a comment if necessary. Then click on [Upload] to upload the document.
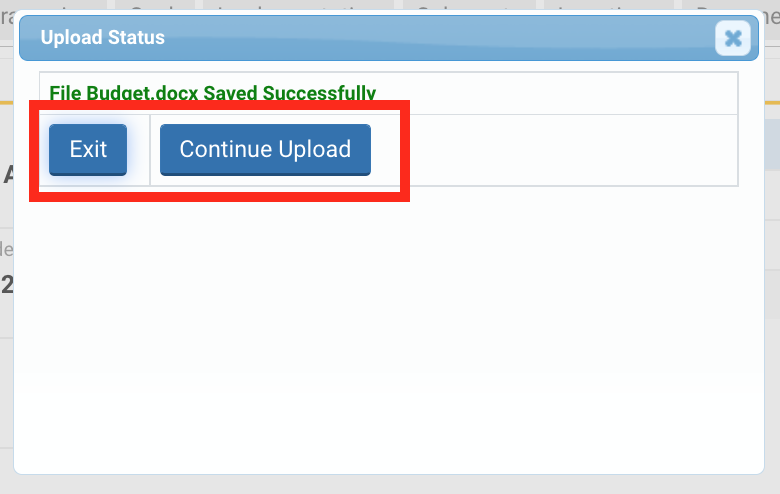
Upon clicking on [Upload] a pop-up window will ask you whether you want to continue to upload files or return to the ‘Disbursement’ tab. To continue uploading documents click on [Continue Upload], otherwise click on [Exit].
Once added, you click on ![]() to view the document or on
to view the document or on ![]() to edit the document's title or comment.
to edit the document's title or comment.

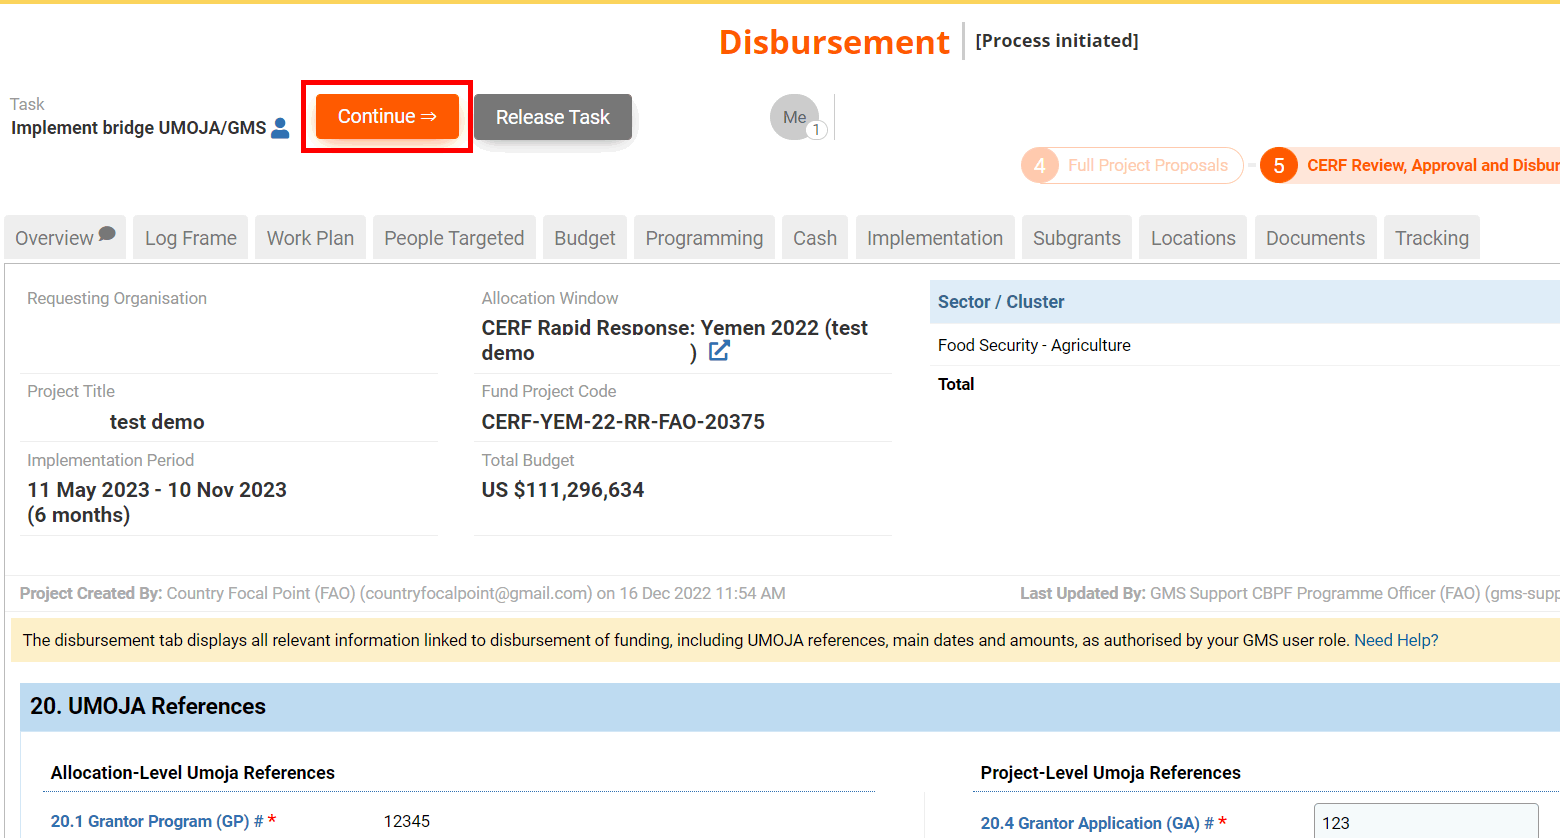
Once the voucher and payment schedule are saved, you can submit to accounts to trigger the disbursement. To do so, click on [Continue] to open the task page.
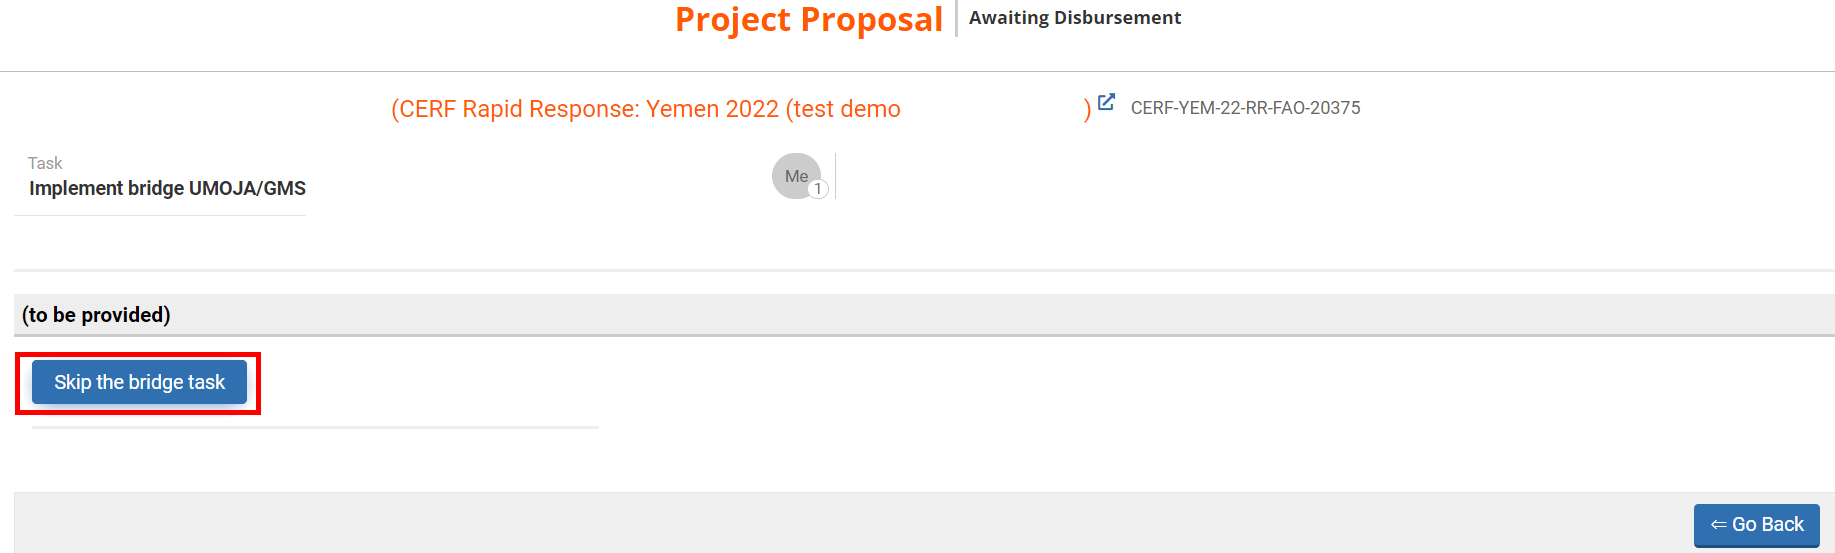
From your task page click on [Skip the bridge task].
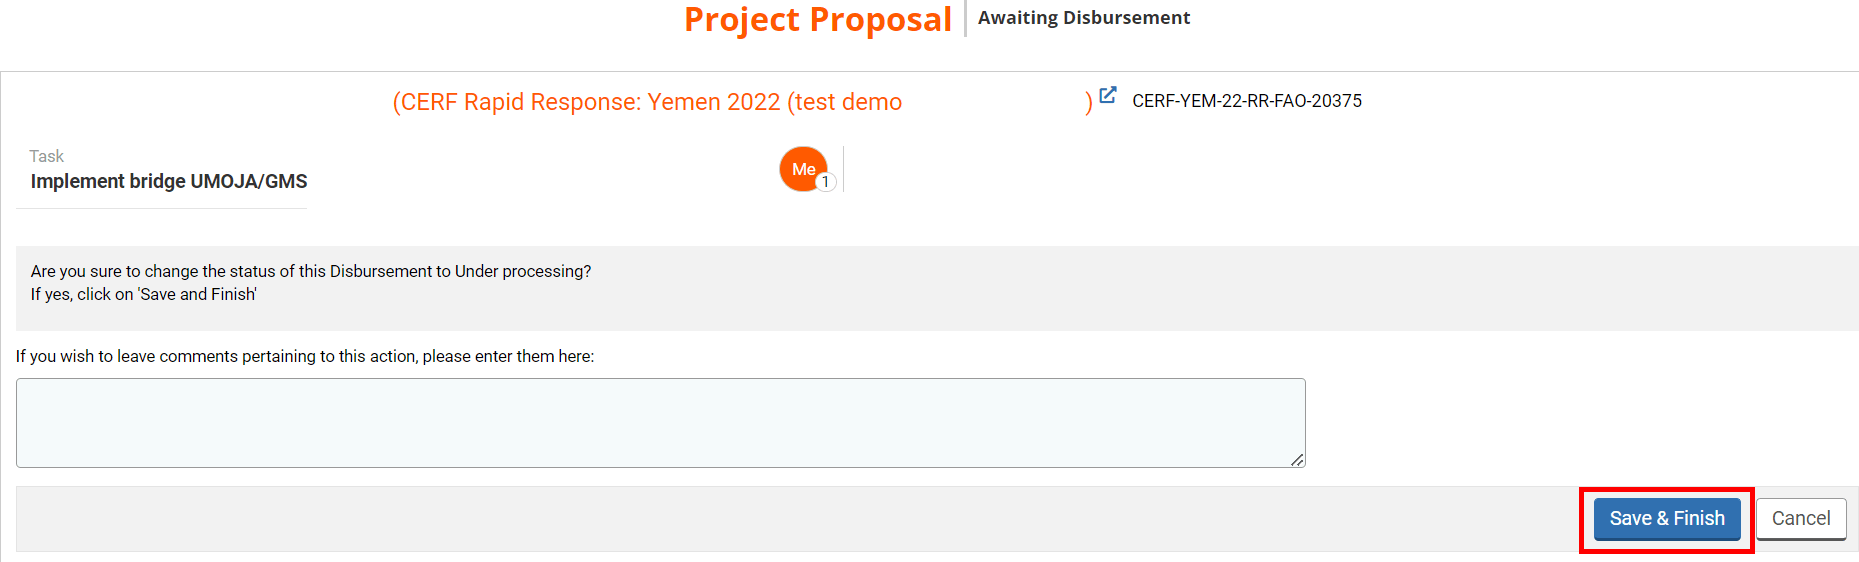
You can leave a comment pertaining to this action if necessary and click on [Save & Finish] to trigger the disbursement process.
Then go back to your task page and click on [Task Completed] to conclude the process. Offline, you will be sending the disbursement request to accounts.
