I) Activate the revision request (HFU or IP)
II) Fill in the revision request (IP)
1) Revision request tab
2) Request Documents tab
3) Tracking tab
III) Submit the revision request (IP)
I) Activate the revision request (HFU or IP)
As an Implementing Partner (IP), you can either send an email to the HFU to request a project revision or activate online the revision request from the ‘Admin’ tab of the project proposal.
Once on the ‘Admin’ tab, you can activate the Revision request in the ‘Other Instances Activation’ section. Select the required alert message to be sent to the HFU and project’s focal points from the ‘Select Alert’ dropdown list and click on [Activate]. This message will automatically the HFU of a revision request activation.
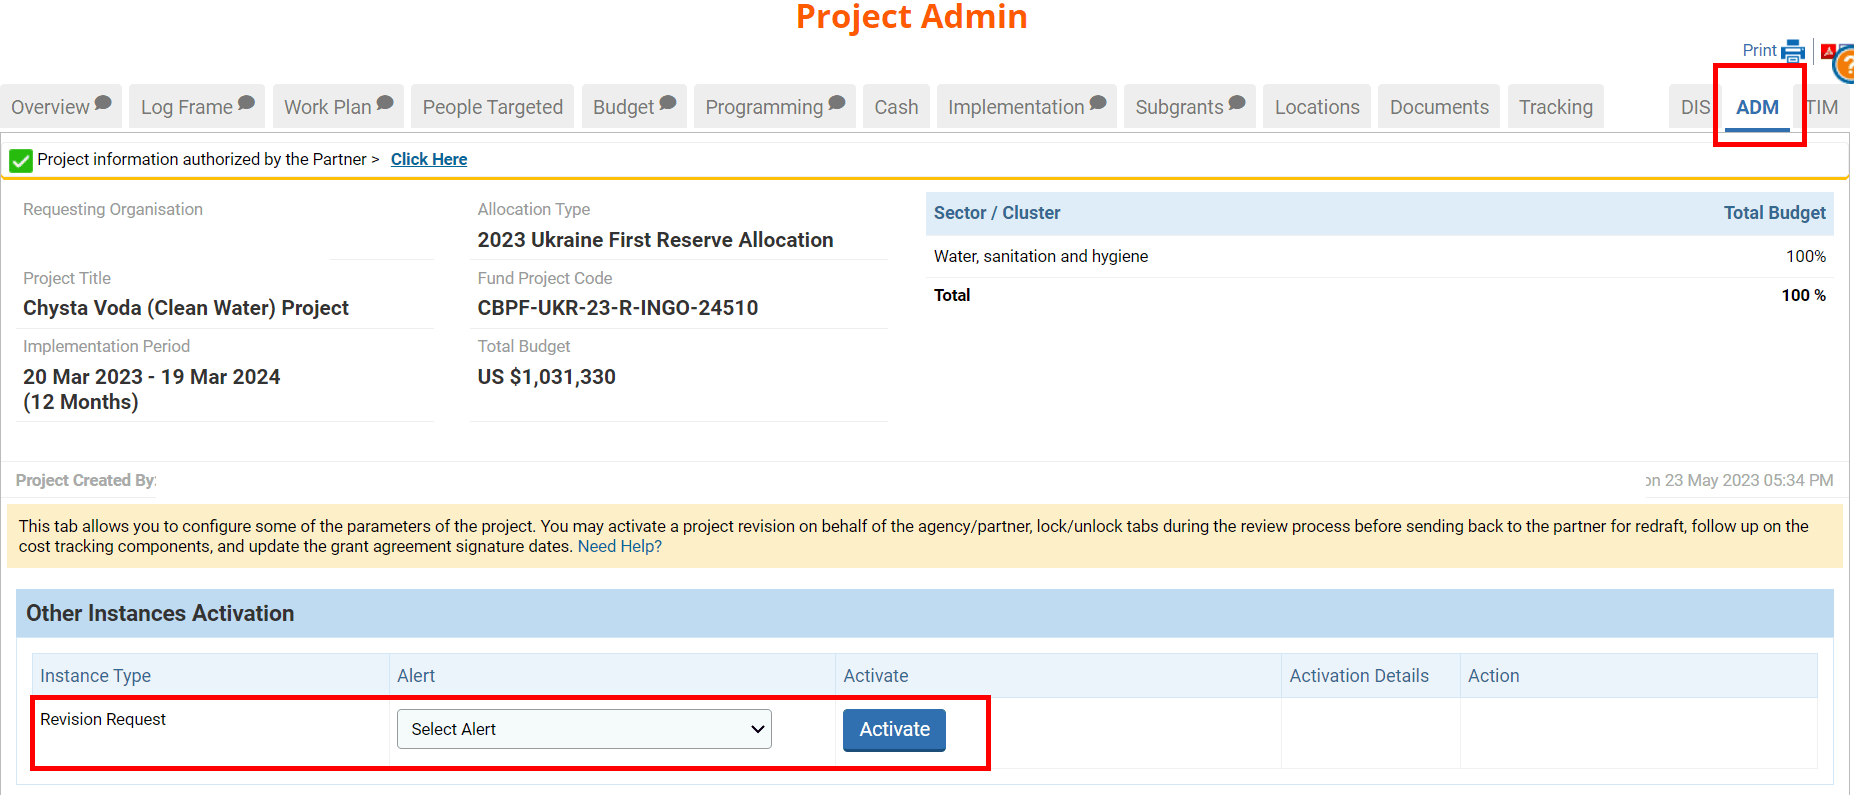
Once activated, click on the hyperlink [View Revision].

On the pop-up window will be displayed all the revisions that were requested for this project proposal. You can click on this icon ![]() to open the revision request.
to open the revision request.
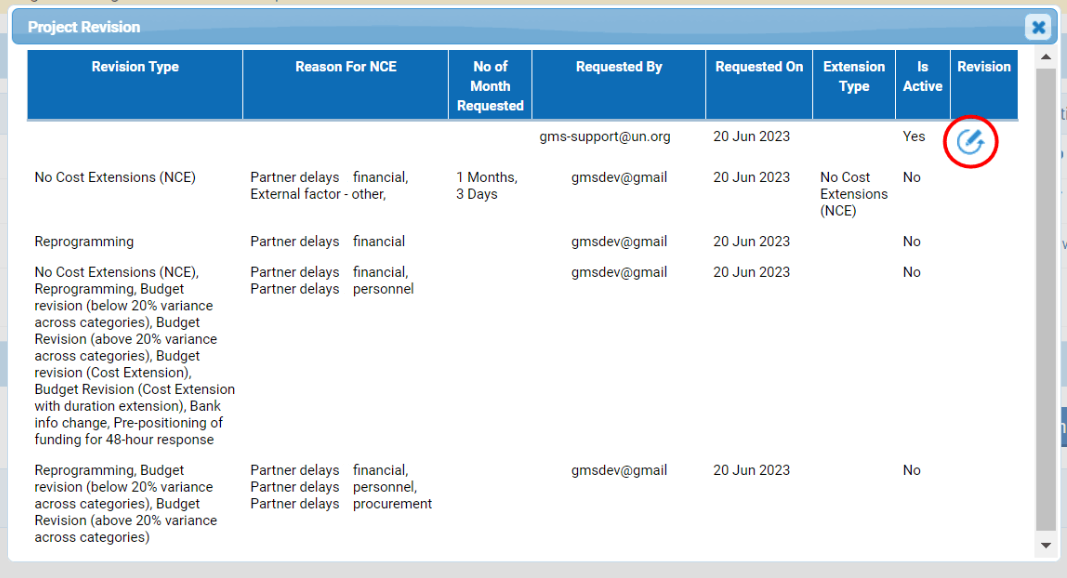
Columns description:
- Revision Type: the type of revision.
- Reason For NCE: if the partner requested a NCE, the reason provided will be displayed here.
- No of Month Requested: if the partner requested an extension of the implementation period, the additional number of months requested will be displayed here.
- Requested by: the email of the user who requested the project revision.
- Requested On: the date on which the user requested the project revision.
- Extension Type: the type of extension requested.
- Is Active: whether the project revision is active or not.
- Revision: if the revision request is active, you can click on the icon to open it.
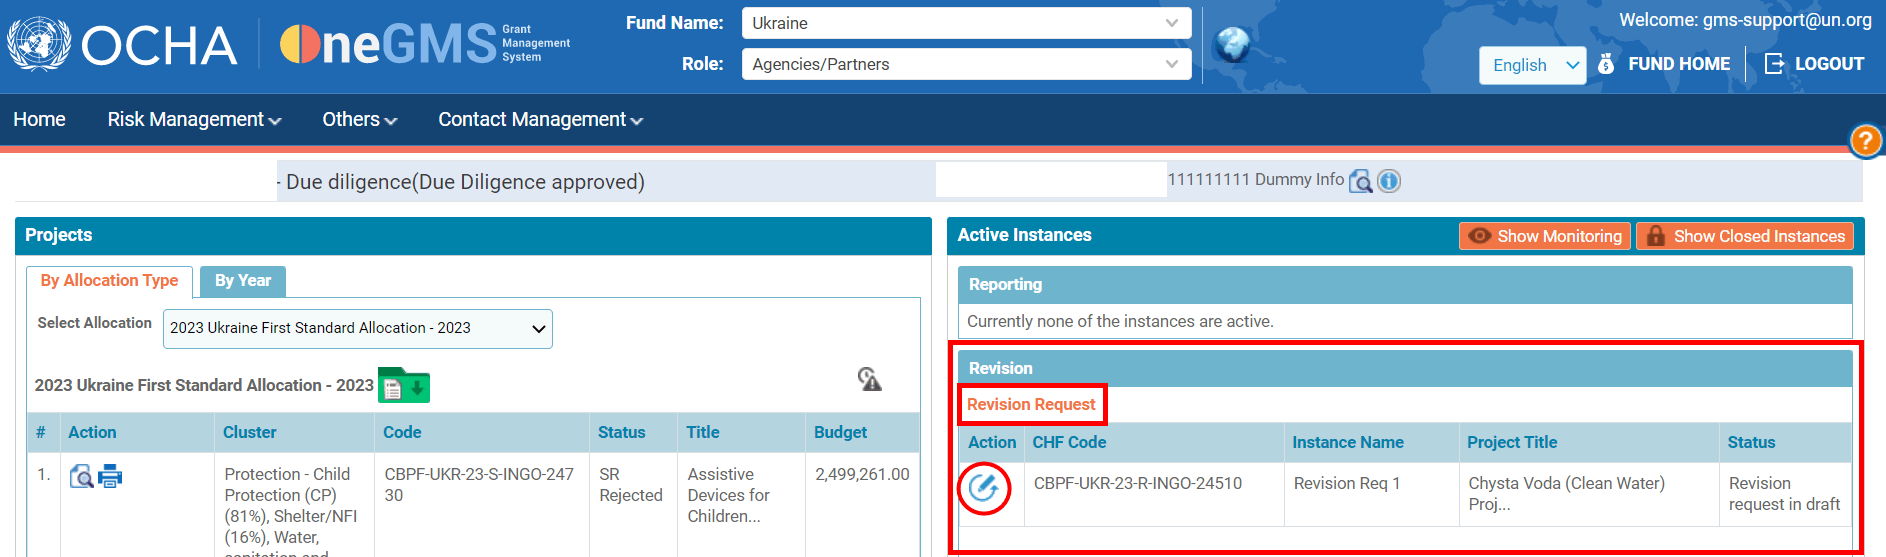
You can also access the revision request from your homepage, from the ‘Revision’ section on the right side of the page.
II) Fill in the revision request (IP)
The revision request is composed of 3 tabs; the Revisions Request, the Request Documents and the Tracking. You will have to fill in all the mandatory fields marked with a red asterisk. If available, click on [Show Guidance] to display more guidance.

Or hover over the info icon  .
.
The header provides you with general information on the project and the revision and quick access to the project proposal. It will be updated as the project revision moves forward.
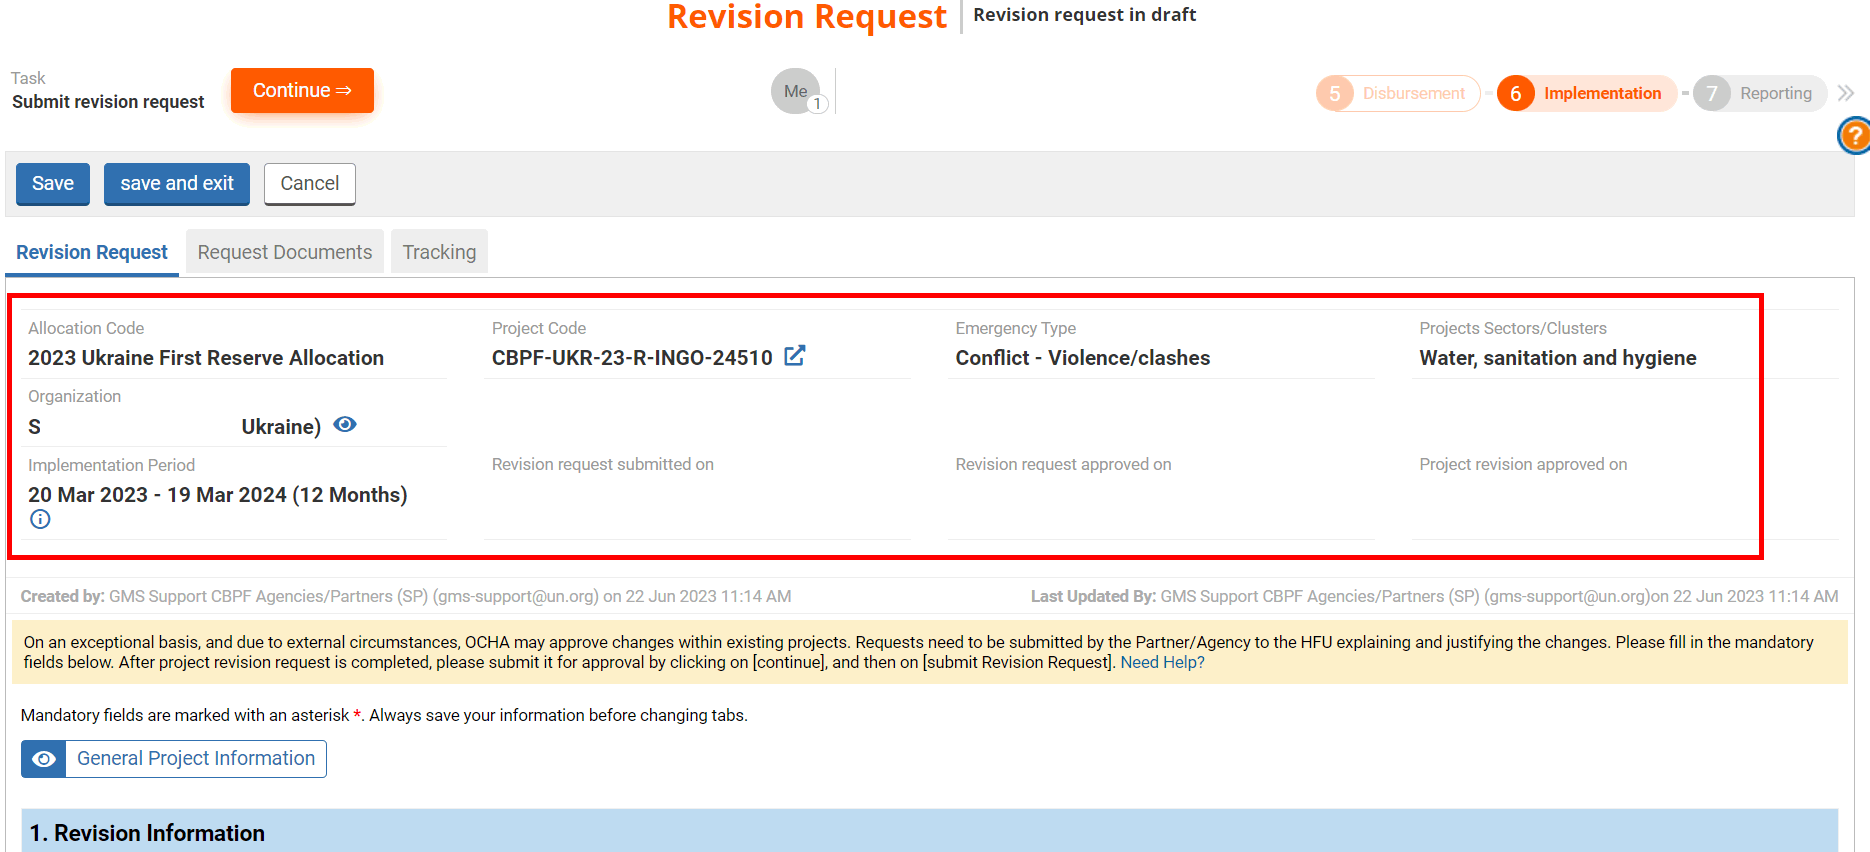
Fields description:
- Allocation Code: the code of the allocation.
- Project code: the code of the project proposal. You can click on this icon
 to open in a new tab the project proposal.
 - Emergency Type: the emergency type linked to the project proposal.
- Projects Sectors/Clusters: the sector/cluster of the project proposal.
- Organization: the name and acronym of the organization. You can click on this icon
 to open the focal point’s contact details of the organization.
 - Implementation period: the implementation period of the project. If the implementation period is extended following the project revision, this data will be automatically updated. You can hover over the info icon to display the original project end date and the extended project end date.
- Revision request submitted on: the date the revision request was submitted.
- Revision request approved on: the date the revision request was approved.
- Project revision approved on: the date the project revision was approved.
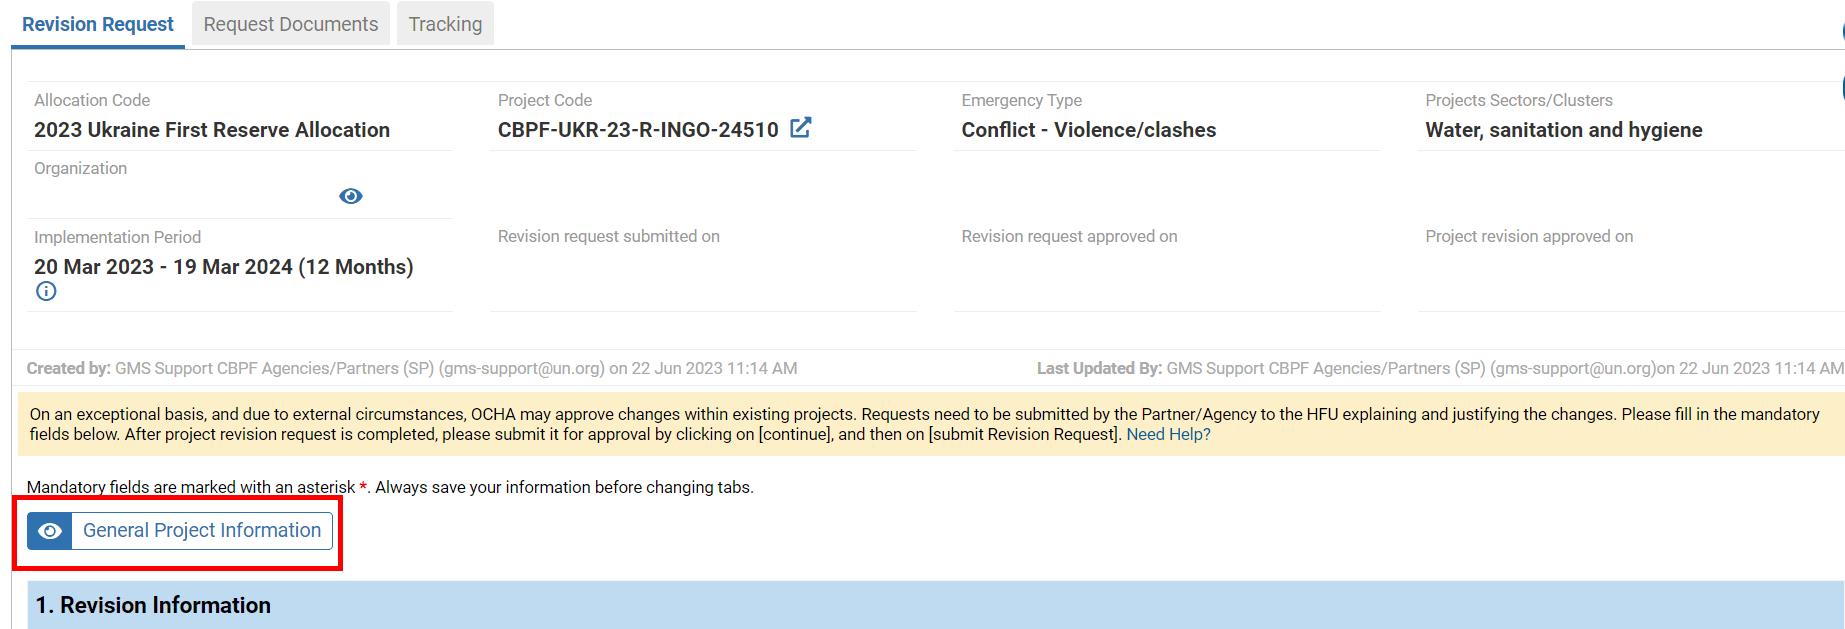
If you wish to display the general information of your project proposal, click on [General Project Information].
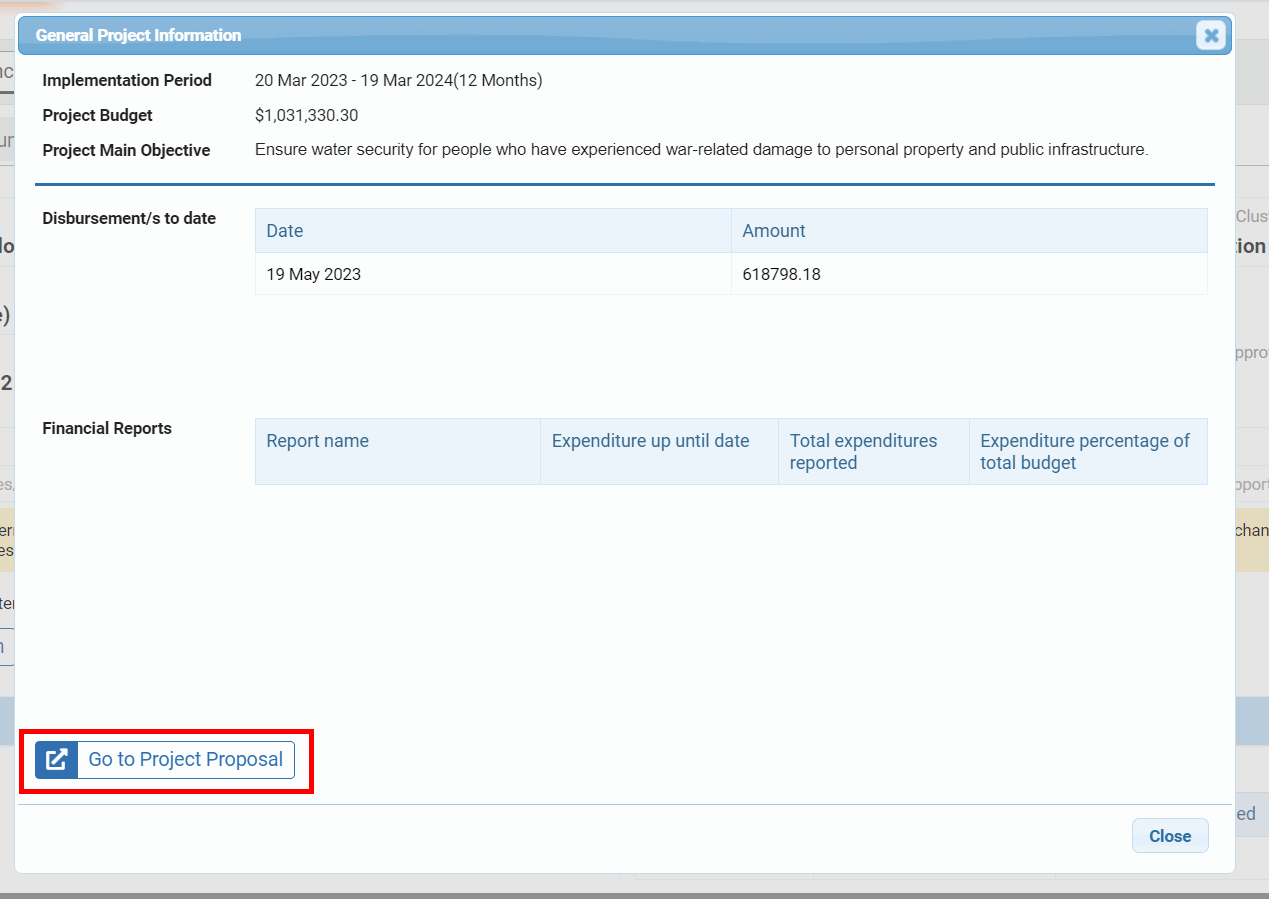
On the pop-up window you will see all the general information of the project. You can click on [Go to Project Proposal] to open the project proposal.
The ‘Revision Request’ tab allows the Partner to choose the type(s) of revision they would like to apply to their project, to justify the revision of the project and provide some information on the project’s level of completion.
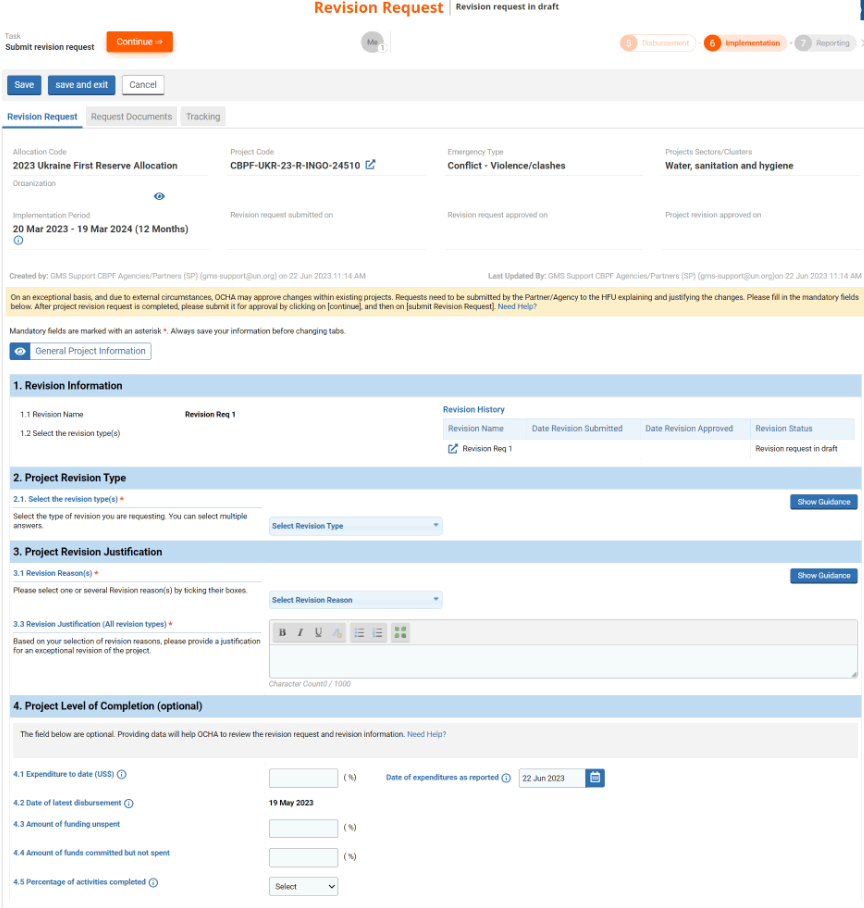
1. Revision Information
This section shows the general information of the revision requests. All fields are automatically displayed by the system.

1.1 Revision name: the name of the revision
1.2: Revision type(s): once you have selected the revision type from the next section, it will be displayed here.
Revision history: this table shows all the revisions that were requested for this project proposal.
2. Project Revision type
2.1 Select the revision type(s) *: select from the dropdown list the revision type.
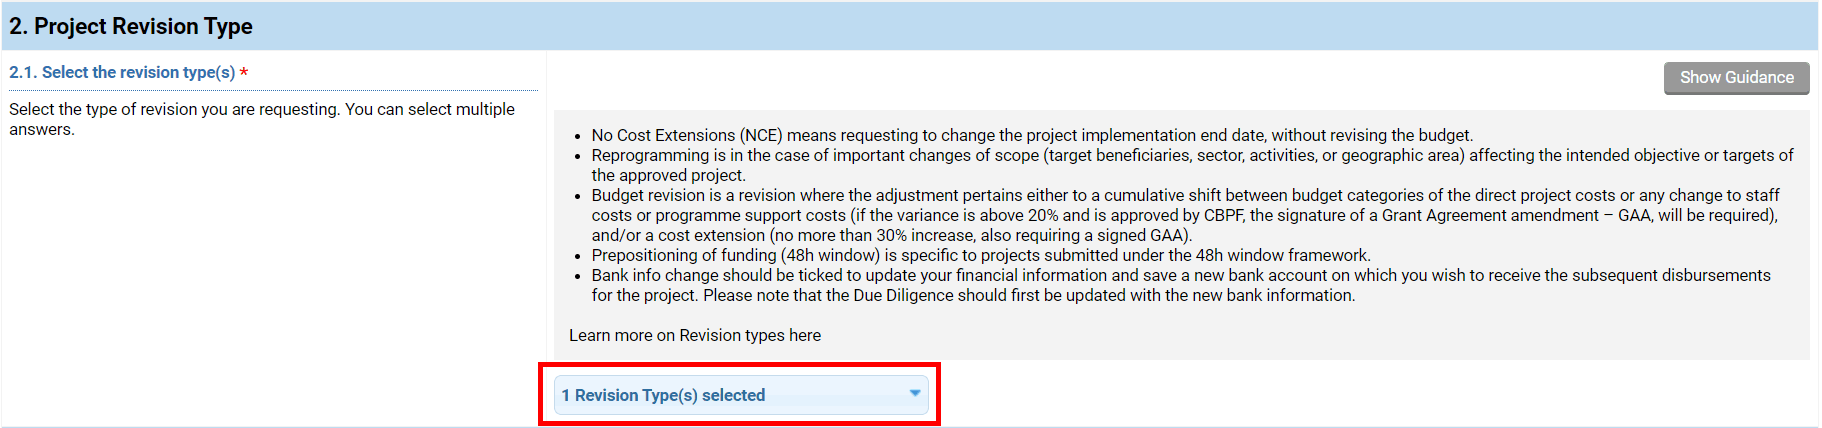
There are currently 5 revision types available:
- No Cost Extensions (NCE): revision of the project implementation end date without changing the budget.
- Reprogramming: for important changes in the scope (targeted people, sector, activities, geographic coverage) impacting the intended objective or targets of the approved project.
- Budget revision: revision to either a cumulative shift between budget categories of the direct project costs or any change to staff or programme support costs (GAA signature required for a variance above 20%) or a cost extension (no more than a 30% increase allowed).
- Prepositioning of funding (48h window): this revision is specific to projects submitted under the 48h window framework.
- Bank info: to update the financial information and save the new bank account that will receive the disbursement of the project. Please note that the due diligence should be updated with the new bank info before requesting the revision.
3. Project Revision Justification
In this section, you will have to explain why you are requesting a project revision.
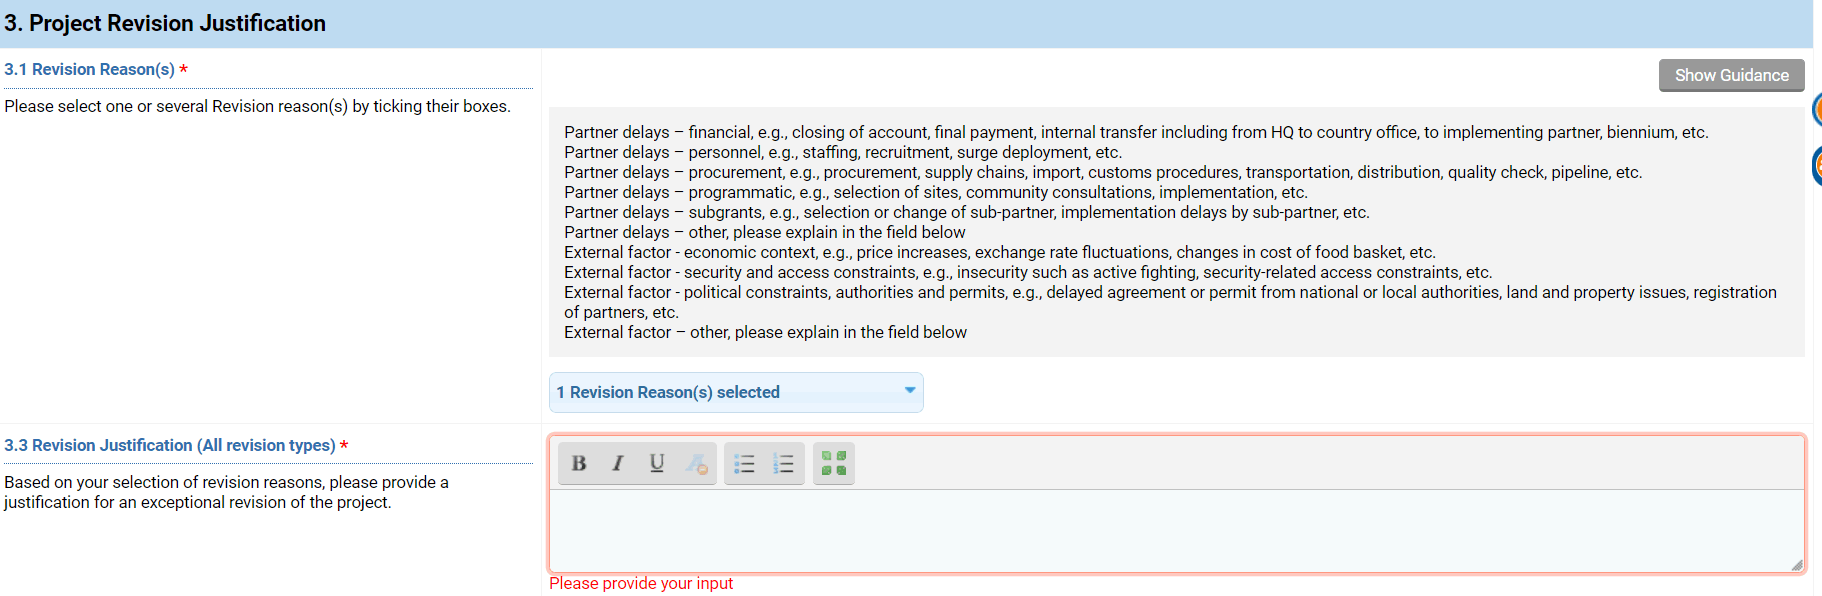
3.1 Revision Reason(s) *: select from the drop-down list the reason(s) why you are requesting a project revision.
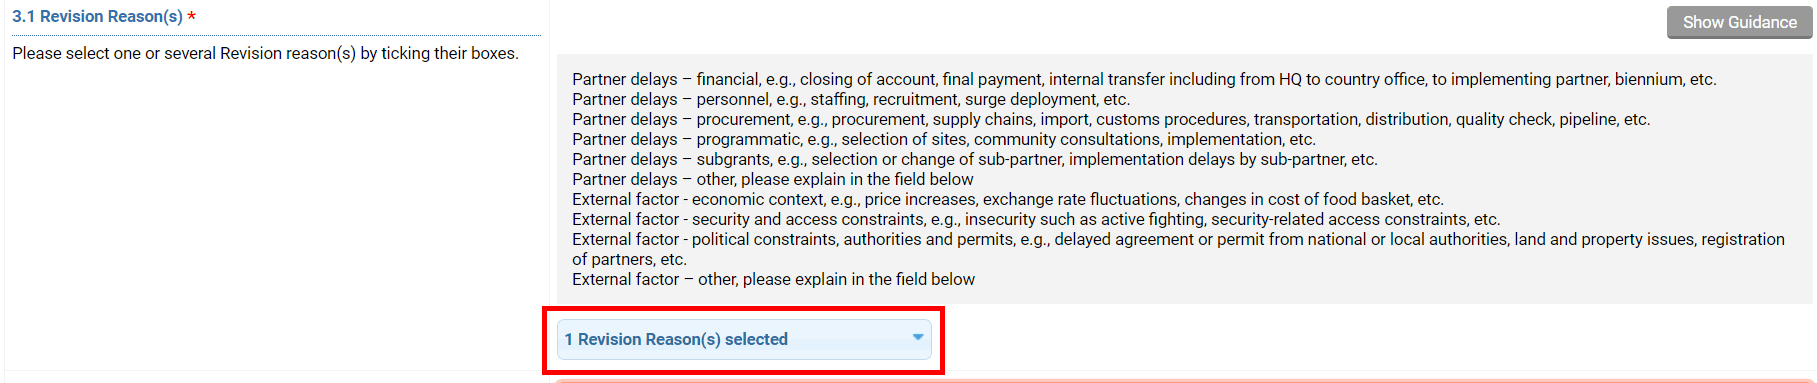
3.2 Other Reason(s) *: if you have selected ‘External factors – other' or/and ‘Partner delays – other' in the previous question, this field will be displayed. Explain what are the other factors that led you to request a revision.

3.3 Revision Justification (All revision types) *: based on your revision reasons, please provide a justification for a revision of the project.

4. Project Level of Completion (optional)
This optional tab allows the partner to provide information on the completion status of the project. Although optional, this data will help OCHA to review the revision request and revision information.
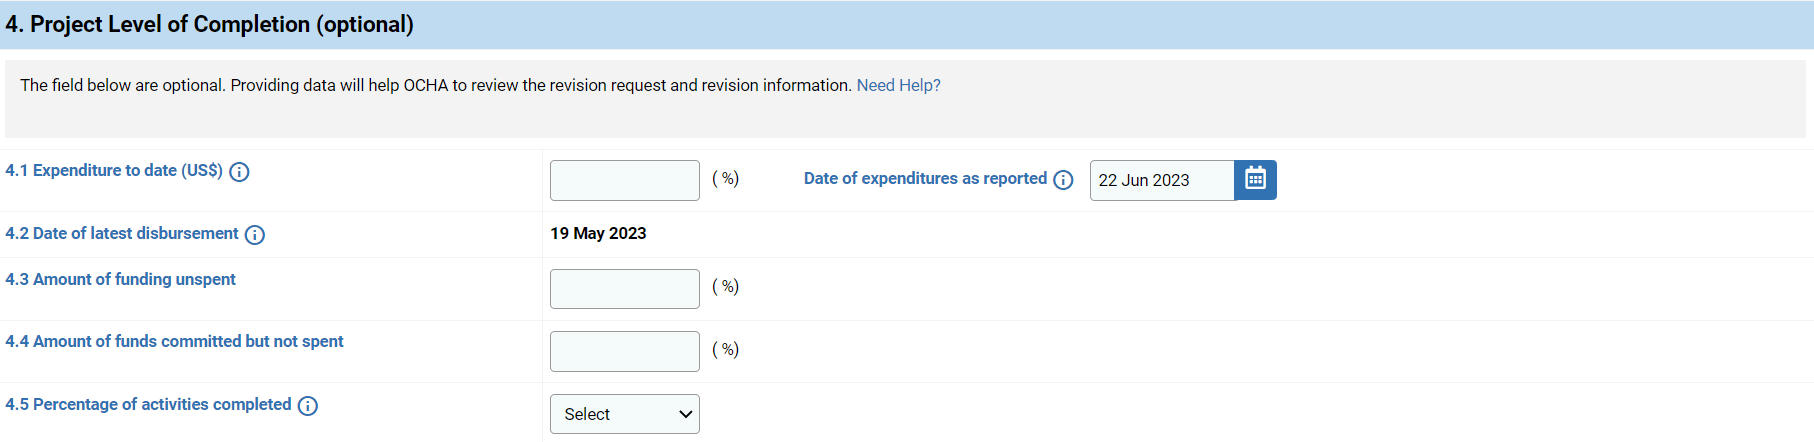
4.1 Expenditure to date (US$) and Date of expenditure as reported: enter the estimated project expenditures amount to date. The share of the estimated expenditures will be automatically displayed by the system. In addition, select from the calendar the date up to which the expenditures reported run.

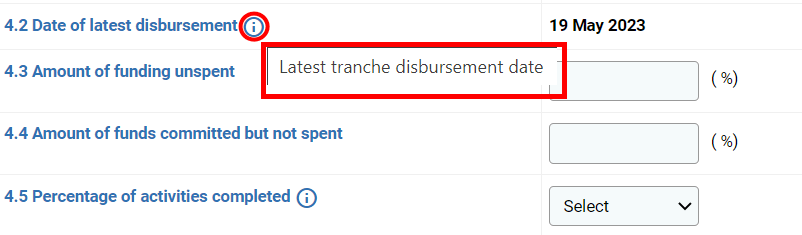
4.2 Date of latest disbursement: the date of the latest tranche disbursed is automatically displayed by the system.
![]()
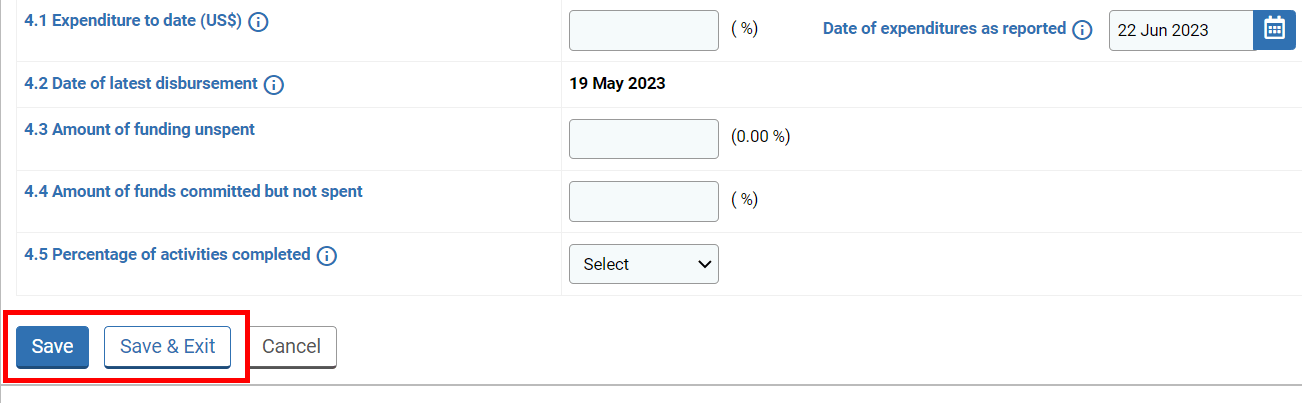
4.3 Amount of funding unspent: enter the amount of funding that was not yet spent. Its share of the total budget will be automatically displayed by the system.

4.4 Amount of funds committed but not spent: enter how much of the total funding is committed but not yet spent.
![]()
4.5 Percentage of activities completed: select from the dropdown list the estimated percentage of activities completed.

Once you have completed this tab, do not forget to save your data, as the system will not automatically save it.
In this tab the partner can add and view the documents pertaining to the revision request.
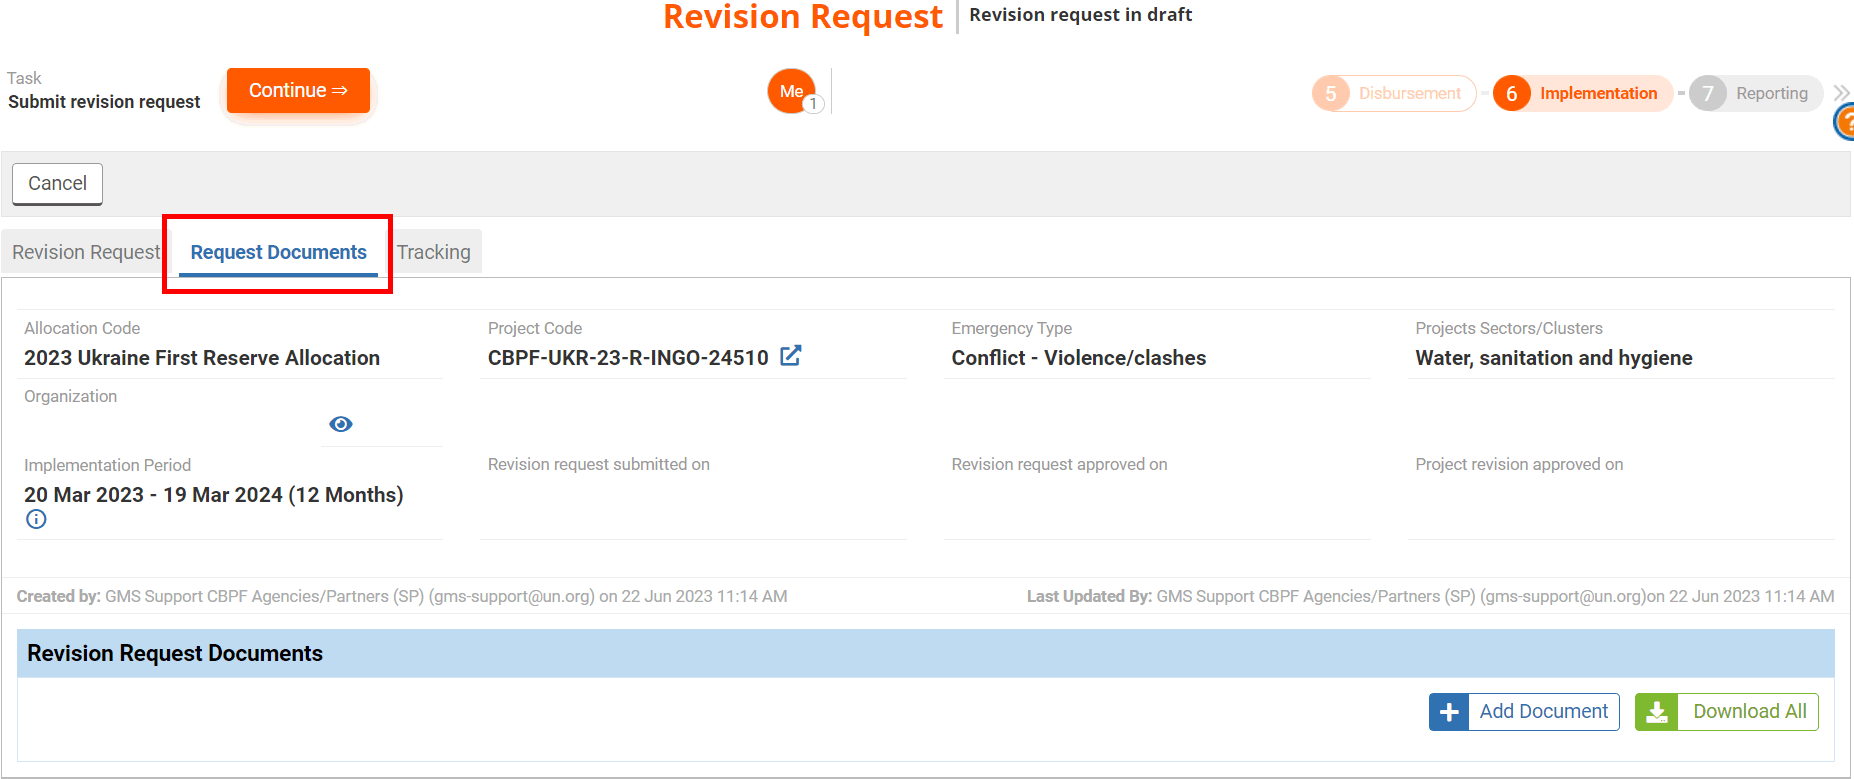
To upload a document, click on [Add Document].

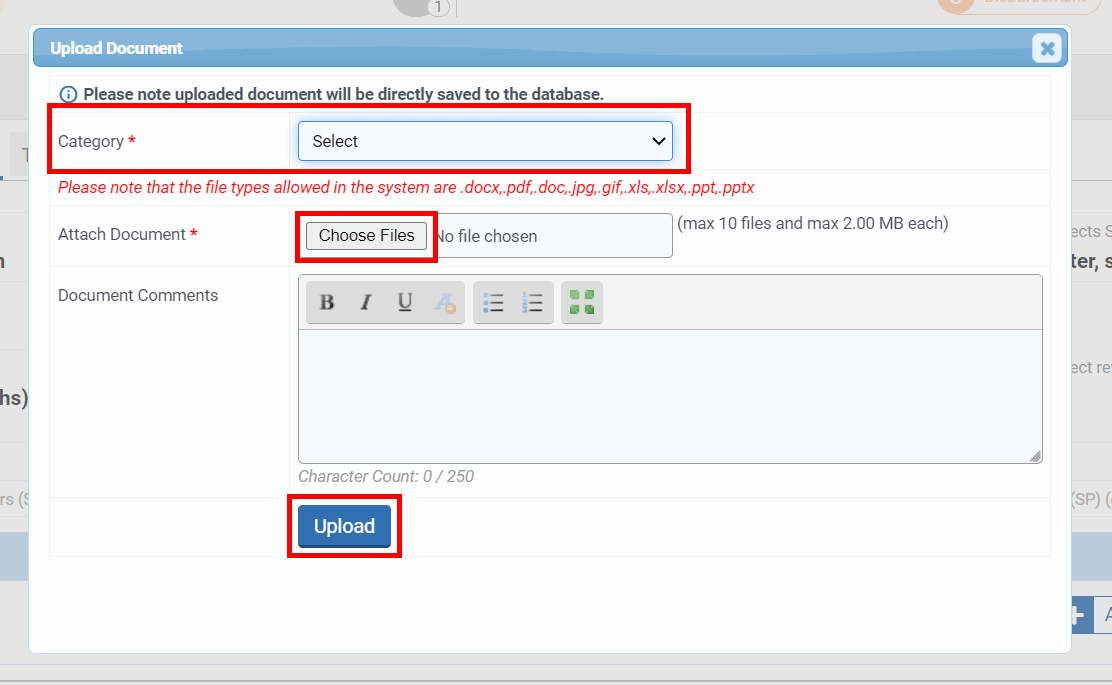
On the popup window, select the category of the document you wish to upload from the drop-down list and click on [Choose File] to select the file from your computer. You can leave a comment pertaining to the document if necessary and click on [Upload] to save the document in the system.
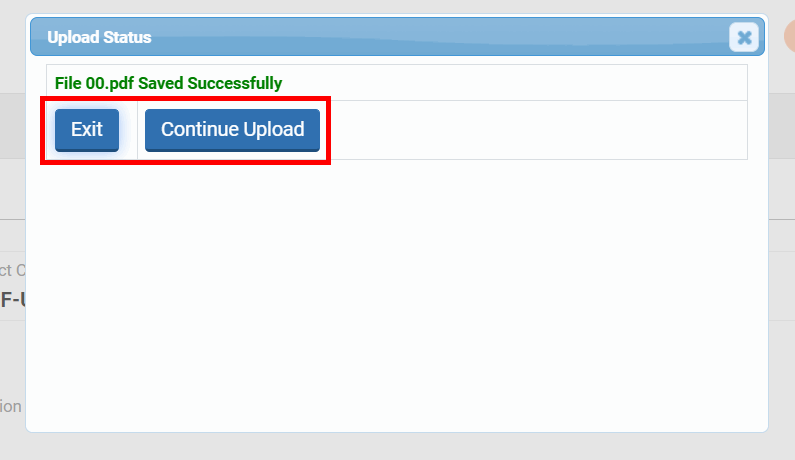
Upon clicking on [Upload] a new pop-up window will be displayed. Click on [Exit] if you have no other document to upload, or on [Continue Upload] if you wish to upload more documents.
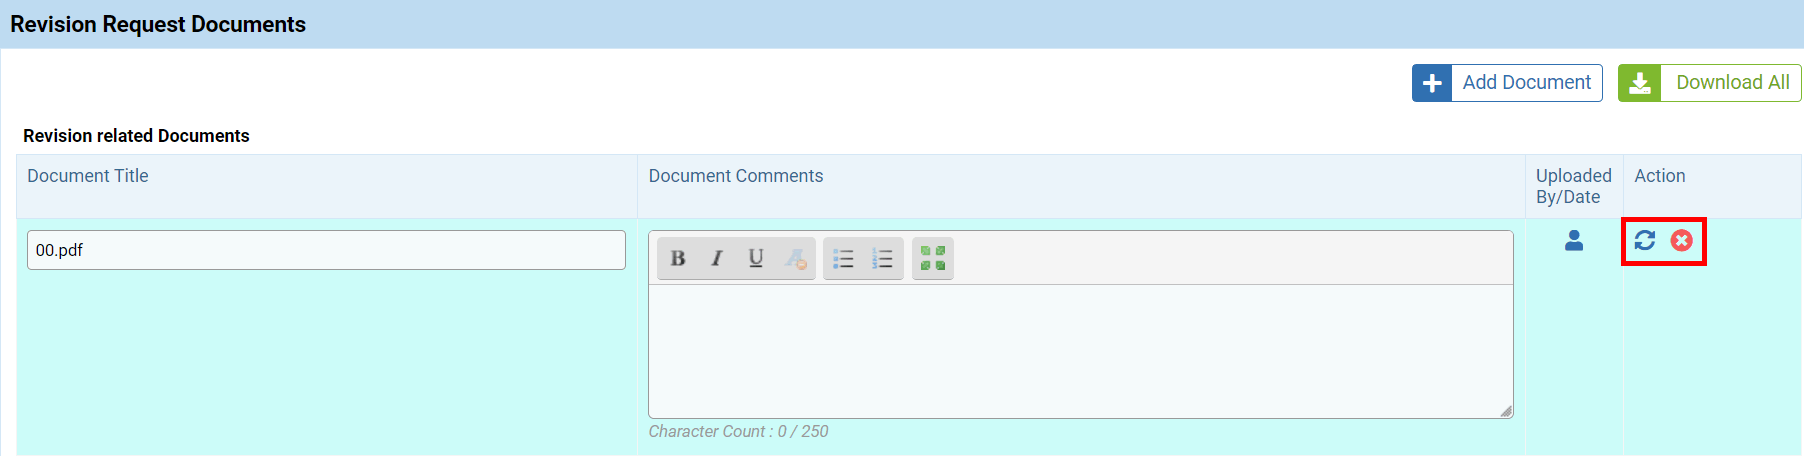
The newly added document will be displayed below. If you wish to edit it, click on this icon ![]() .
.
Please note: if you wish to delete a document, please contact your HFU.

You will be able to change the documents’ name and add or edit the comment. Click on this icon  to save your changes or on
 to disregard your changes.
You can also download all the documents that were uploaded by clicking on [Download All] or download only one document by clicking on this icon ![]() .
.

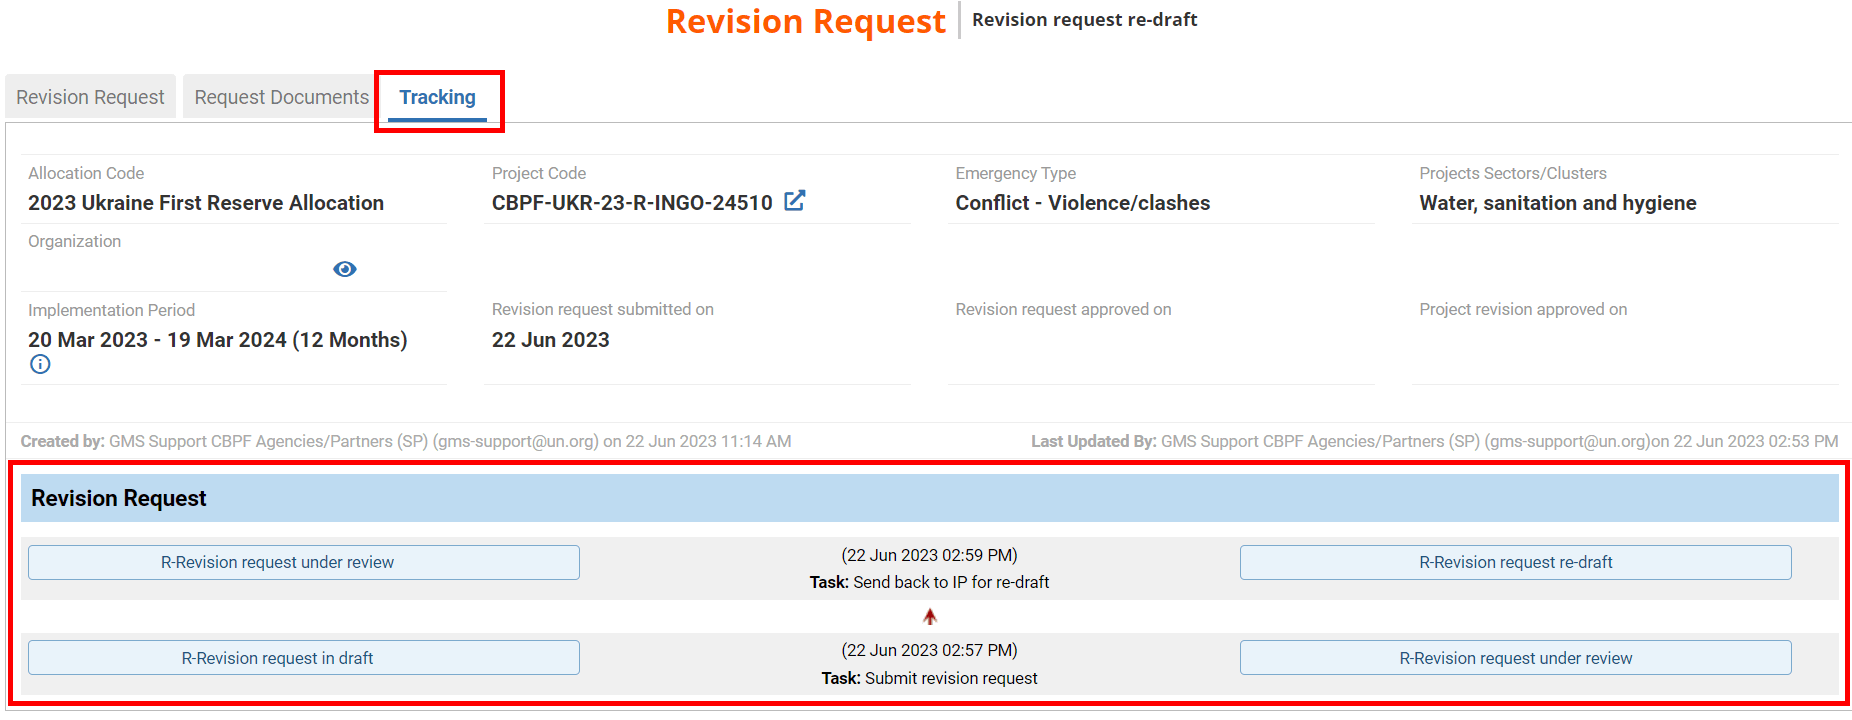
The tracking tab allows users to track the who, what, when, pertaining to the Revision Request. This tab shows all the steps of the revision request workflow, including the dates when the revision request’s status changed, and the user who pushed it to the next stage.
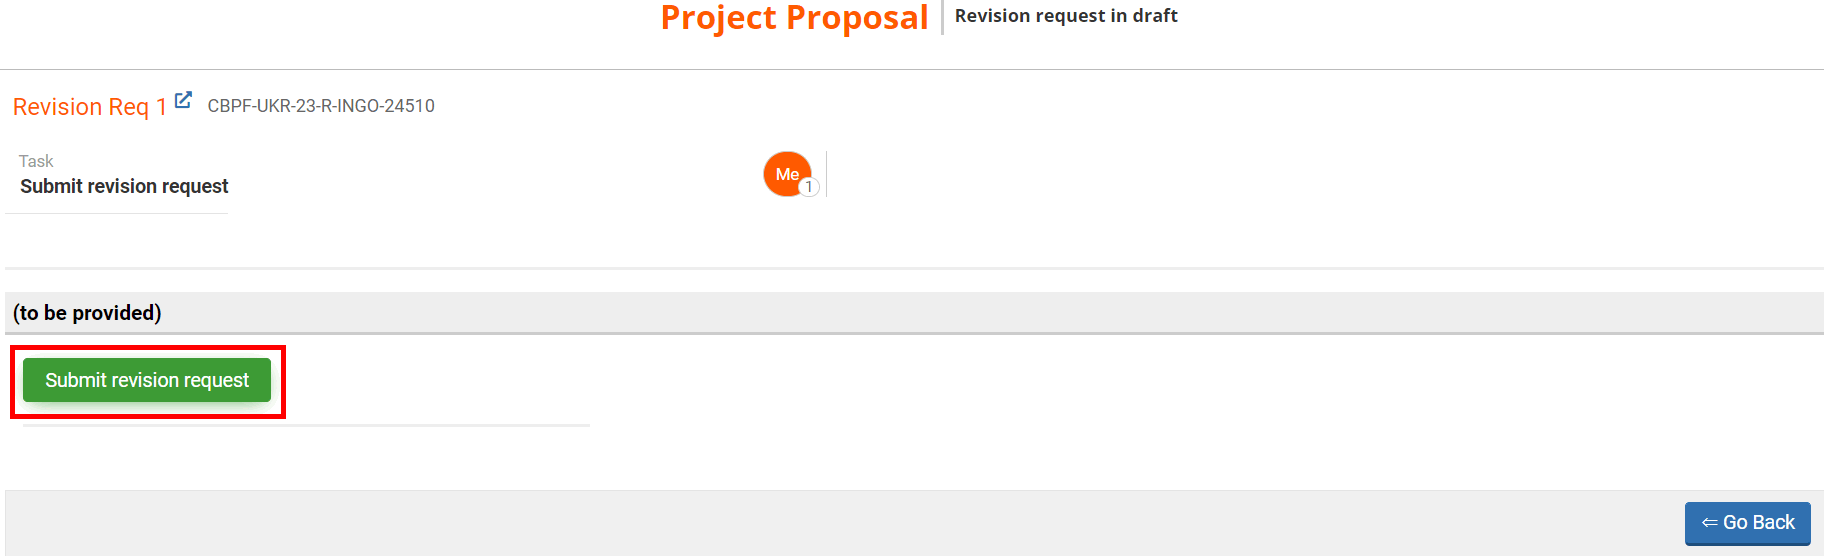
III) Submit the revision request (IP)
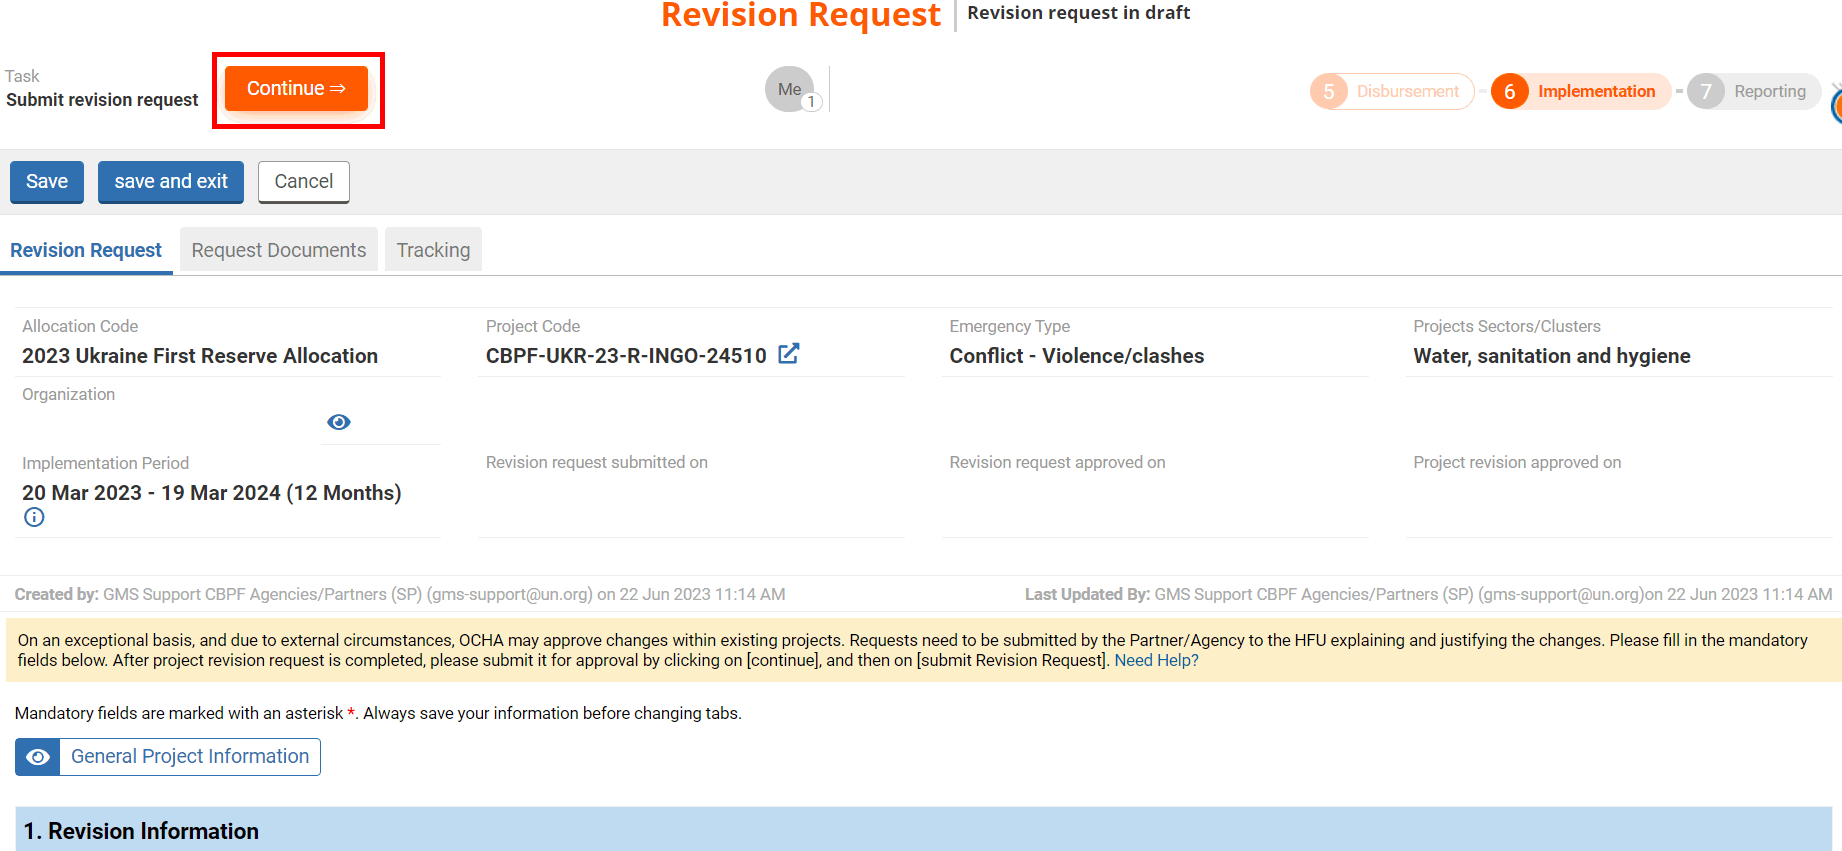
Once all the mandatory fields are completed you can submit the request to the HFU. To do so, click on [Continue].
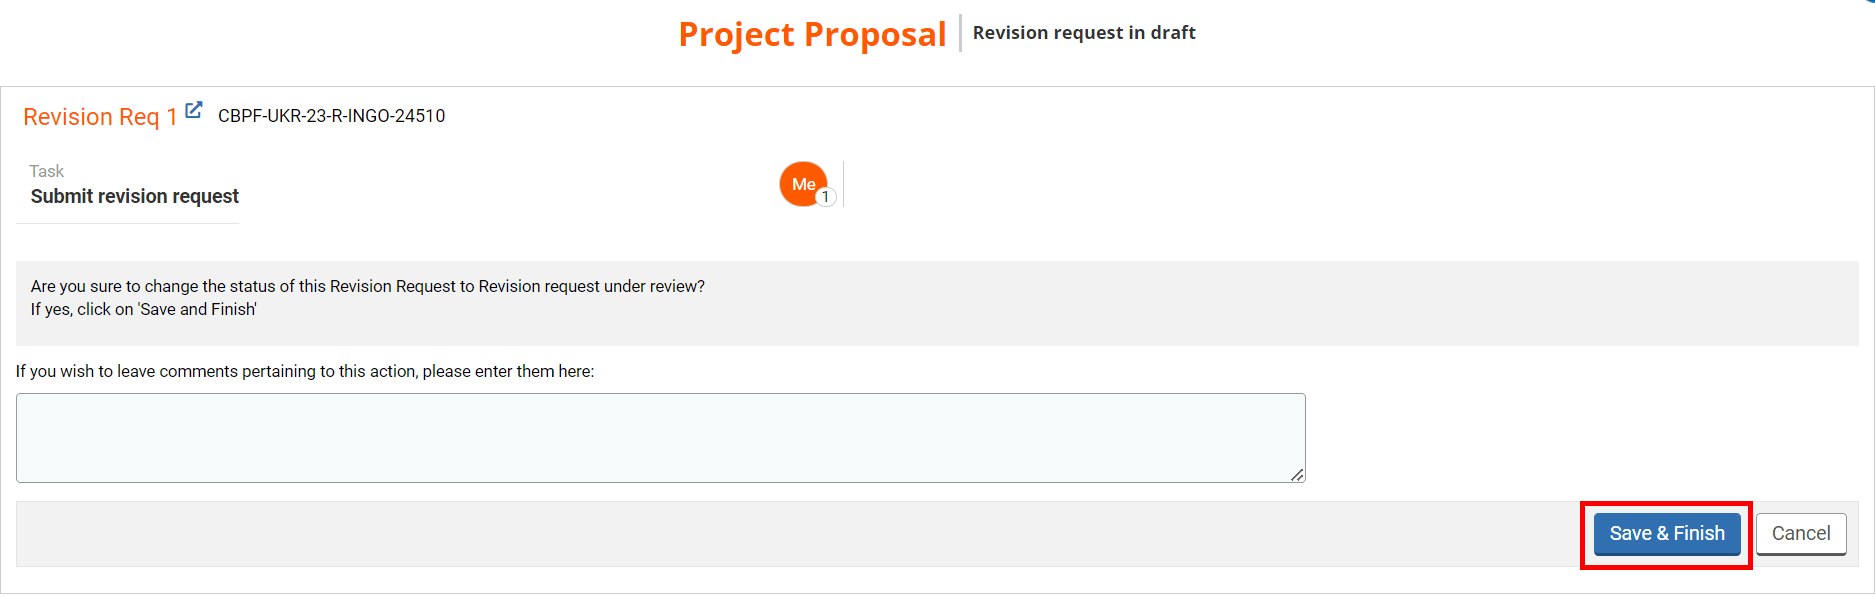
On your task page, click on [Submit revision request].
Then click on [Save & Finish] to submit your revision request to the HFU.