I. Purpose Top
The Monitoring Overview tool on the GMS enables users to view as a list and extract the monitoring information of all – or filtered projects of the Fund.
The data flows from the Timelines’ tabs of the projects, as well as the monitoring modules of the GMS.
To learn more about Timeline's management, please refer to this article of the Help Portal.
To leanr more about Monitoring and how it is managed on the GMS, please refer to this article of the Help Portal.
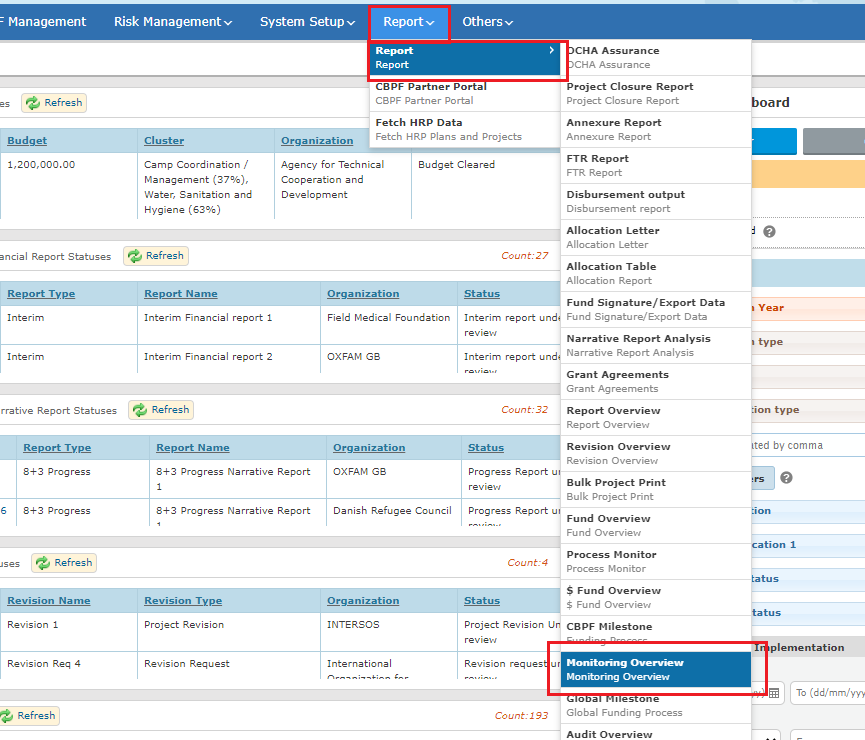
II. How to access the Monitoring Overview Top
To access the monitoring overview, please follow this navigation: Report > Report > Monitor Overview

You can also use the Quick Access  to access the Overview:


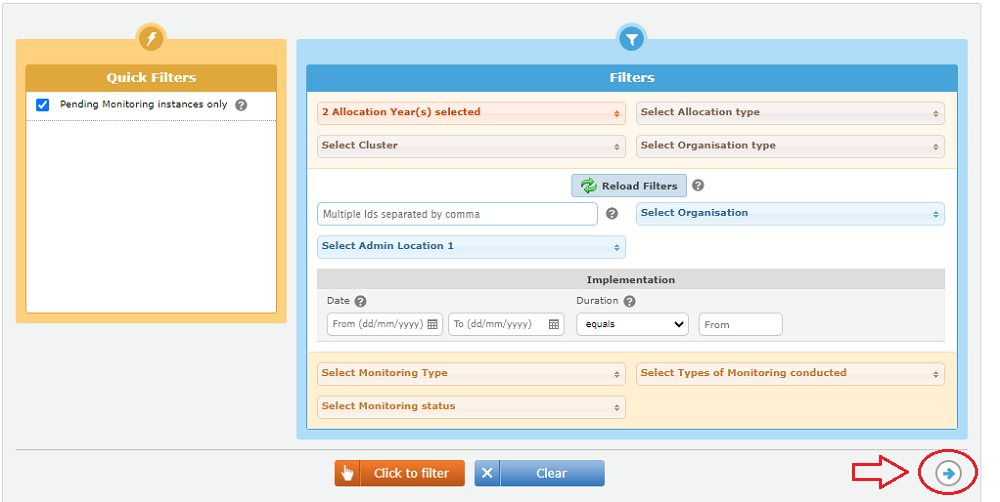
III. Filters Top
To generate a Monitor Overview, select one or more filters from the filters section.

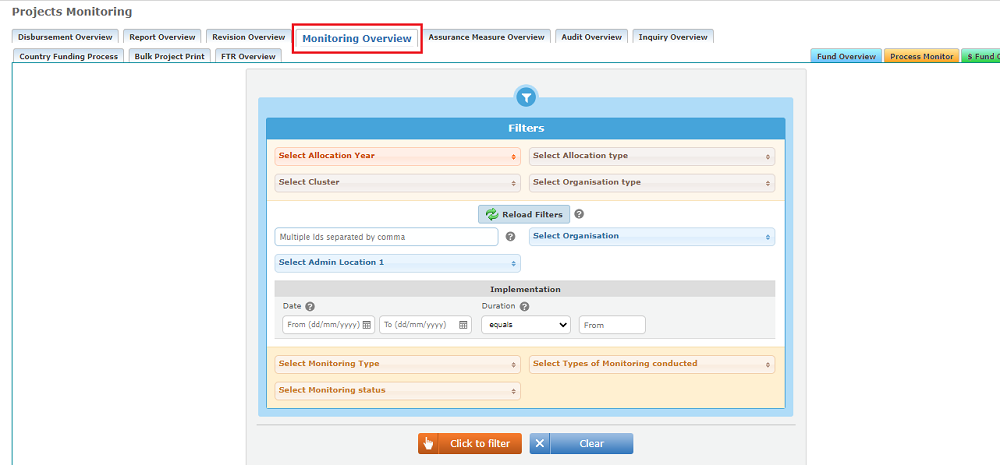
The filters available are:
- Select Allocation Year (drop down box): Lists the years of allocation available in the GMS system for the pooled fund.
- Select Allocation Type (drop down box): List of all projects submitted in the GMS system with the allocation type and year for the pooled fund.
- Select Cluster (drop down box): List of clusters defined for the pooled fund.
- Select Organization Type (drop down box): List of Organization Type in the pooled fund.(International NGO, National NGO, Other, UN Agency
- Project Code (text box): Search a project by Project Code (Last 3 digits of project code need to be mentioned). You can insert several project codes separated by a comma.
- Select Organization (drop down box): List of organization names registered for the pooled fund.
- Select Admin Location 1(drop down box): Lists the regional locations in the country which were configured during projects draft stage.
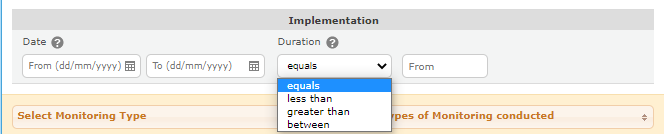
Date : Choose from the drop-down list the duration mode, and insert in the field the number of months.

- Select Monitor Type (drop down box): Lists the Monitor types available based on the criteria set above.
- Select type of Monitoring conducted : Lists the Monitor types available based on the criteria set above.
- Select Monitor Status (drop down box): Lists the Monitor statuses available based on the criteria set above.
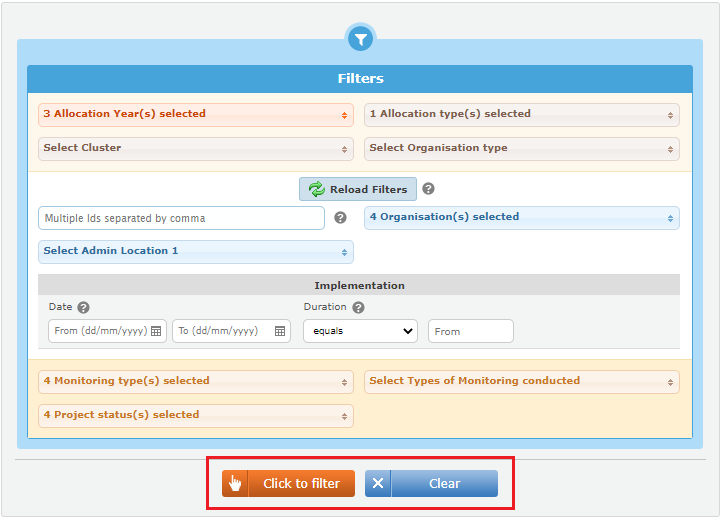
*Please note, if you change one or several of the top 4 filters, click on [reload filters] to reload the below filter possibilities. For instance, if you selected an additional allocation from the filter [Select Allocation type], more options will show in the below filter [Select Organization].

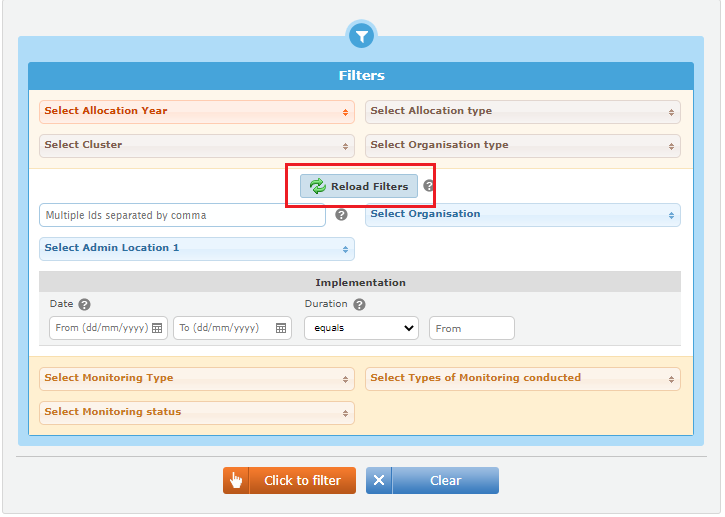
After applying the filters, click on [Click to filter] to generate the Overview.
Click on [Clear] to reset the entire set of filters.

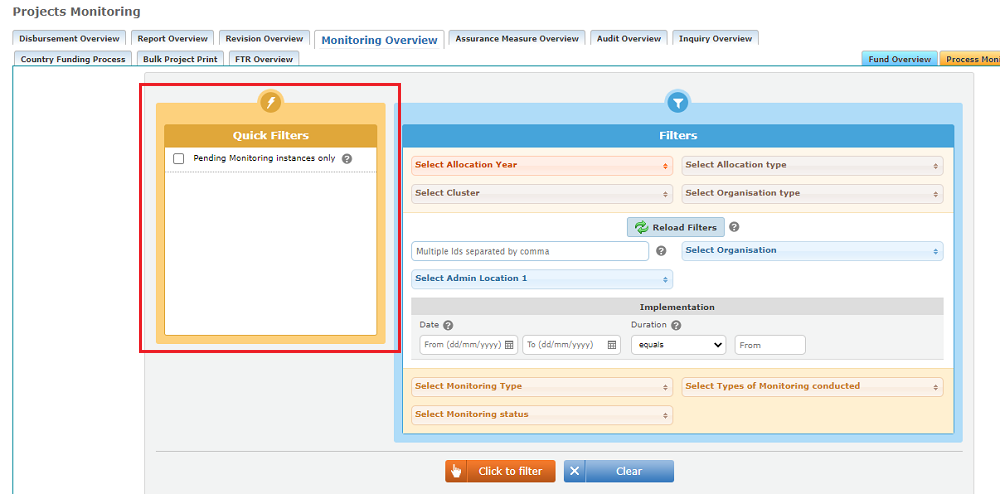
GMS Tip : How to personalize the Overview’s filters’ section?
HFU Admin users can personalize all Overviews’ filter sections of the GMS. To do so, HFU Admin user roles can use the Quick Filters page of the GMS to create quick filters, allowing for easier and quicker data search.

To learn more on how to create and manage Quick filters, please refer to this page of the Help Portal.
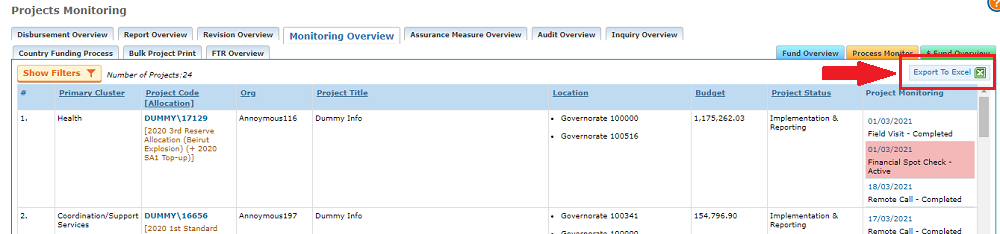
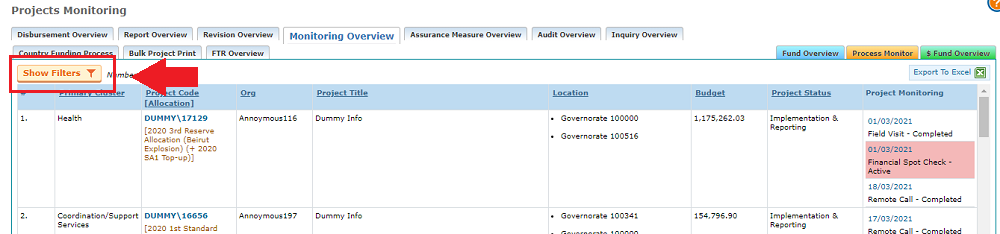
IV. Generated Monitoring Overview Top
The Monitoring Overview includes the following information :

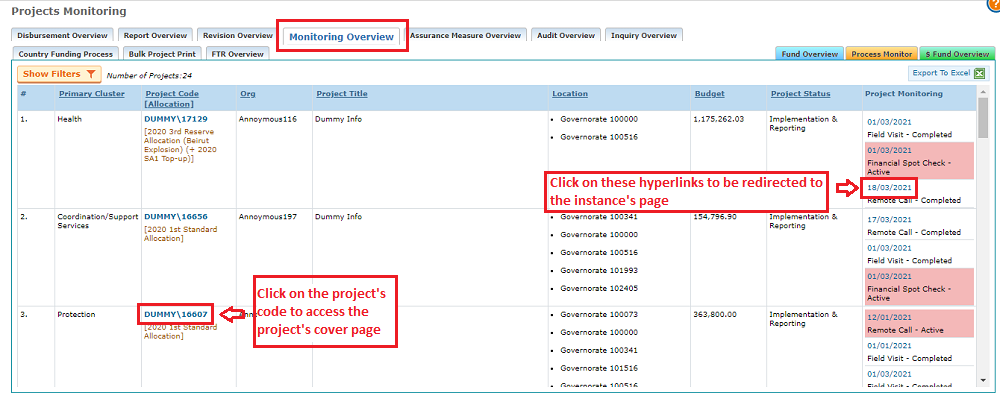
- The cluster,
- The project code and the linked allocation – you can click on the project’s code to access the project’s cover page,
- The Implementing Partner,
- The Project Title,
- The locations,
- The budget,
- The Project Status,
- The Project Monitoring instances, including the currant activity’s status – instances in red indicate that the instance is active and pending action from HFU. You can click on the dates of this column to access the instance’s page.
To go back to the filters’ page, click on [Show Filters].

Once back on the filters’ page, click on the [Back to Results] icon  to return back to the previously generated Tasks Overview page.

GMS TIP: EXPORTING THE RESULTS INTO EXCEL
To export the results as an Excel sheet, click on [export to excel].