I) Overview
II) Summaries
III) Allocation Config
Please note that all the data provided in the screenshots of this article is purely indicative.
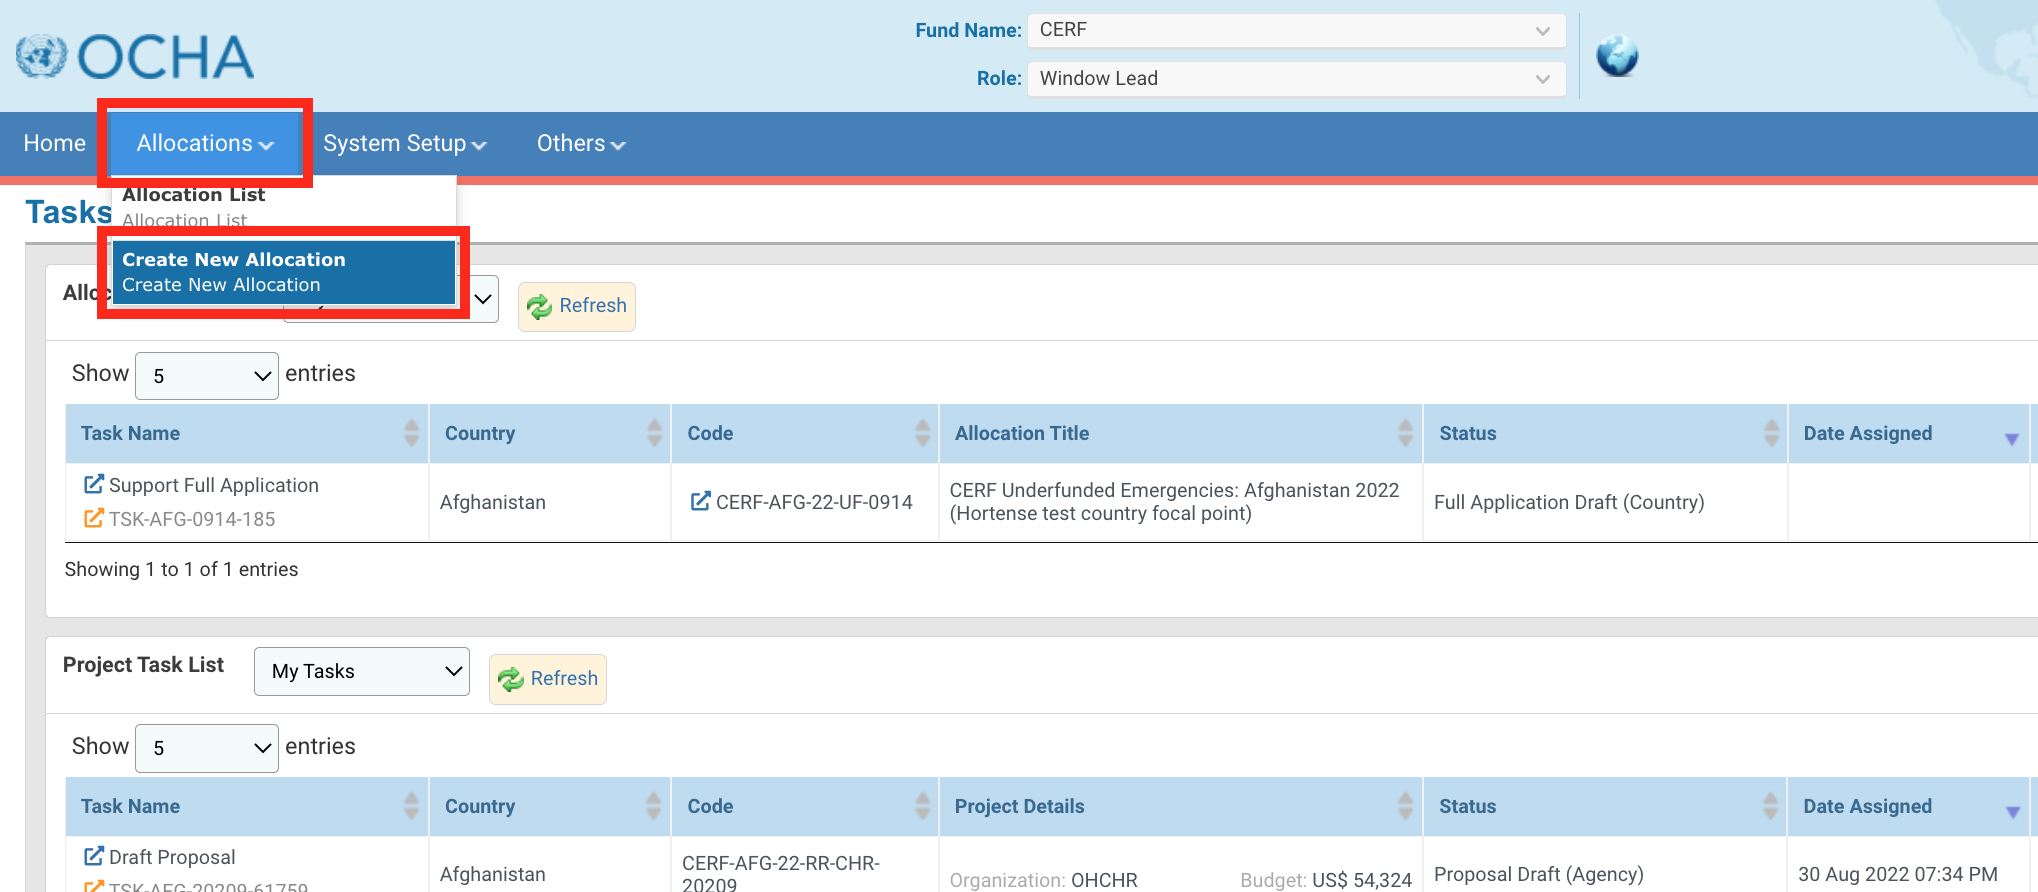
As a first step, the CERF Window Lead has to set up a new allocation. To do so, login to the OneGMS and go to Allocations Create New Allocation.
On this tab, the CERF Window Lead can add all of the necessary information to create a new allocation. All fields marked by an asterisk * are mandatory.
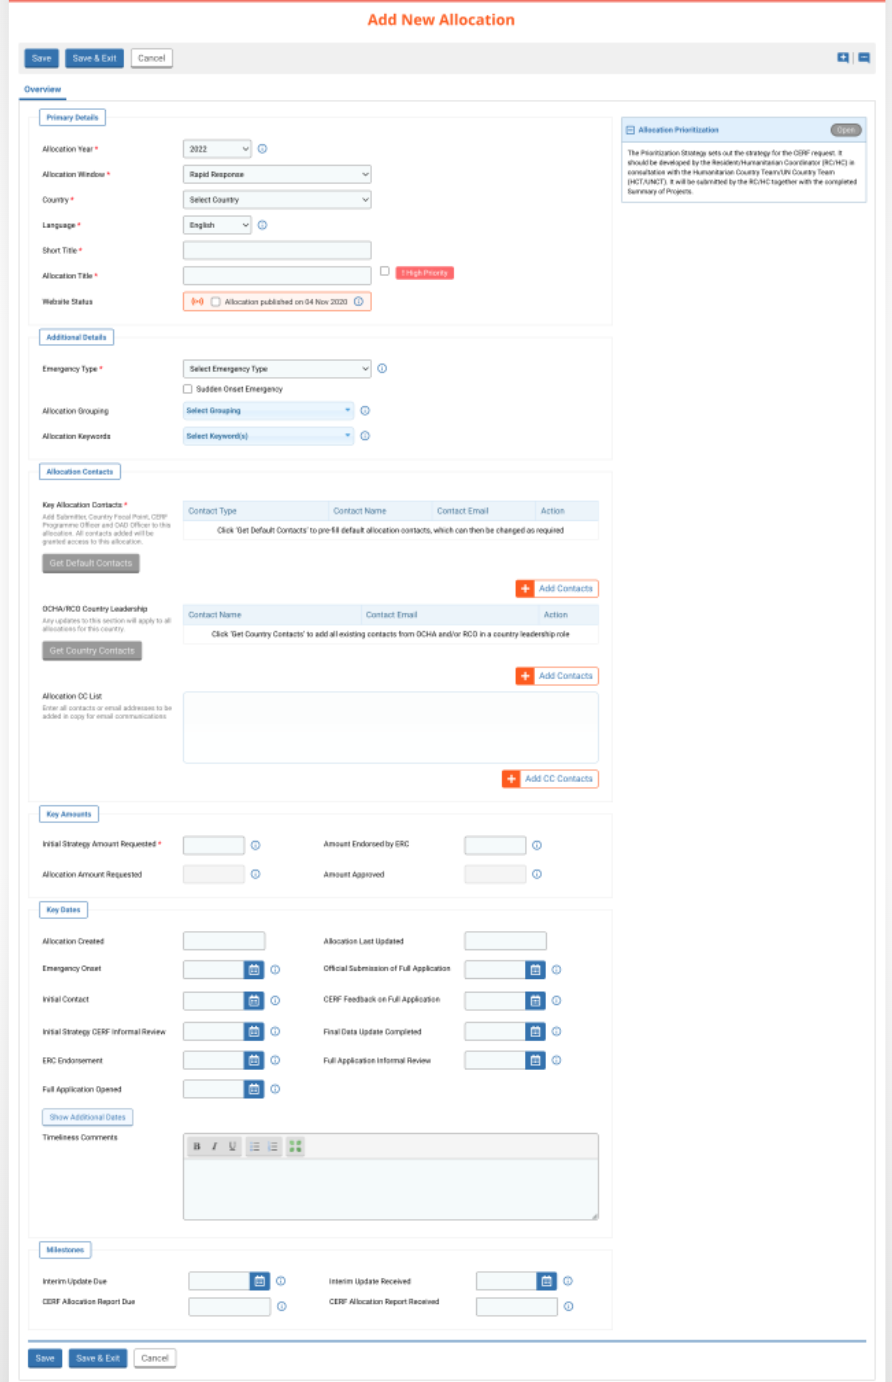
Primary Details
In this section, the Window Lead can provide the general information of the allocation.

Fields description:
- Allocation Year *: select from the drop-down list the year of the allocation.
- Allocation Window *: select from the drop-down list whether the window is a Rapid Response or an Underfunded Emergencies.
- Country *: select from the drop-down list the country.
- Allocation round *(only for UFE): if your allocation is an Underfunded Emergency, indicate whether it is the first or the second round.
- Language *: select from the drop-down list the language of the allocation (English or French).
- Short Title *: type a short title for your allocation.
- Allocation Title *: will be automatically displayed once you have entered the short title in the previous field. You can tick the High Priority box to flag your allocation.

- Website Status: the allocation will be published automatically on the CERF website. However, you can tick this box if you want to manually publish the summaries or the strategy statement of the allocation.
Additional Details:
In this section, the CERF Window Lead can add additional information regarding the allocation.

Fields description:
- Emergency Type *: select from the drop down list the type(s) of emergency. You can tick the box ‘Sudden Onset Emergency’ if it is a sudden onset emergency.
- Allocation Grouping: allows the user to group several allocations together. Select from the drop-down list the group you wish to add the allocation to. To read more about how to create a group please click here.
- Allocation Keywords: the user can select one or more keyword(s) from the drop-down list that will determine how the allocation is managed.
Allocation Contacts:
In this section, the Window Lead can add the contact details of people to be included in allocation-related emails.
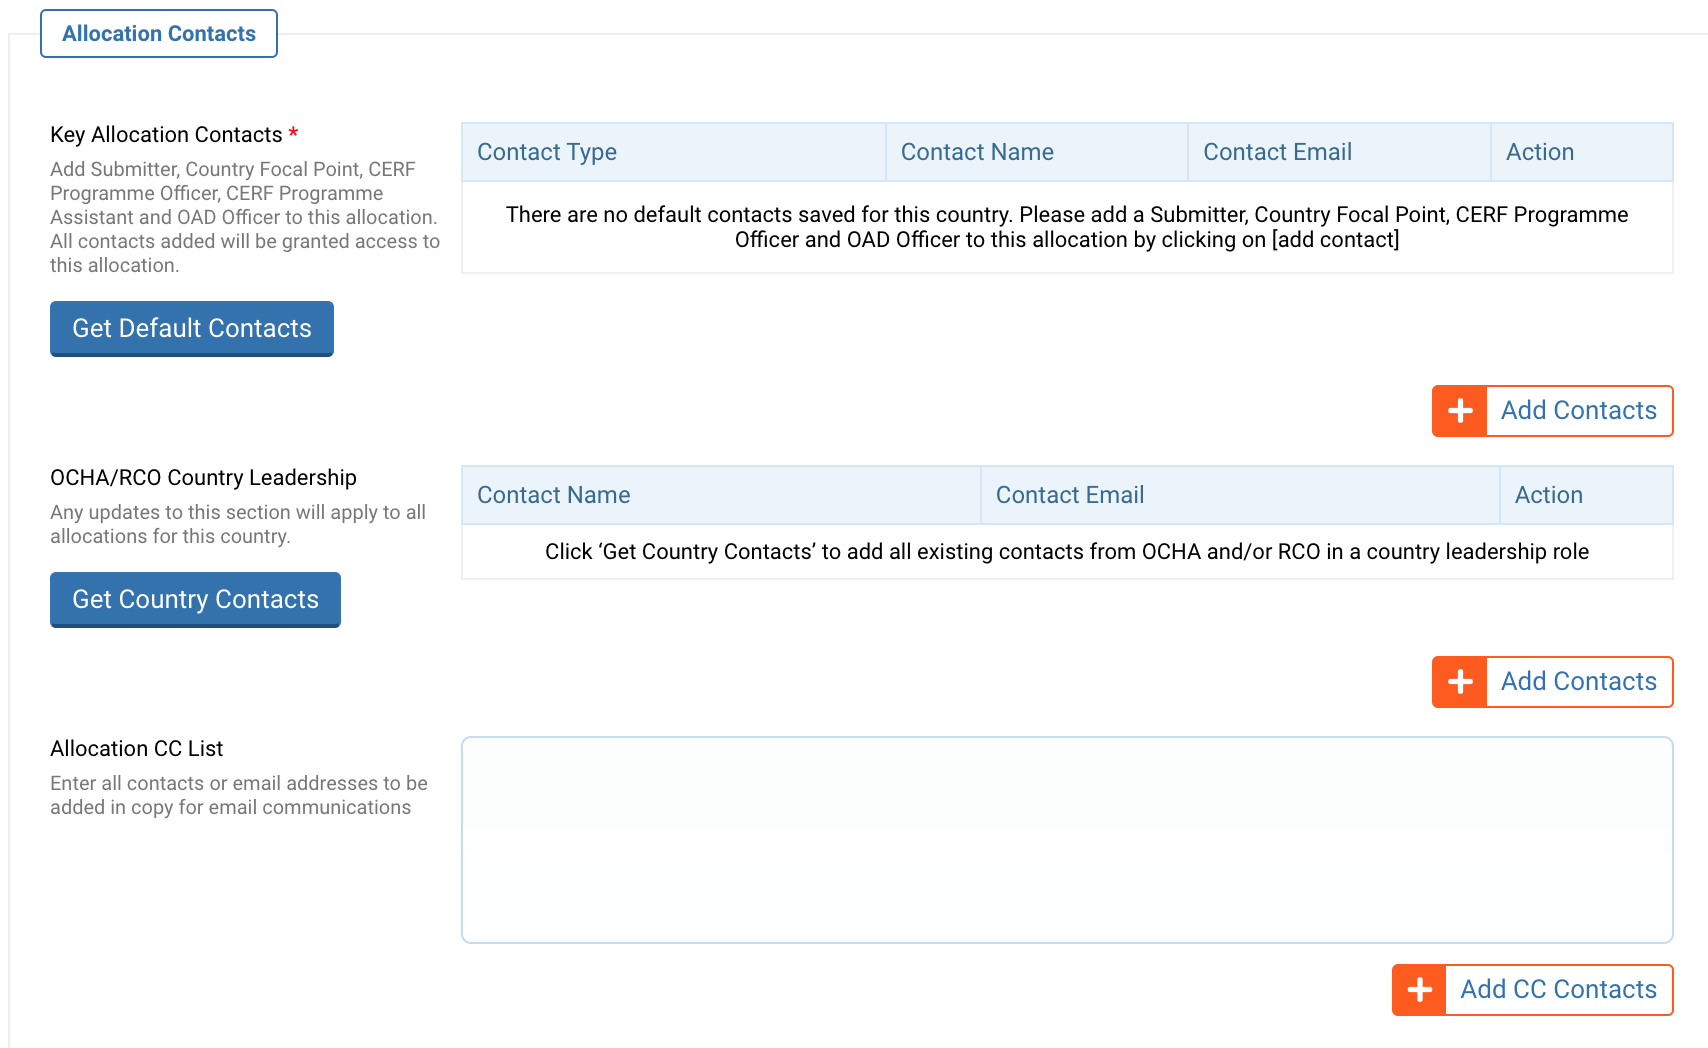
Key Allocation Contacts * and OCHA/RCO Country Leadership:
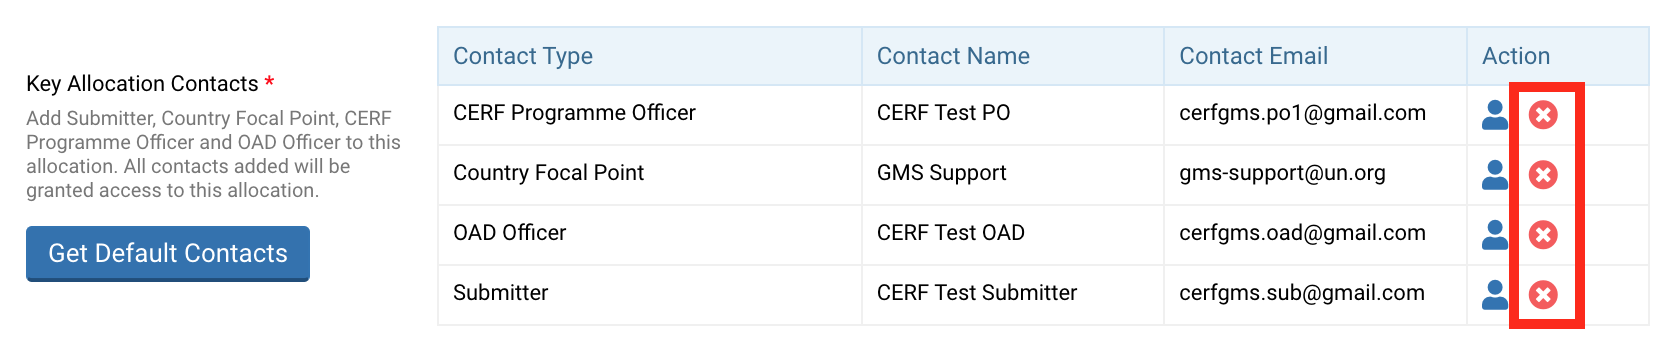
You need to add key allocations contacts, who are a Submitter (Country Office), Country Focal Point, CERF Programme Officer, CERF Programme Assistant and OAD Officer. In addition, you have the possibility to add an OCHA/RCO Country Leadership. The key allocations contacts and OCHA/RCO Country Leadership can be added the same way. To do so, you can either click on [Get Default Contacts] or [Add Contacts].
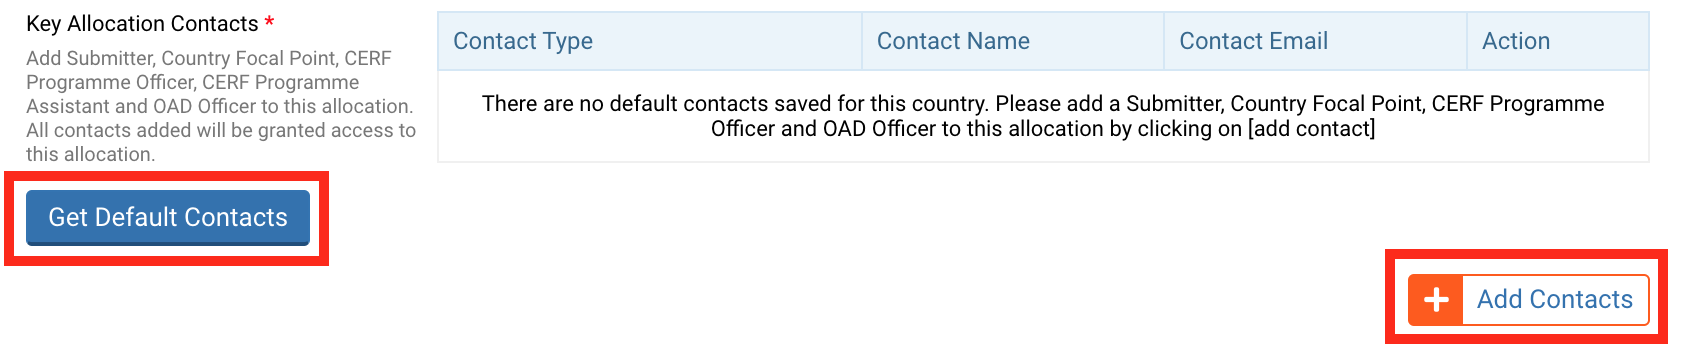
If you click on [Get Default Contacts], the predefined default contact list linked to your allocation’s country will be displayed. This list can be changed as required.
Please note: this list of contacts was first saved on the Contact Module, each contact being linked to a contact type (i.e., Programme Officer, Country Focal Point...) and a region. If you wish to know how to add or edit a contact, please click here.
You can click on this icon ![]() at the end of each line to delete the given contact.
at the end of each line to delete the given contact.
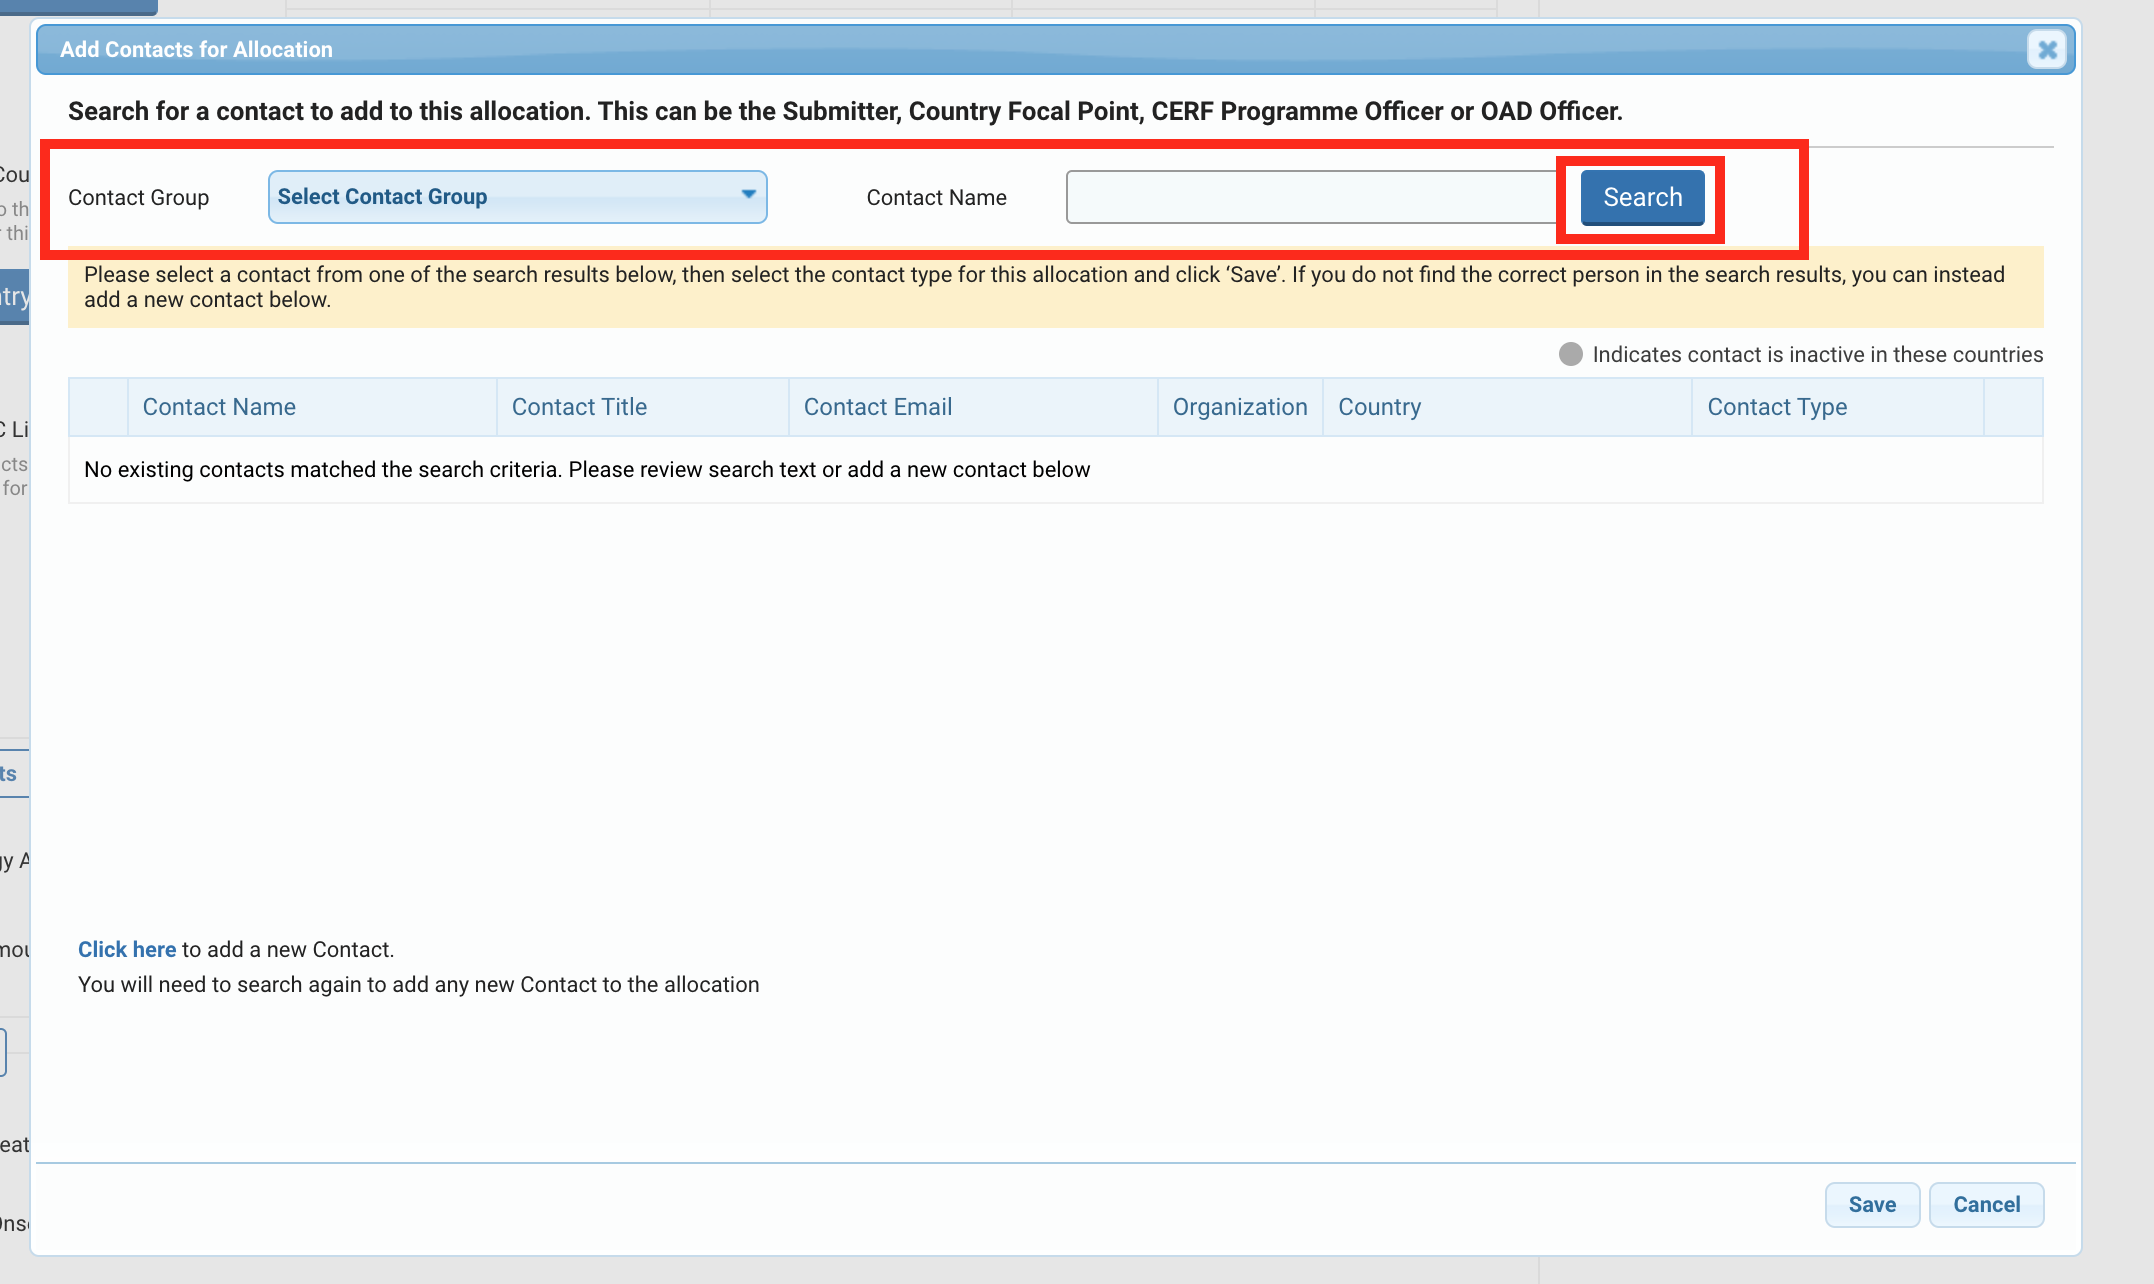
To add a contact manually, click on [Add Contact]. A pop-up window will be displayed.
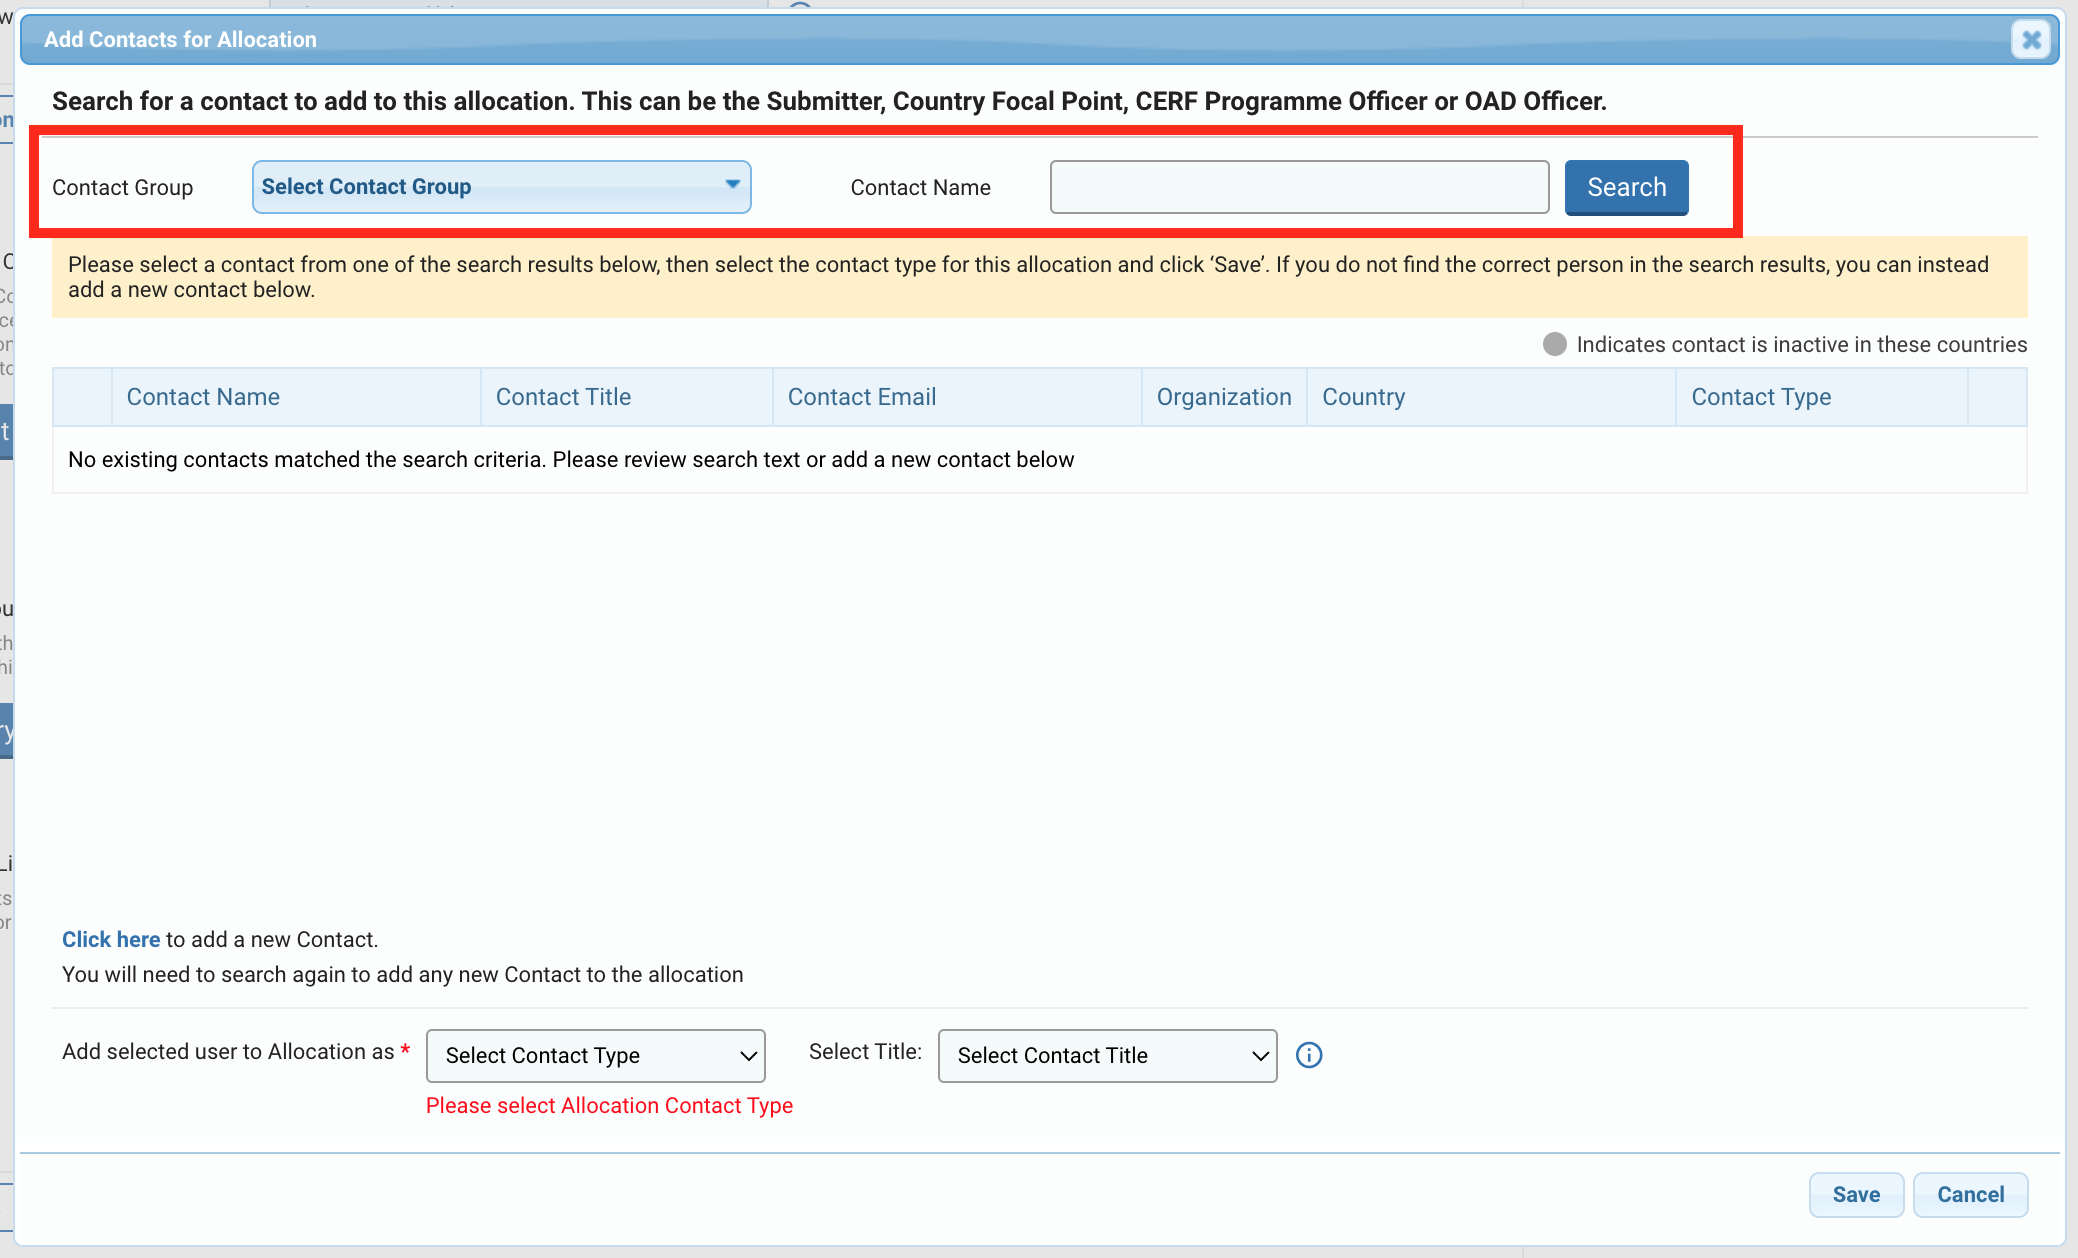
Select from the drop-down list a Contact Group and/or type the name of the contact and click on [Search]. The results will appear in the table below.

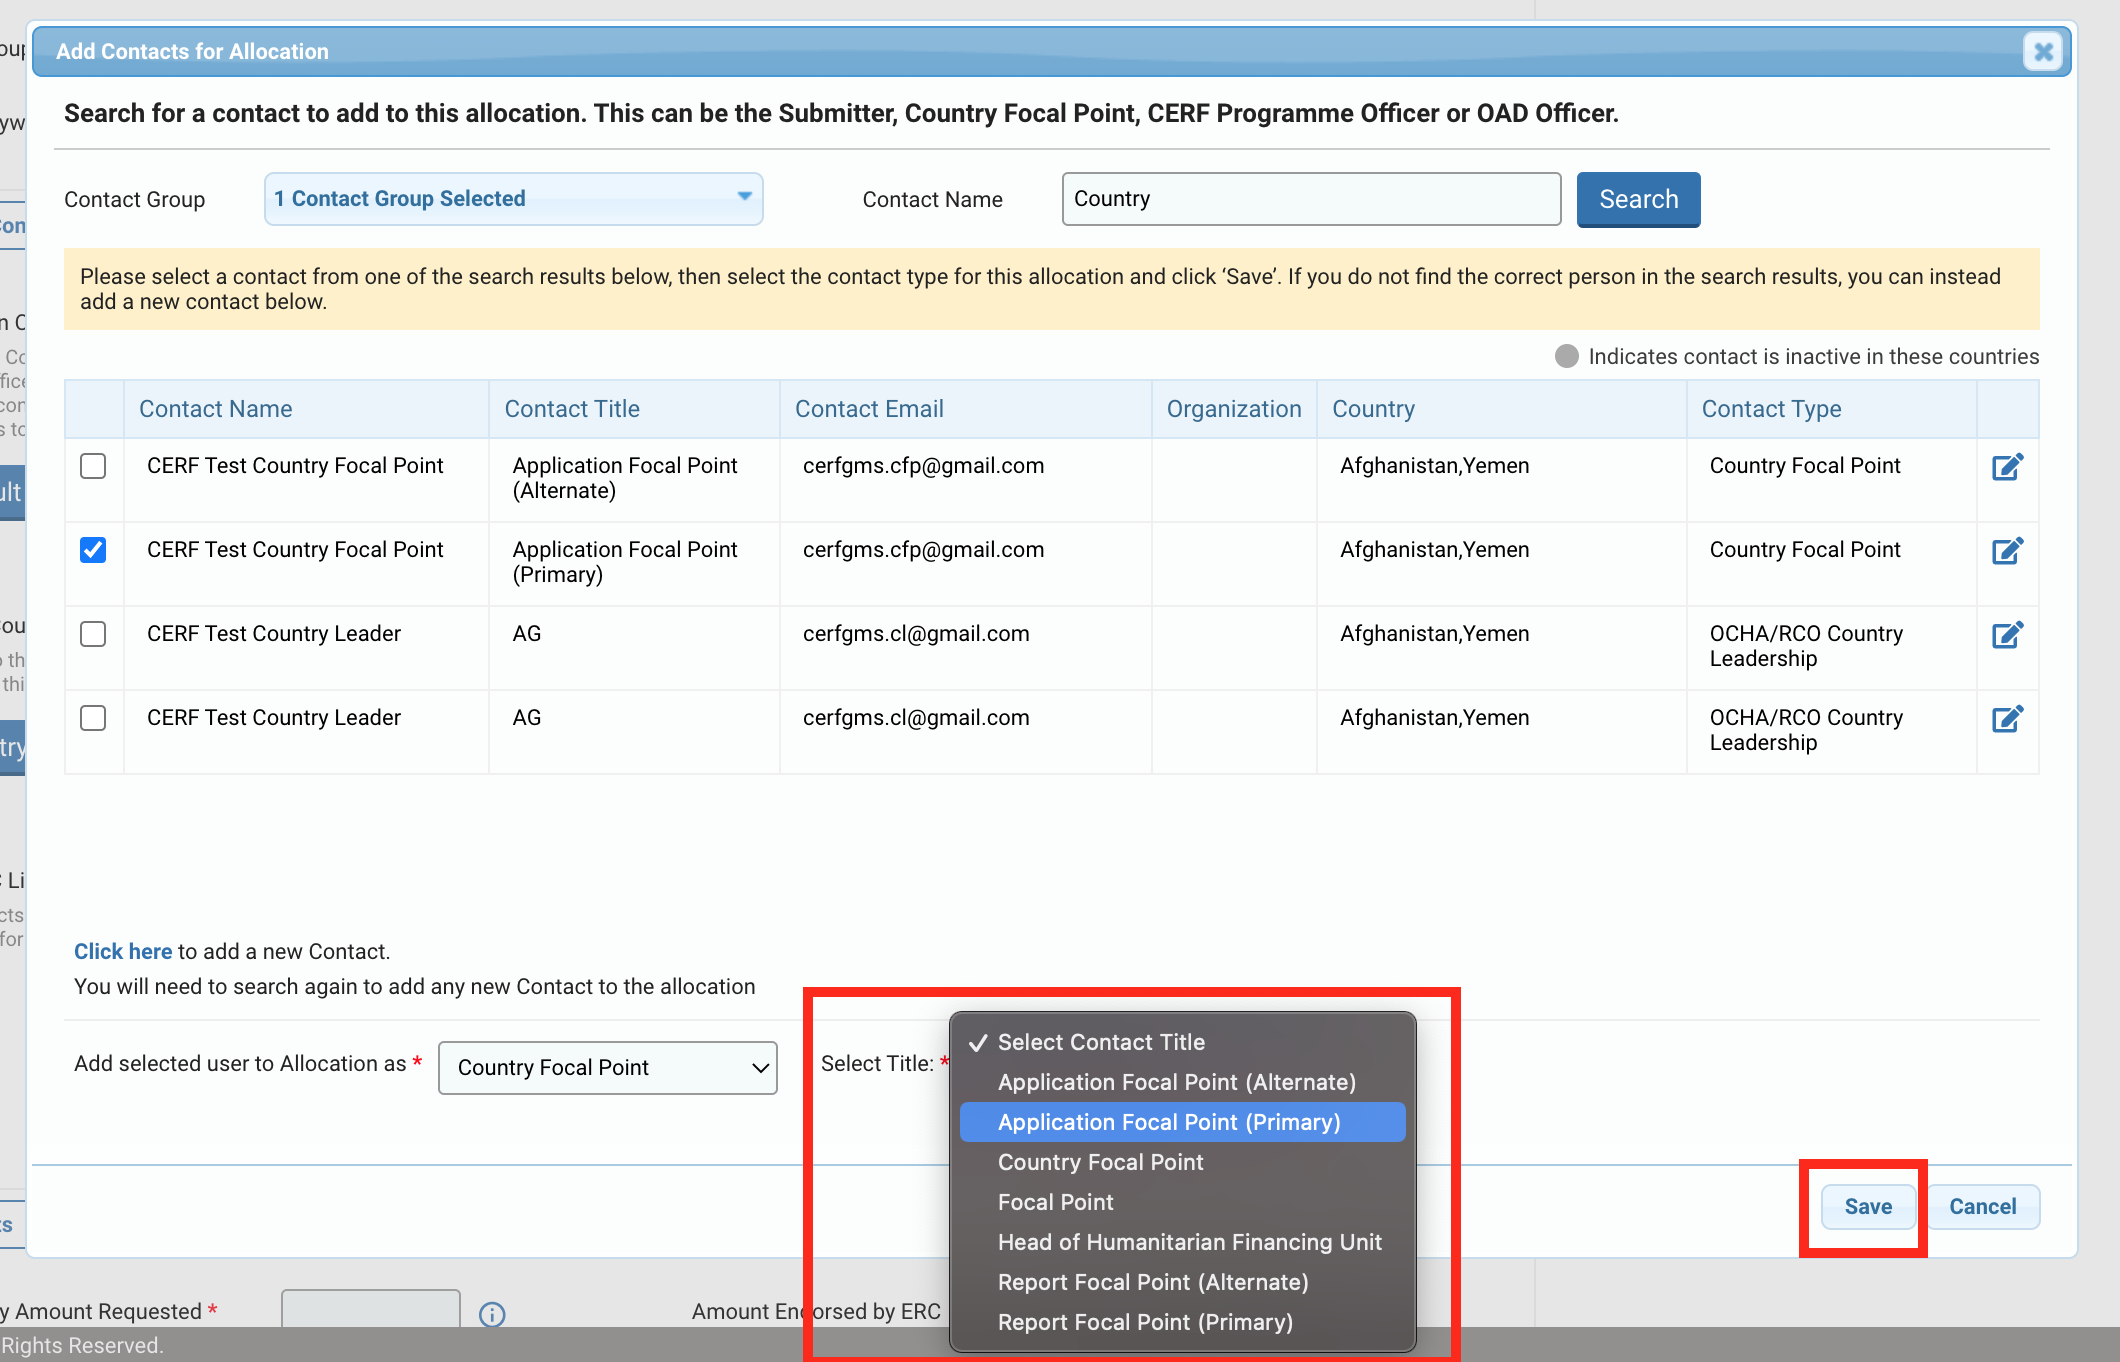
Tick the box of the contact you wish to select. You can only select one contact.
Then select from the drop-down list the Contact Type. Once you have selected the contact type, you will be able to select the Contact Title. Click on [Save] to save and add the contact.
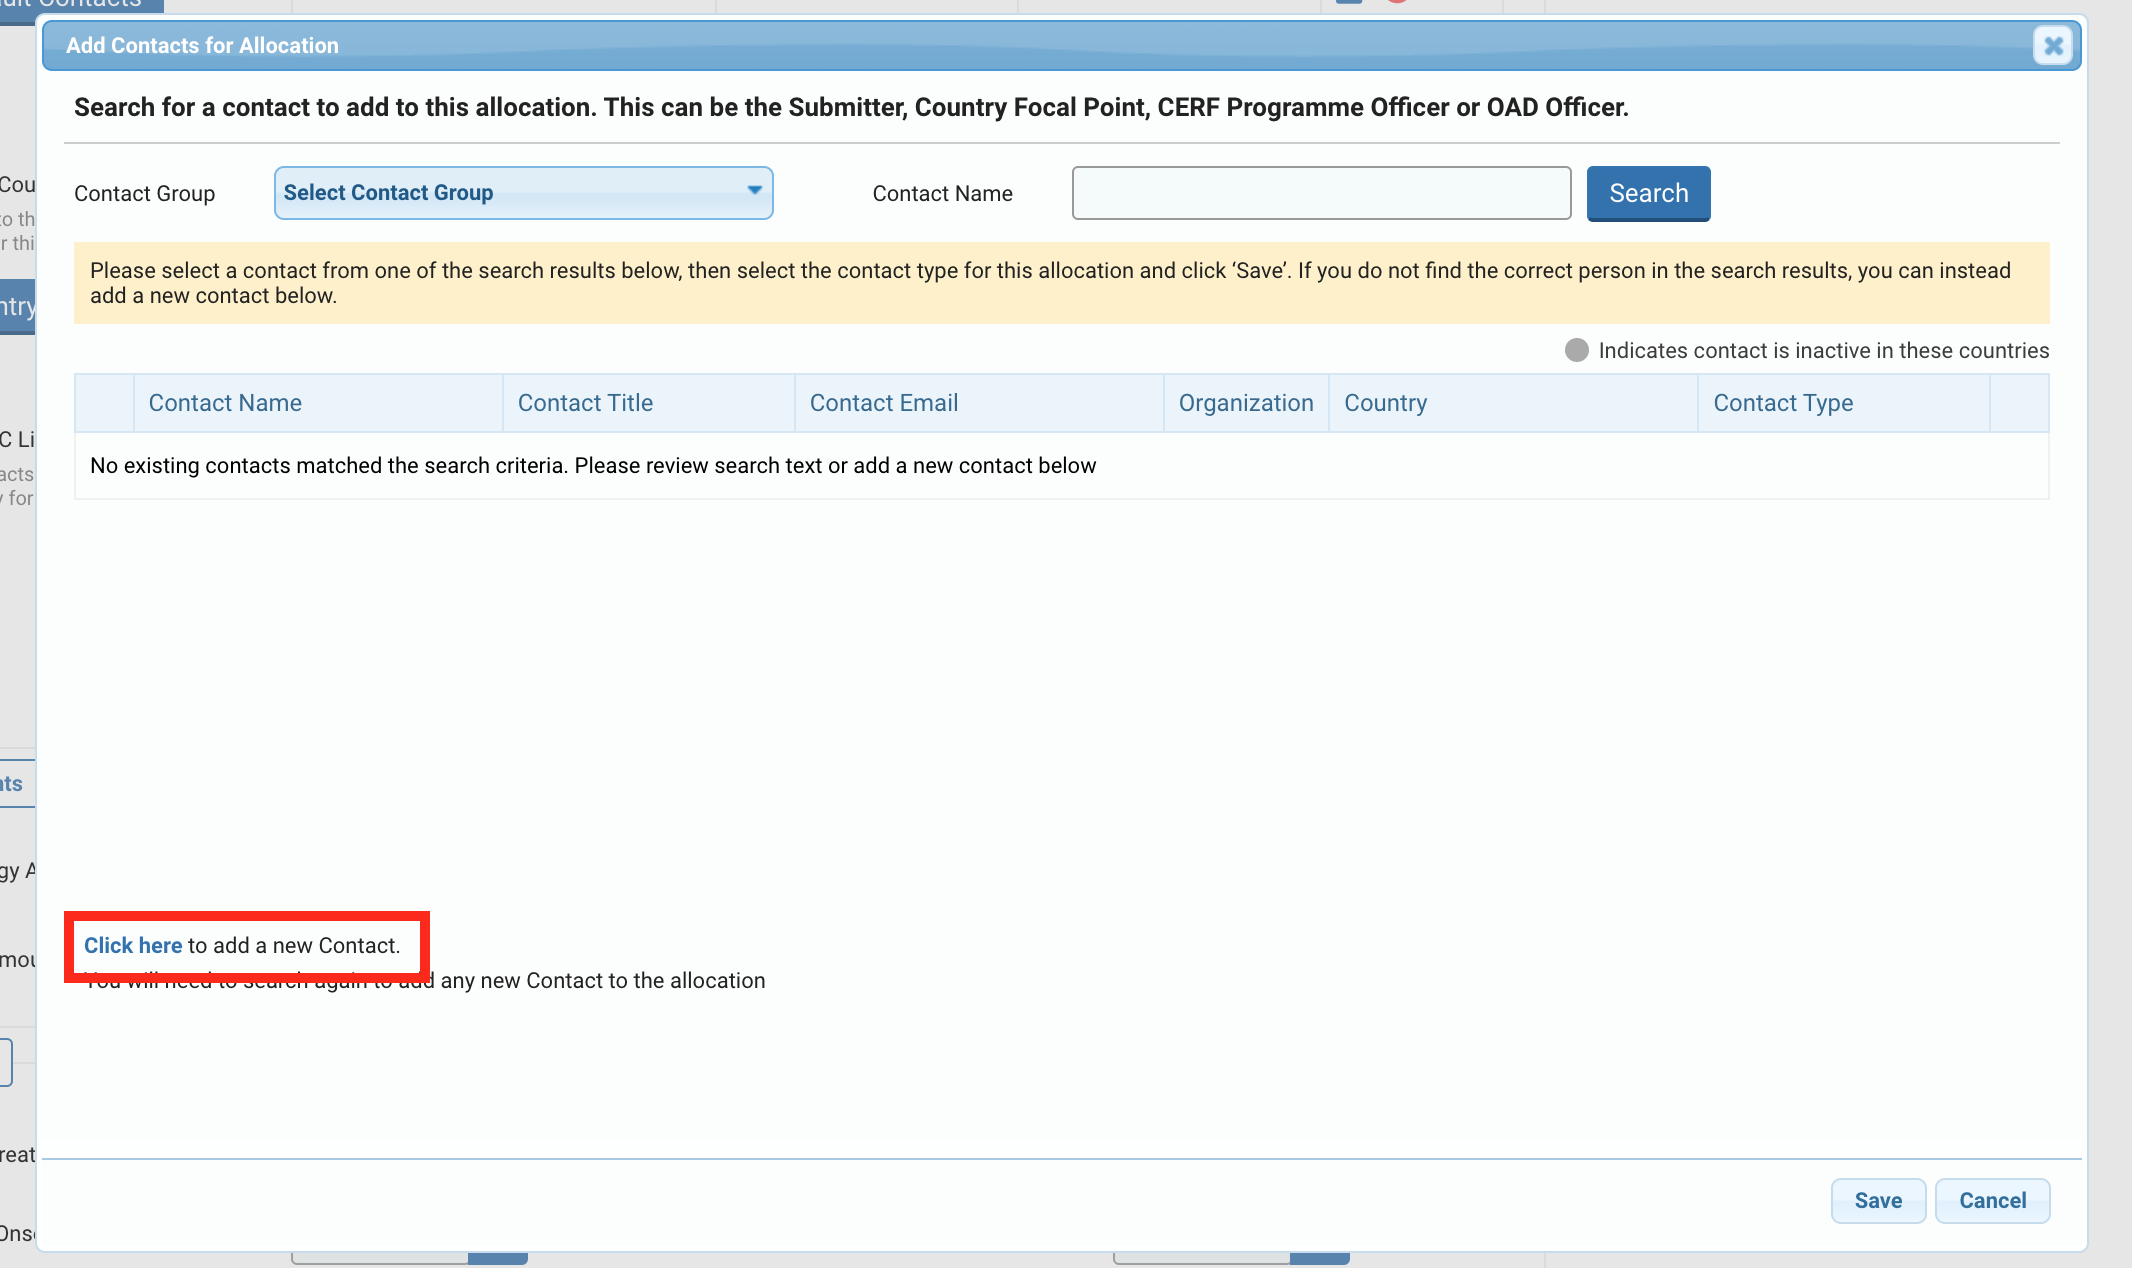
If you do not find the contact in the list, click on [Click here to add a new Contact].
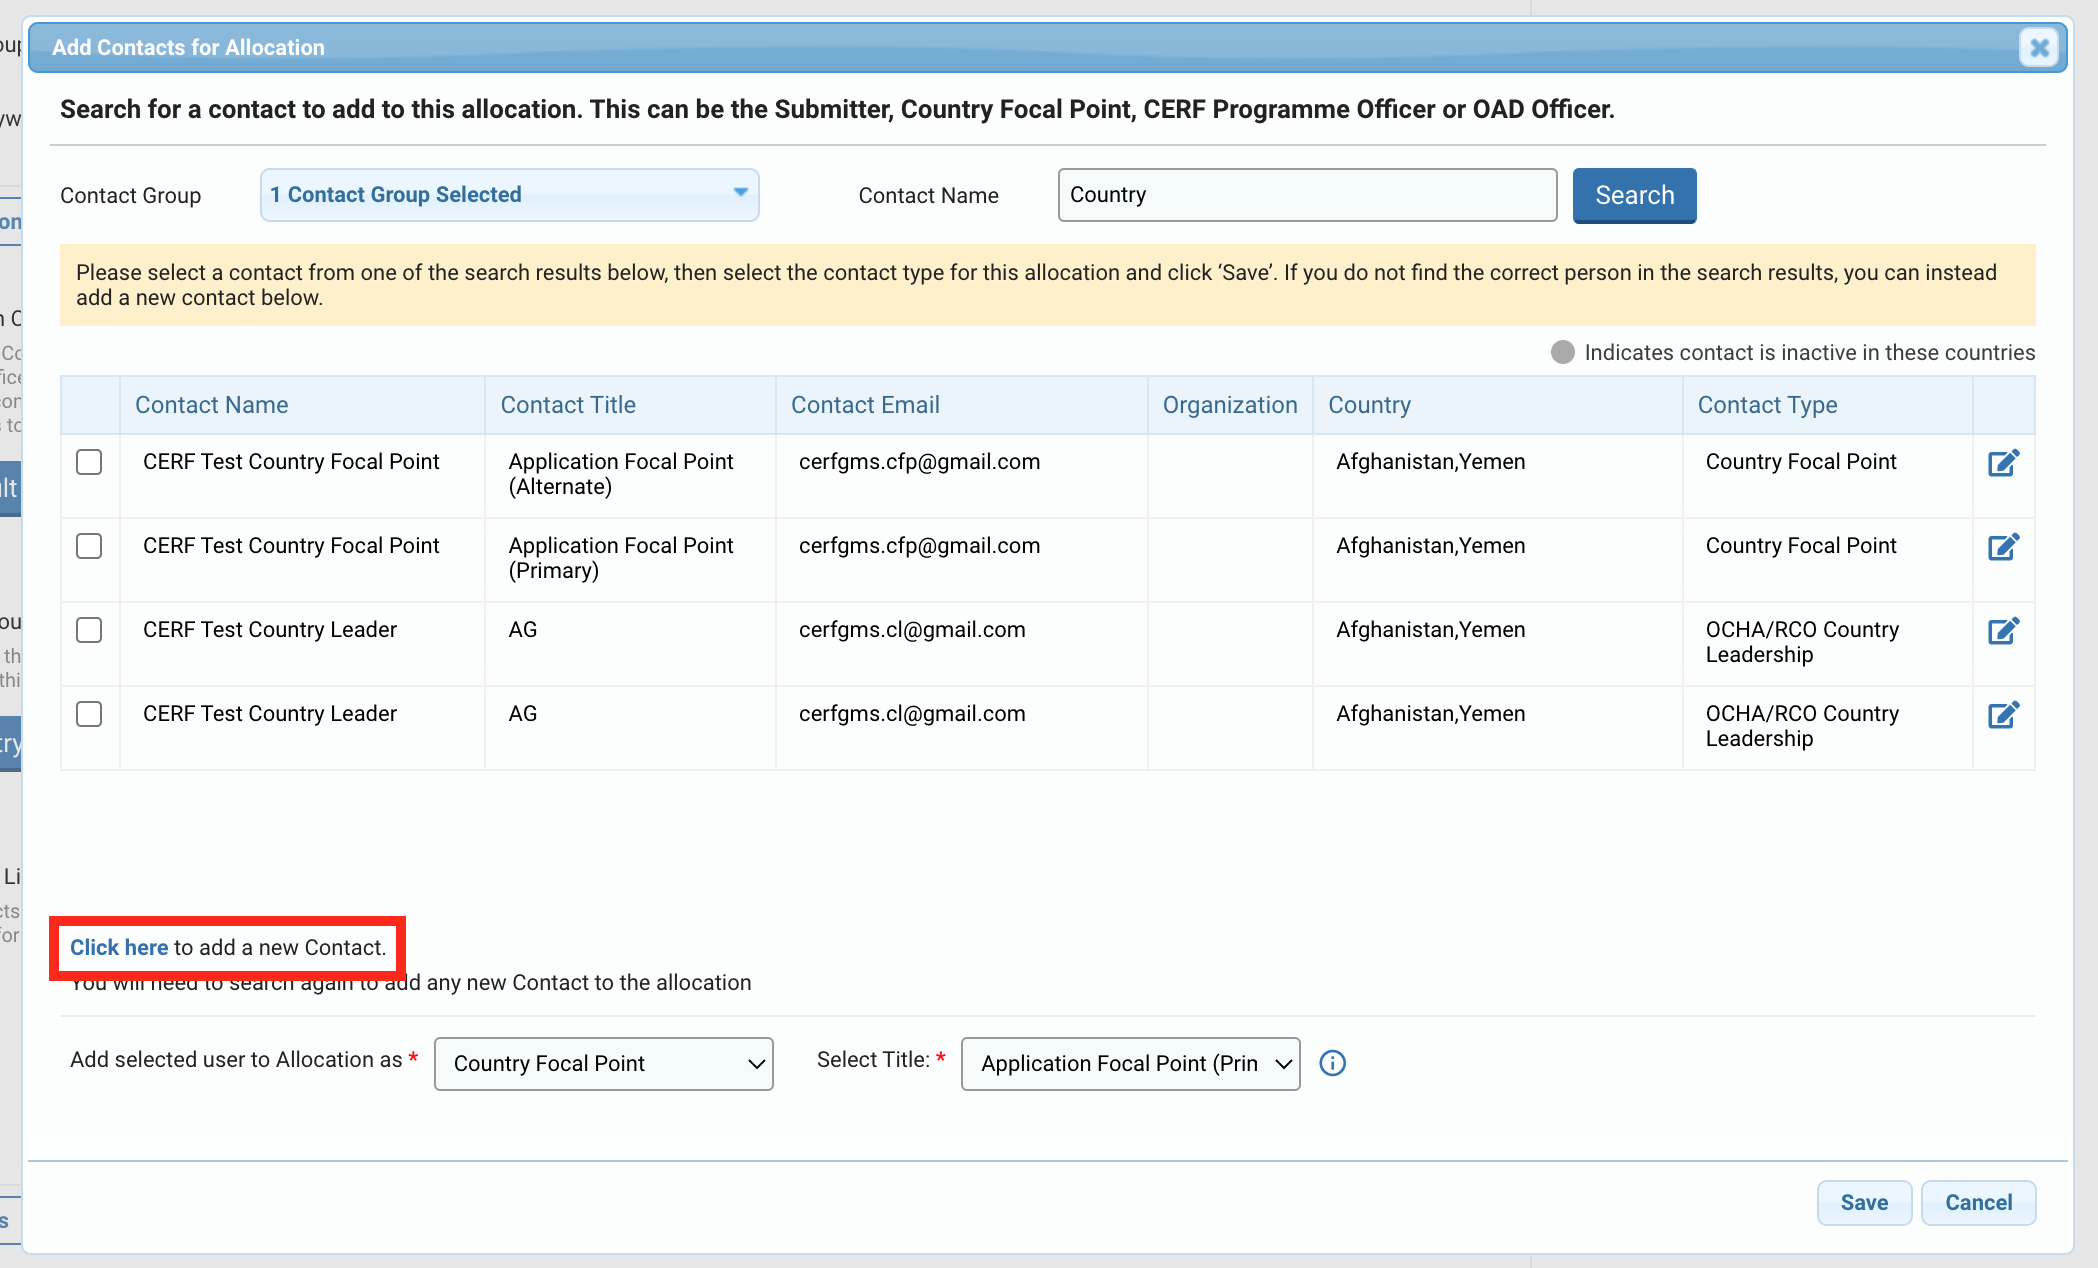
On the Manage Contact page enter all mandatory information and click on [Save]. You will then have to search again for the contact to add it. Click here to read our article on Contact Management and how to register a new contact in the system.

Add a CC List:
You have the possibility to add all contacts that will be added in copy for email communications. To do so click on [Add CC Contacts].

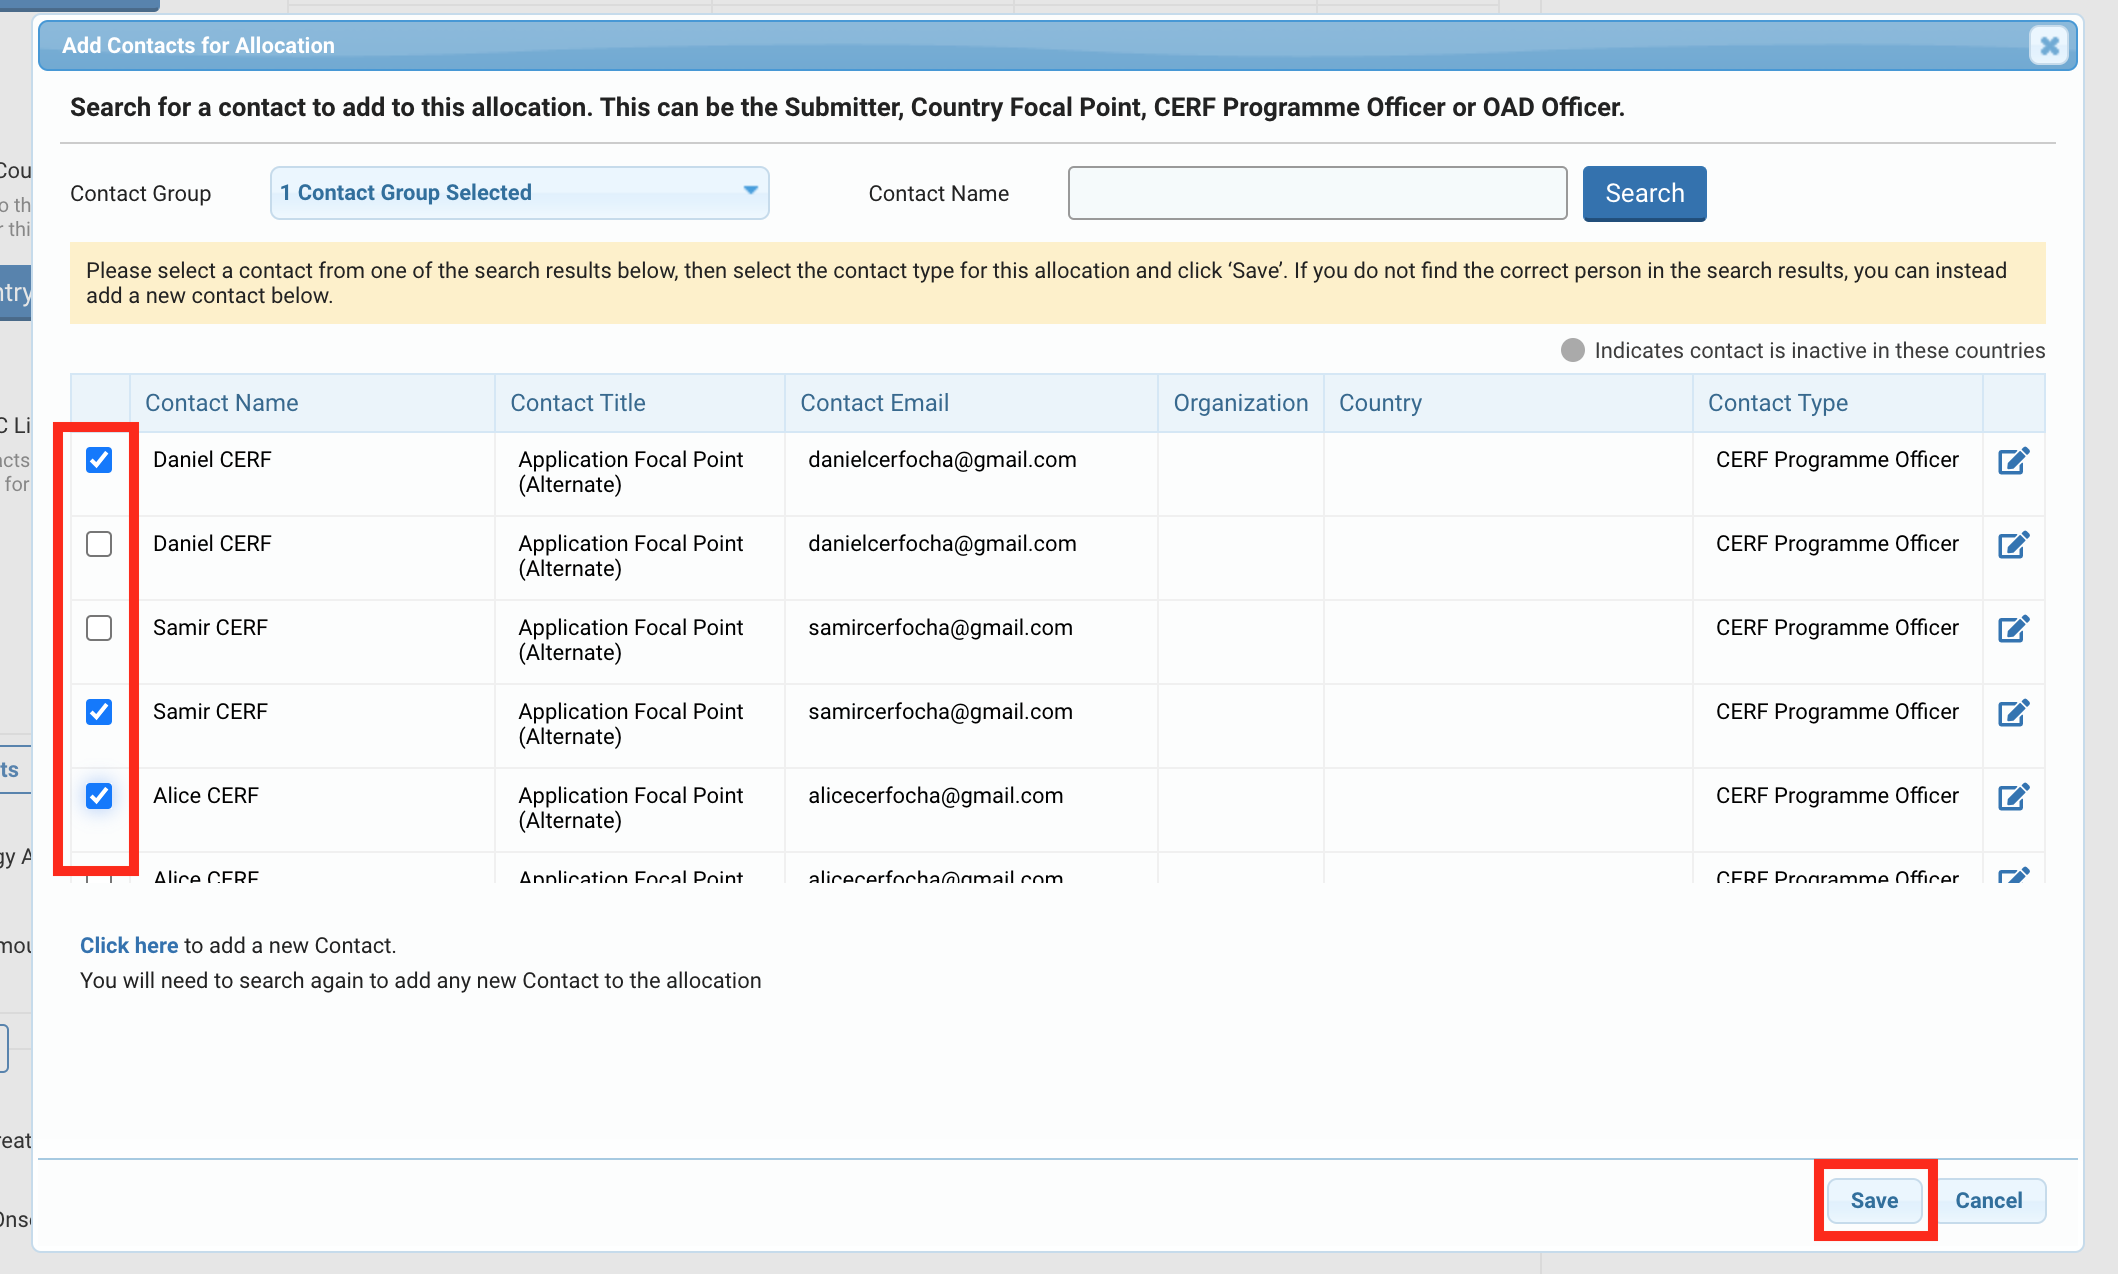
On the pop-up window, select from the drop-down list a Contact Group and/or type the name of the contact, and click on [Search]. The results will appear below in a table.
Tick the box(s) of the contact(s) you wish to add and click on [Save].
If you do not find the contact in the list, click on [Click here to add a new Contact]. Click here to read our article on Contact Management and how to register a new contact in the system.
On the Manage Contact page enter all mandatory information and click on [Save]. You will then have to search again for the contact to add it.
The CC List will then be displayed in the box. Click on the cross to delete a contact.

Key Amounts:
At this stage, the Window Lead is not required to fill in the fields of this section. Moreover, only the ‘Initial Strategy Amount Requested’ and the ‘Amount Endorsed by ERC’ fields are activated.

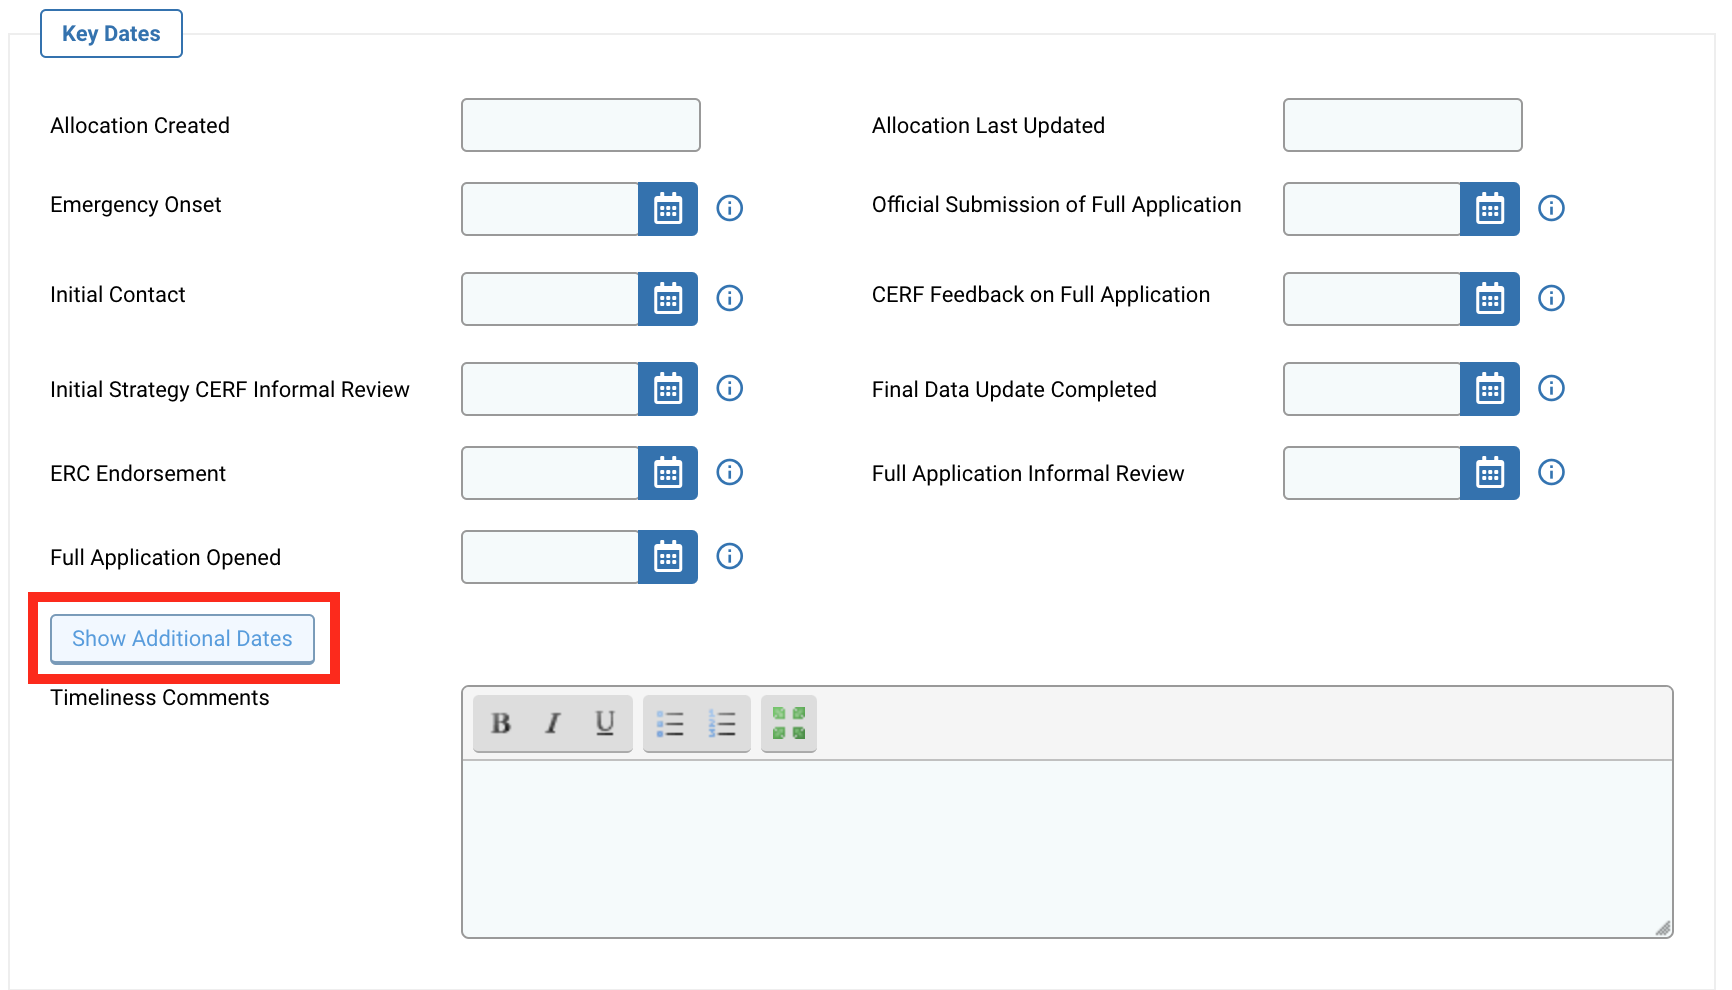
Key Dates:
At this stage of the allocation, the Window Lead is not required to fill out these fields. Moreover, these fields will be automatically filled by the system as the creation of the allocation continues.
Please note: if you have previously ticked the box ‘Sudden Emergency Onset’, the Emergency Onset date will be mandatory.
You have the possibility to add more dates by clicking on [Show Additional Dates].
You also have the possibility to add a comment on the timeliness.
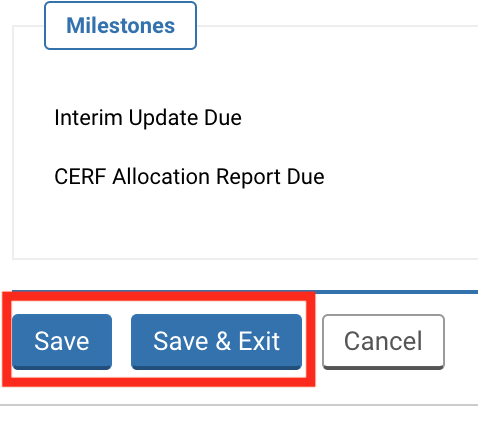
Milestones:
These fields will be filled automatically by the system at a later stage.

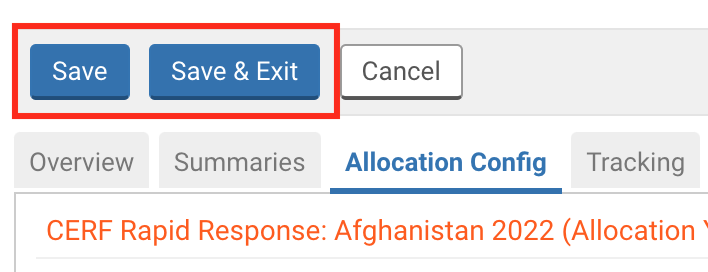
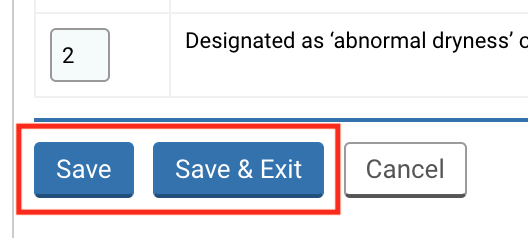
Once you have completed this page, do not forget to save your data, as the system will not automatically save it. You can find the [Save] and [Save & Exit] buttons at the top of the page,
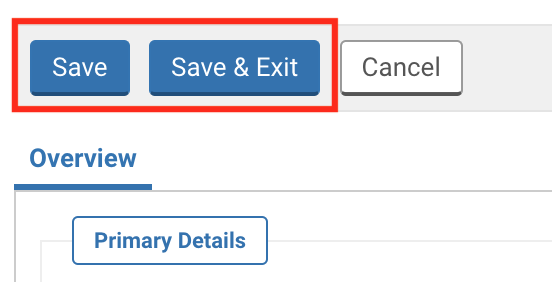
or the bottom of it.
Once you have saved the 'Overview' tab, the allocation code (i.e., the unique ID of the allocation) will be automatically generated and displayed in the ‘Primary Details’ section:
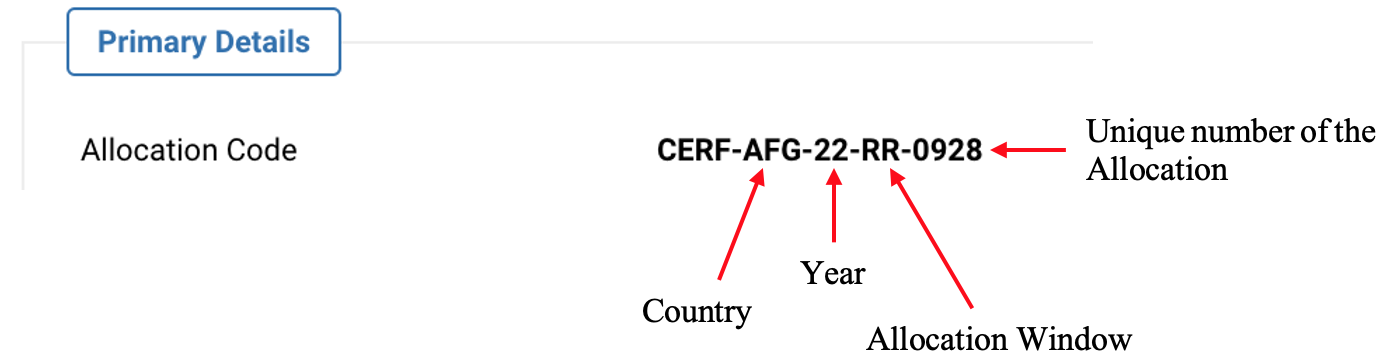
Two new tabs, ‘Summaries’ and ‘Allocation config’ are now available.

This tab allows the user to enter the different summaries that will be added to the CERF website. The Window Lead does not have to fill in this tab at this stage. The summaries will be added by the Programme Officer at a later stage before the publication of the allocation.

In this tab the user will be able to configure the allocation with the ‘Minimum Location Level’ being the only mandatory field.
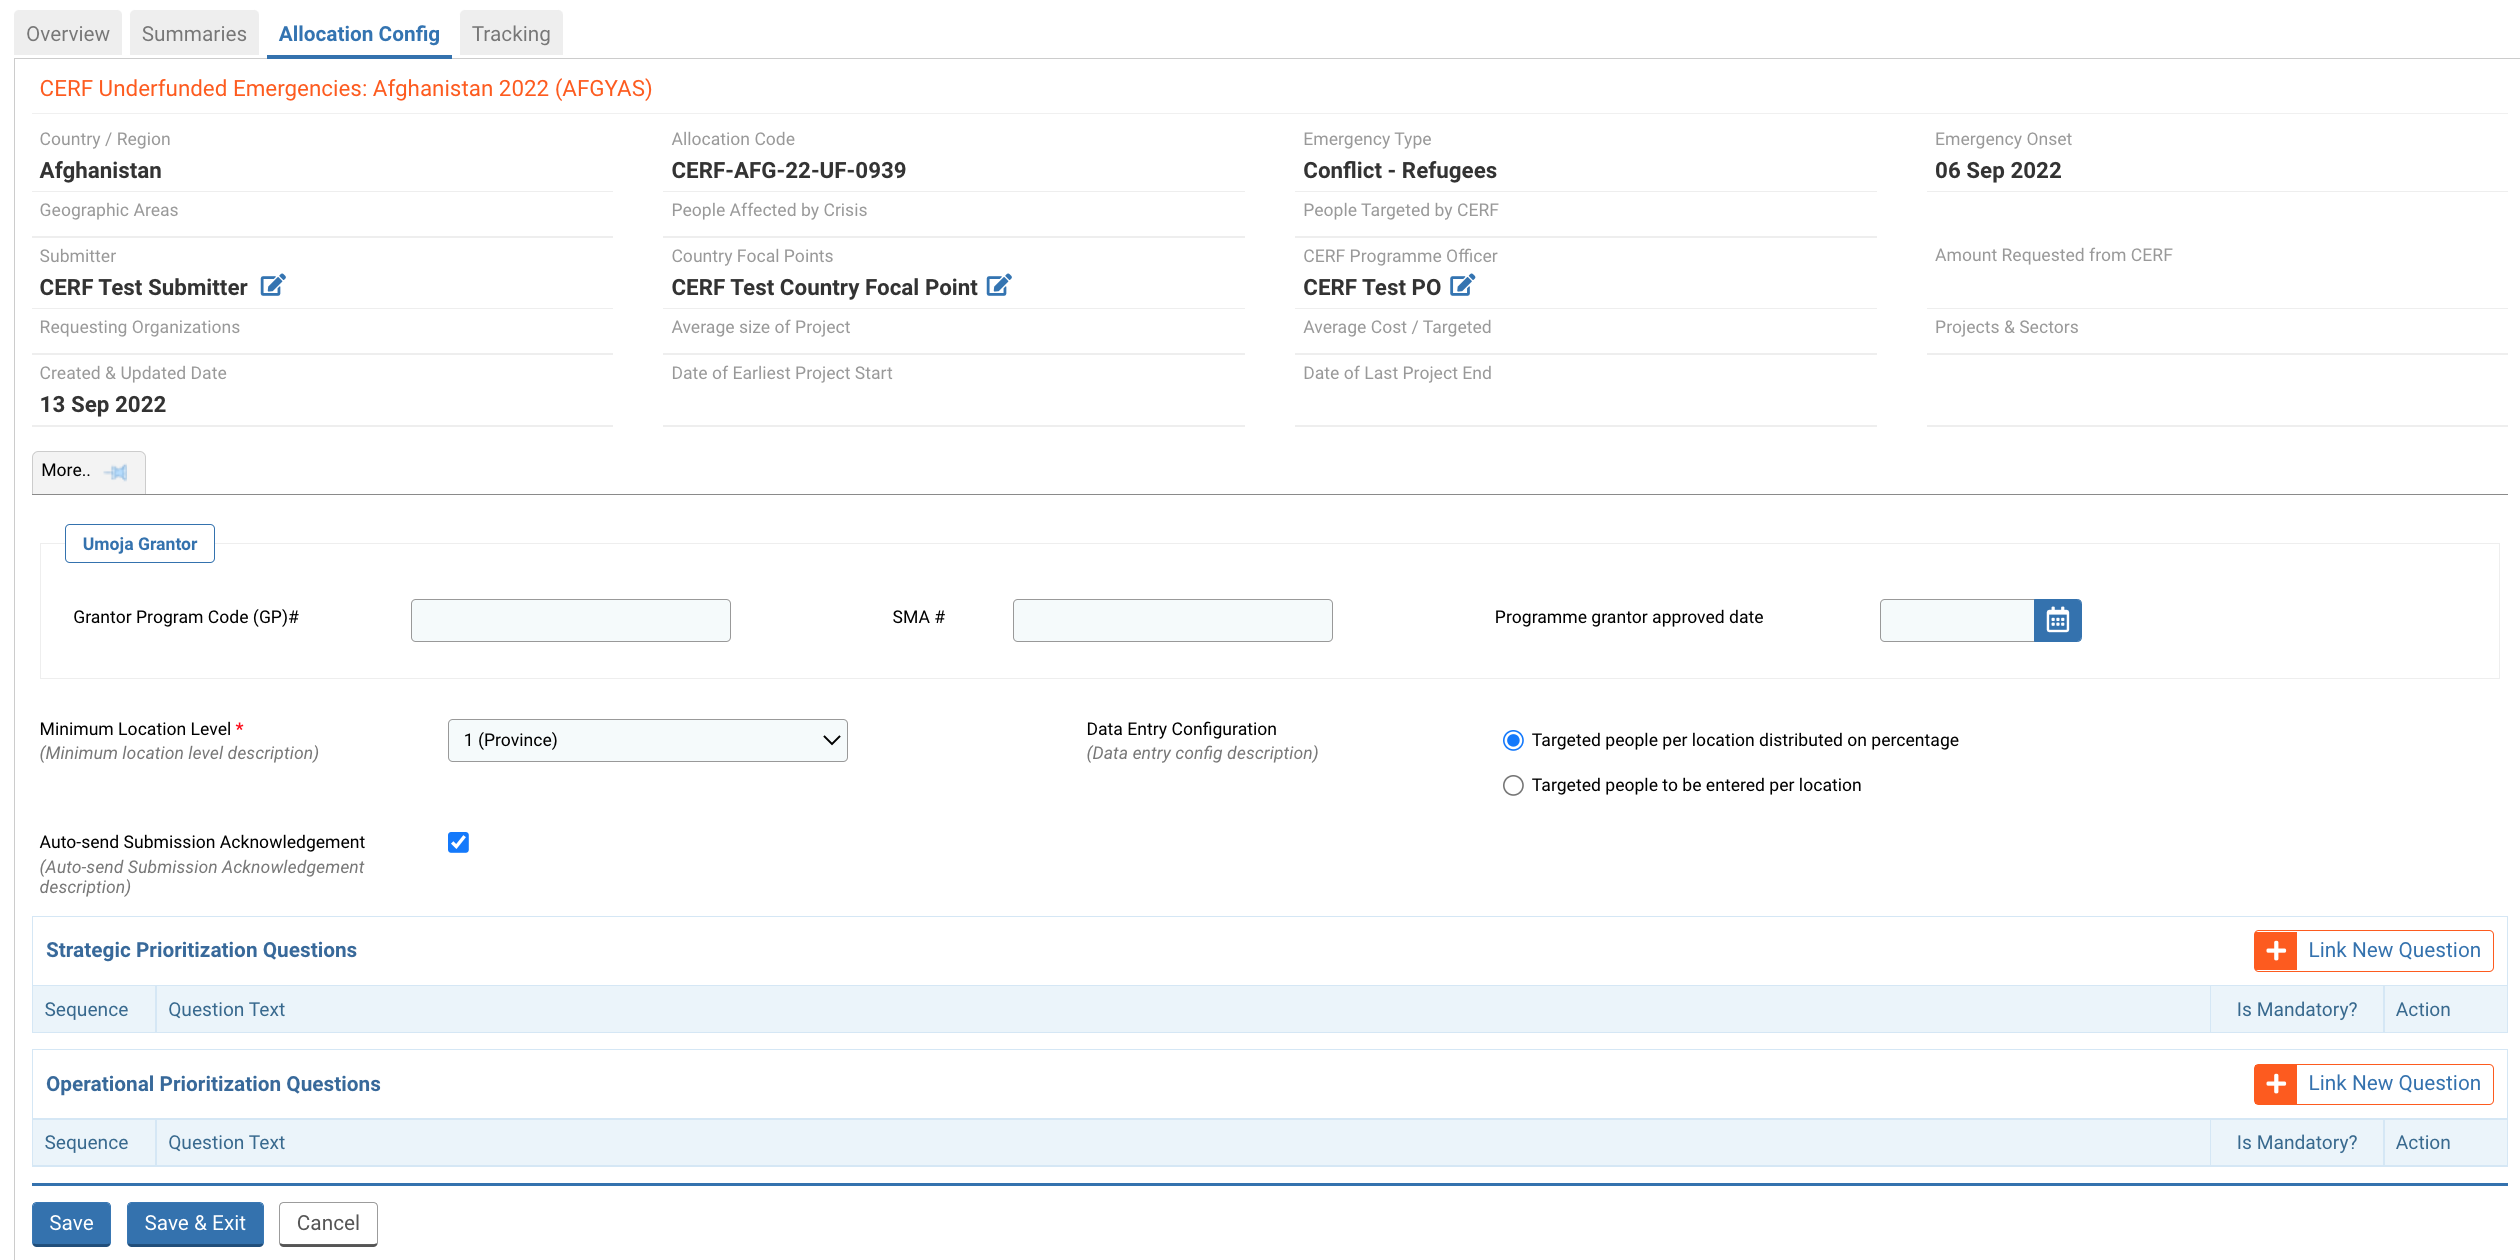
Umoja Grantor
The Window Lead does not have to fill in this section. It will be mandatory for Finance to fill this at a later stage.

Other fields:
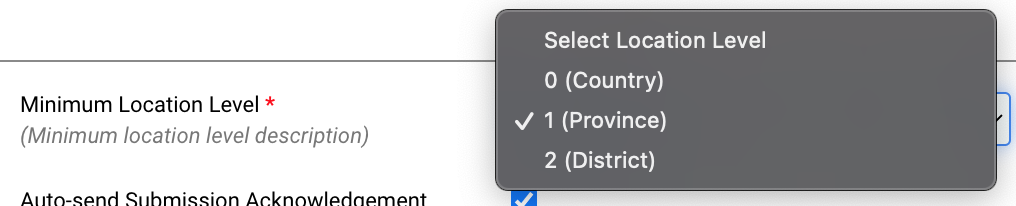
Minimum Location Level *: select from the drop-down list the minimum location level required for the budget distribution in the locations tab as well as for reporting purposes.
Data Entry Configuration: this option will configure the way the number of beneficiaries will be disclosed in the project proposal. We recommend using the defaulted option “Targeted people per location to be distributed in percentage.
- Targeted people per location to be distributed on percentage (default option): if this option is selected, agencies will provide a percentage to indicate the number of beneficiaries in the ‘locations’ tab.
- Targeted people to be entered per location: if this option is selected, agencies will provide a digit value to indicate the number of beneficiaries in the ‘locations’ tab.

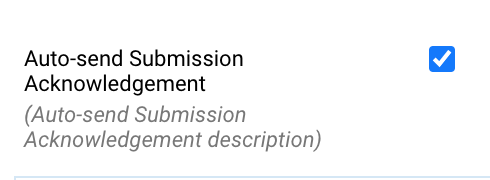
Auto-send Submission Acknowledgement: this box is ticked by default and allows the system to automatically send the acknowledgment email. If you untick the box, the Programme Officer will have to send this email manually.
Strategic Prioritization Questions and Operational Prioritization Questions:
This option allows the user to link one or several strategic and/or operational question(s) to the allocation, based on the sector and emergency type. The question(s) will be displayed respectively in the ‘Strategic Prioritization’ and the ‘Operational Prioritization’ tabs of the Initial Strategy form.
You can add an existing question, create a new question, or edit an existing question. To know how to do create or edit a question, please click here to open our dedicated article.
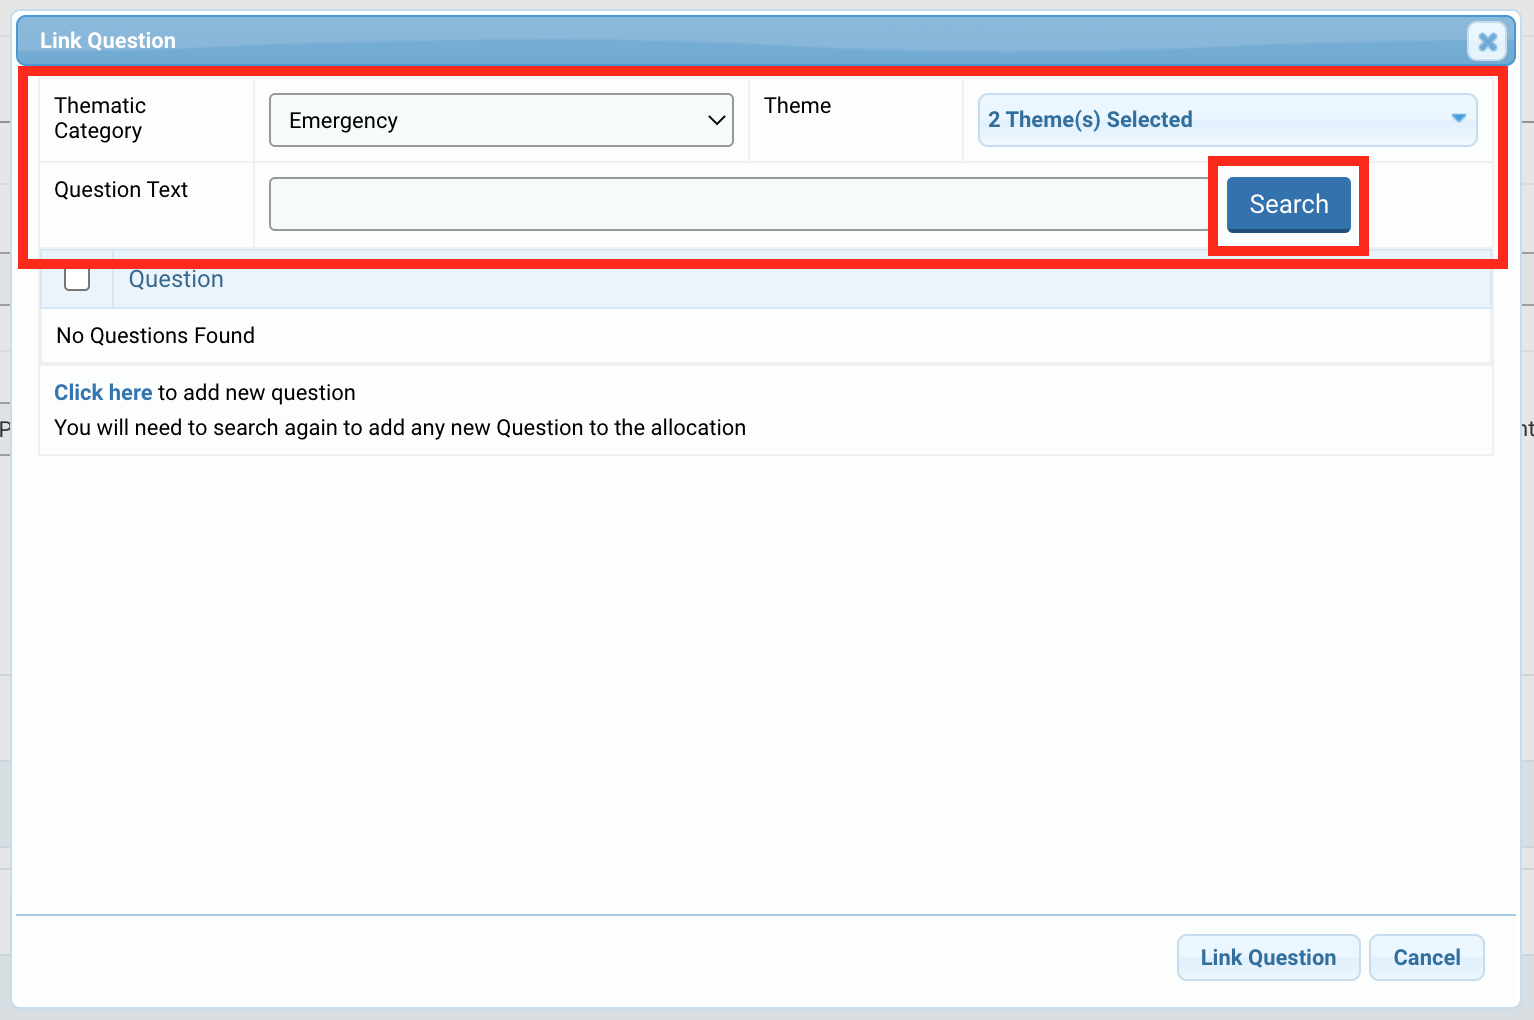
To link a question, click on [Link New Question].

On the pop-up window, you can either select a Thematic Category and/or a Theme from the drop down-list or type your question in the field below. Then, click on [Search] to find the question(s) linked to your filters.
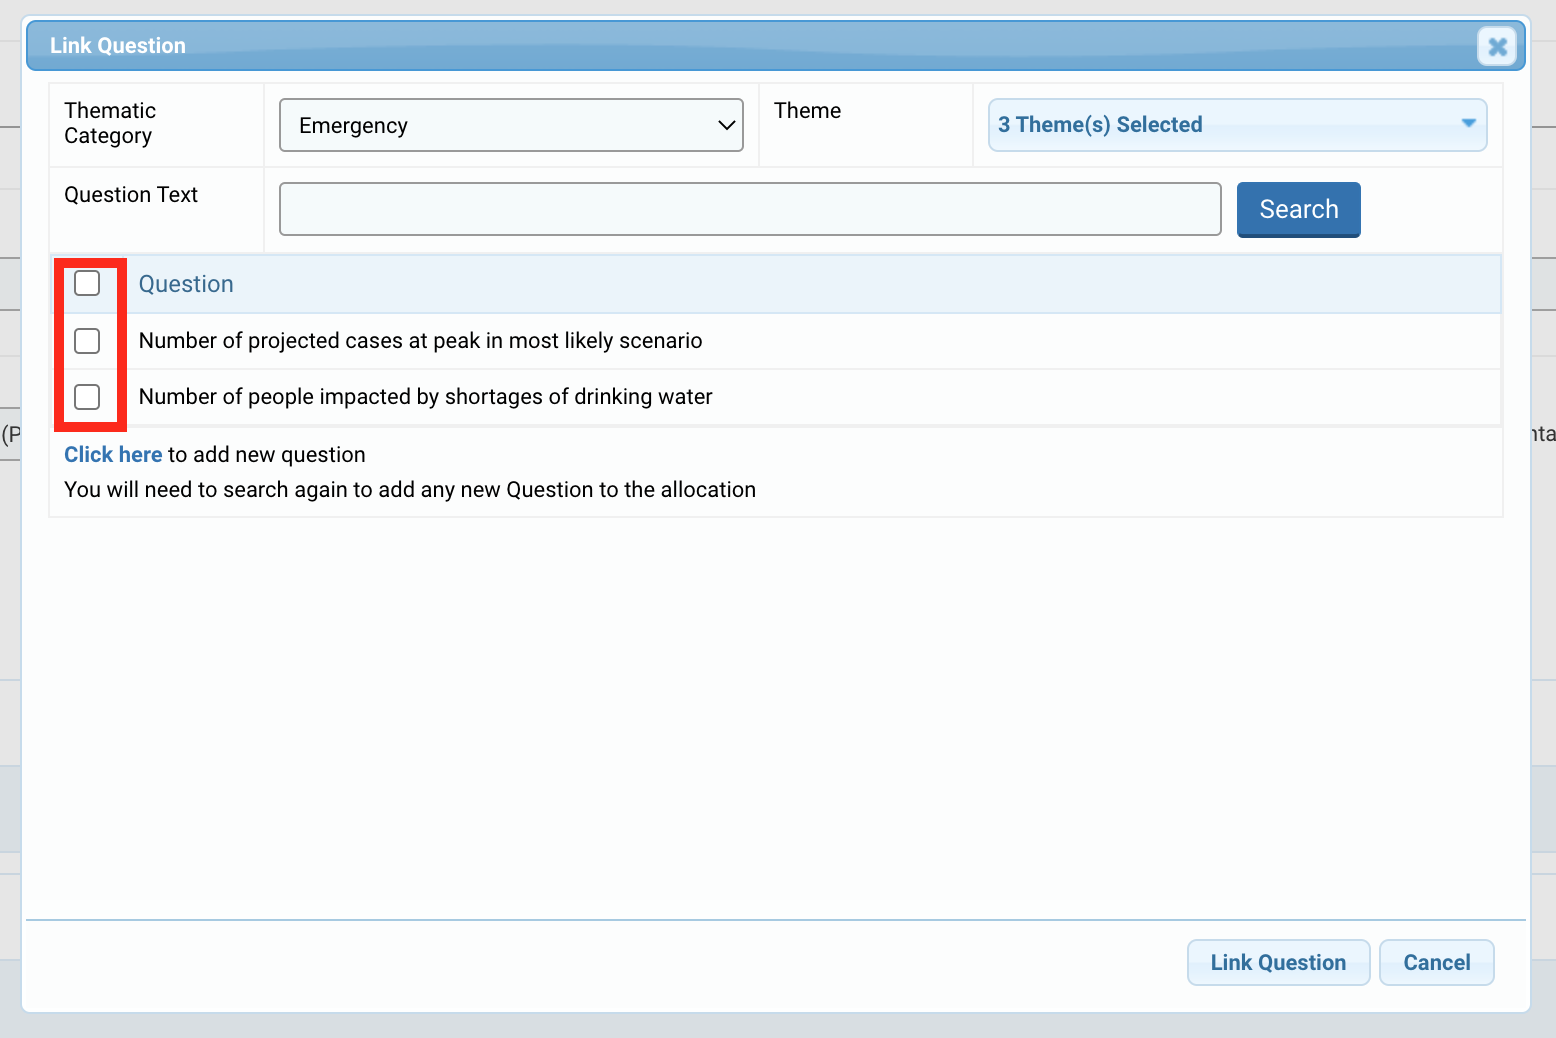
The results will be displayed below. Tick the box(s) of the question(s) you wish to select and click on [Link Question] to save and link the question(s).
The added question(s) will be displayed in a table.

If you want the question to be mandatory for the Country Office, you must tick the box in the ‘Is Mandatory?’ column. You can also delete a question by clicking on![]() at the end of the row.
at the end of the row.
Finally, you can modify the order of the questions, by modifying the ‘Sequence’ column. After changing the order, you must save the tab to register the new sequence.

Once you have completed the ‘Allocation Config’ tab, do not forget to save your data, as the system will not automatically save it. You can find the [Save] and [Save & Exit] buttons at the top of the page,
Or the bottom of it.
CERF HQ can now send the Initial Strategy form to the Country Office. To learn more about the Initial Strategy, click here.